

Matchbox/ Revell
Flower Class Corvette
HMCS Snowberry
Kit No. 0389. 1:72nd scale


Matchbox/ Revell
Flower Class Corvette
HMCS Snowberry
Kit No. 0389. 1:72nd scale

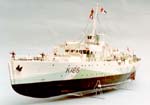
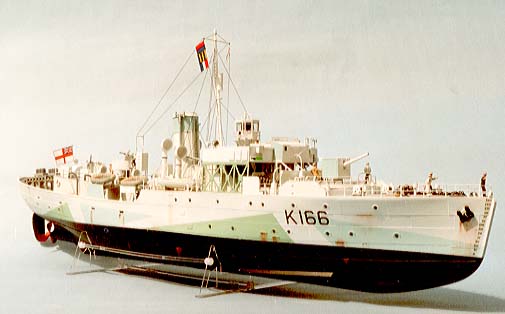
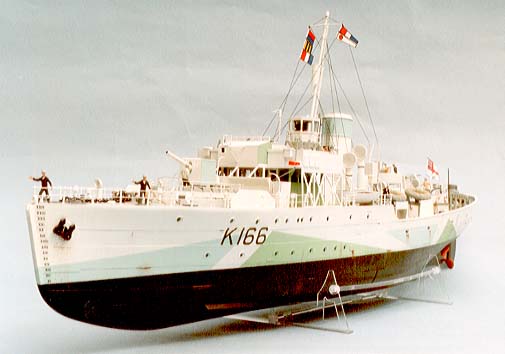
Several years ago, when Matchbox first issued this large corvette, they caused quite a stir. Modellers asked, is it really to 1:72 scale and will it float? Well it really is to this popular scale and it will certainly float; I have personally made a radio controlled version that works very well indeed!
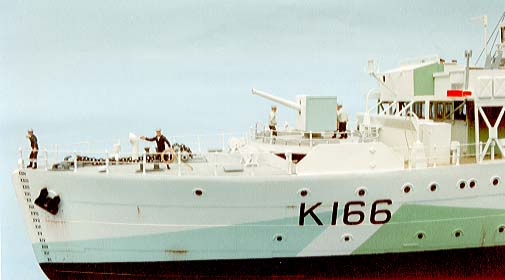
The kit’s box is crammed with over 1000 pieces. The four parts which make up the hull fit together quite ingeniously with interlocking plates that disguise the join very effectively. If you clamp the center line join after cementing, it will be watertight. The detailing in most cases is quite good, but as with any project as large as this you will be able to find room for improvement. For example, the deck guns could be better represented, but I have just drilled out the end of the gun barrels for good effect. You might also like to trim down the edges of the air vents to more scale-like proportions.
A large number of stanchions are provided for the edges of various decks and Slater’s fine plastic rod is used for the handrails themselves. You can cut each individual length to fit between the stanchions if you wish, or cement complete lengths along the outsides of them as I have done. Of course, moulded handrails come with each set of steps from deck to deck.
You will find it helpful to build various sub-assemblies before fixing them to the decks as you can paint and rig a lot easier. Various other materials are supplied in the kit such as a self-adhesive silky sheet of signal flags, metal anchor chains and a skein of thread for various ropes and rigging. However, I personally prefer waxed black thread for all rigging as you can run the thread over a candle and the wax will hold down all those hairy wisps.Alternative parts are supplied for three different ships; British, Canadian and American.
The Canadian ship, HMCS Snowberry, is by far the prettiest and most colourful and is the one I chose to depict. Two booklets provide all the construction sequences plus histories and colour details of all three ships.
There are a few mistakes in the instructions (which are fairly obvious) and with a little thought these can be corrected. Careful painting of whole sub-assemblies will pay dividends and after spraying the hull you could add a few rust stains to provide an impression of use.
The whole model took me about two weeks work, but I suppose for the average modeling times (evenings), one could find two to three months enjoyable entertainment. I thought the job would be difficult, but I was proved wrong. By paying careful attention to the instructions I was able to finish the model with ease.
Good value-for-money and a nice project for those long winter evenings ahead!
There are a couple of corrections to make to the instruction sheets as follows
Step 19 part F13 is too tall, make sure you line up the walkway locations ribs on this and parts F16/17
then sand the top level
Step 20 add part D12 then partsD7/11 and align them, rest the assembly on the deck before adding parts
F14/15 to allow for the curve on the deck.Step23 part J16 should read J31
Step28 part J31 should read J16
Step 35 step 24 should face rearwardStep 41 parts J58 /59 are drawn upside down. use two M19s and the part L7. H15 fits inboard of the Nav
light
Step42 parts G37 are drawn wrong way round they are support brackets and the square edge fits inboard
Step 52 parts E12/13 should be reversedStep 54 parts G51 are square not round
Step 58 remember to thread the rigging wires before you put the funnel cap on.
Step 69 assembly G31/32 fits on the main deck not as shownapart from that it is all just common sense and dedication
Good luck guys.
This Kit is now issued by Revell but is the same mouldings with new instructions
Ted Taylor
1981
Last Page
Airbase
What's New
Home
Reviews
Next Page