ITALERI
MAS Torpedo Boat
Kit No. 5608 1:35th scale
ITALERI
MAS Torpedo Boat
Kit No. 5608 1:35th scale
It is not very often that I get a break from aero modelling but when a kit like this comes into the review office I grab the chance to have a change of subject.
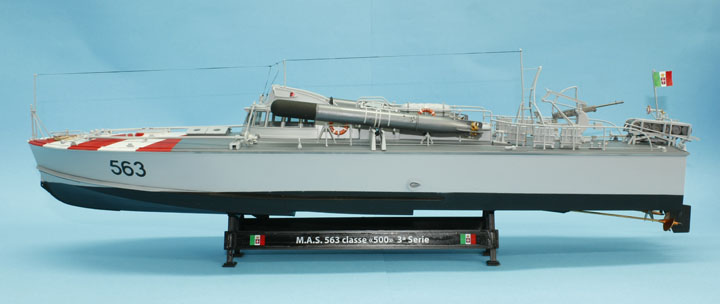
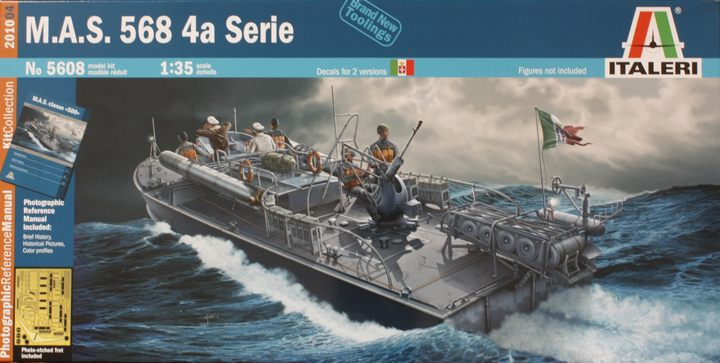
The MAS boats were invented during the first world war and were not very fast but by the end of the war Italy had 244 in service and used them for anti submarine duties also. Development continued between the wars and now they were equipped with bigger engines and redesigned hulls giving them a speed of some 40 Knots and later with twin engines the speed was raised to 45 knots. The torpedoes were originally carried astern but later moved to amid ships with a down ward facing attitude again later revised to upward facing stance at the beginning of WW11.
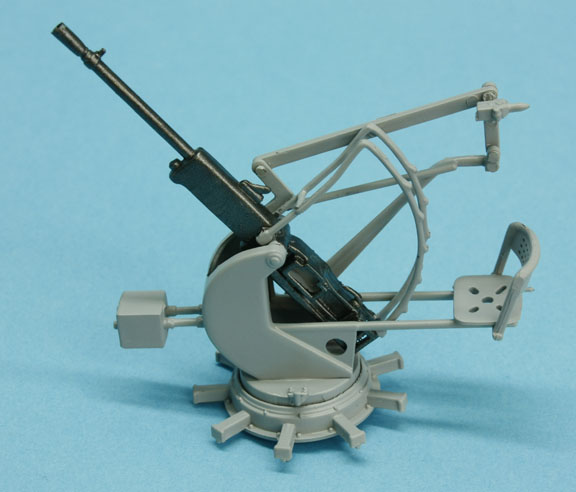
Now known as the 500 series these boats operated in the Mediterranean, Lake Ladoga and the Black sea sinking a number of ships and submarines of the British and Russian fleets. Besides the torpedoes they carried were depth charges and a Breda 35 20mm Machine gun and so presented a considerable threat to shipping
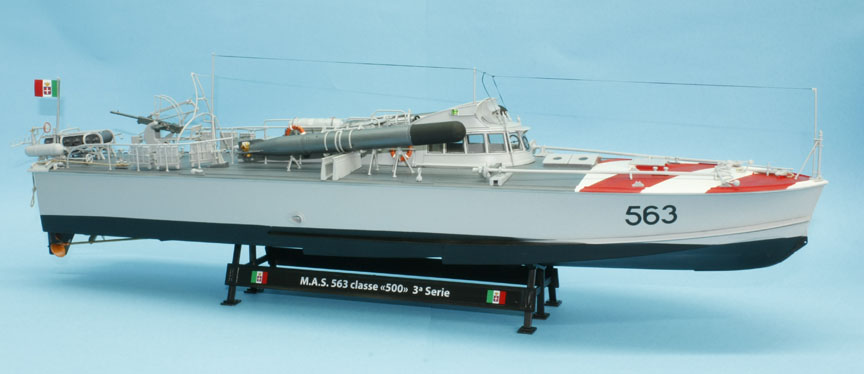
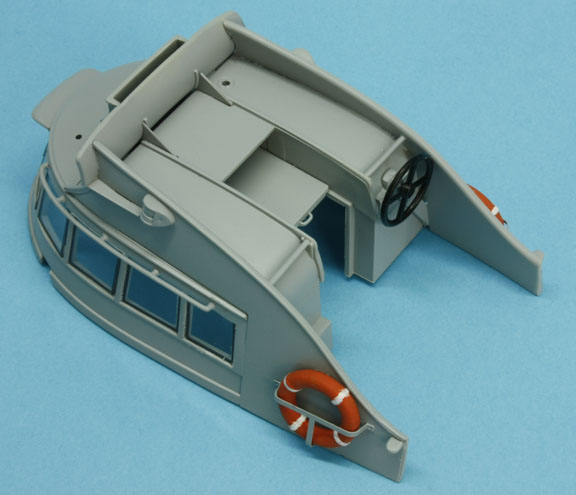
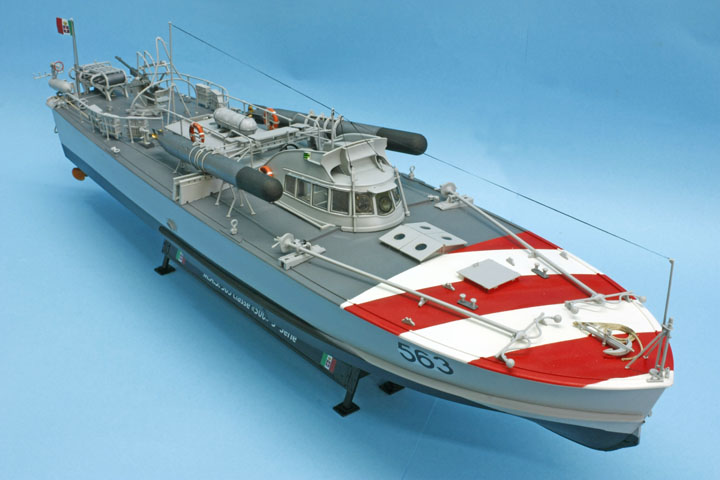
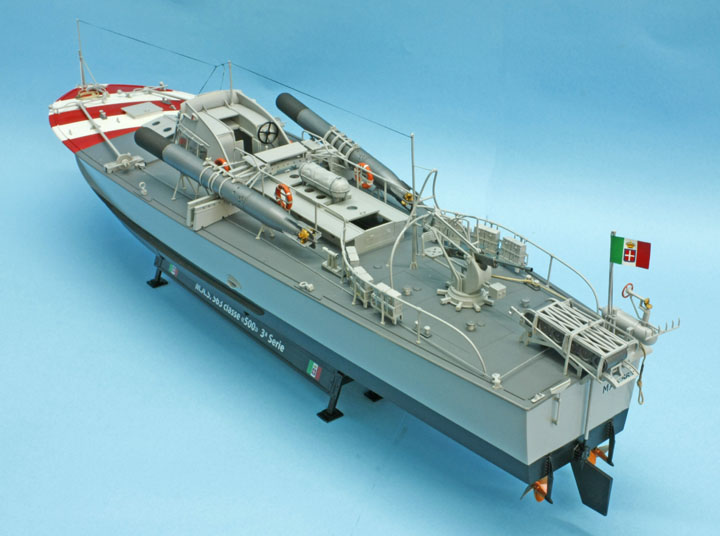
This is no small subject at around 22 inches long, the hull is one piece as is the deck but there are some tiny bits to be aware of . A brass etched sheet provides some of the more delicate parts and a sheet of pre-cut windows is a boon as they all fit perfectly and most need no glue to hold them in. Ropes and screws make up the rest along with a large instruction booklet with photos of the parts under construction instead of line drawings, an added bonus is the small booklet with a history of the boats and a number of photos of the real boats.
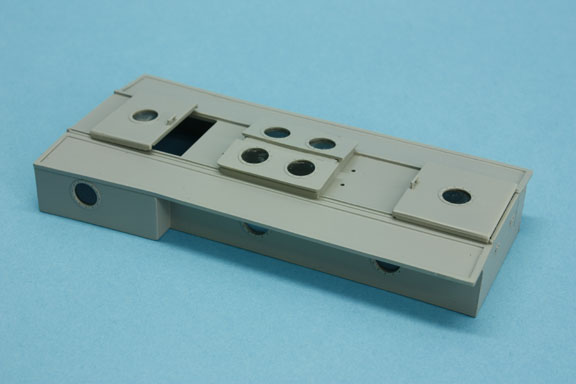
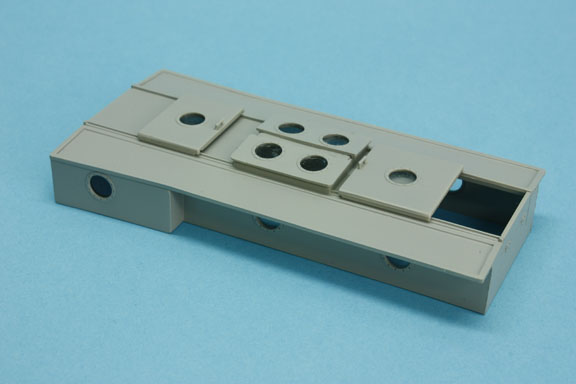
My construction began with the hull adding the rear plate and the brass etched items, you can use superglue for the brass but I used Bostic impact adhesive on mine as I had it in use at the time. There are two strakes which fit into grooves along the sides and I found that one will fit better on one of the sides than the other so try a dry run before cementing. There are a lot of holes to be drilled in the deck, for this I used a 1mm drill bit, each hole is indicated on the plans and are marked on the underside of the deck.
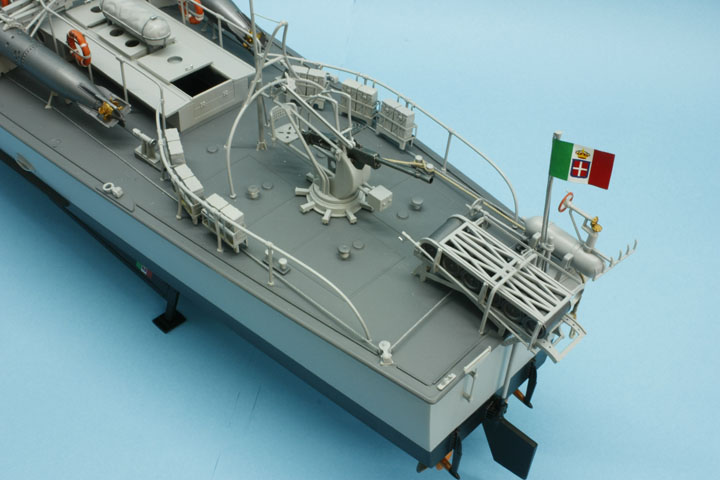
Now most of the kit assemblies were made up and painted, the most difficult part was to get the red/white stripes correct and for this I drew the outline of the deck onto a sheet of paper then measured the angle of the stripes from the plans with a protractor and drew the first line across, the rest of the lines were drawn parallel at 30mm apart and all extending outside the outline, this was then laid under the deck and the marks transferred to the already white pained surface. It was an easy job to mask up for the red colour then.
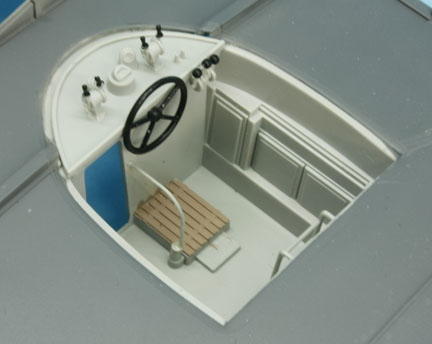
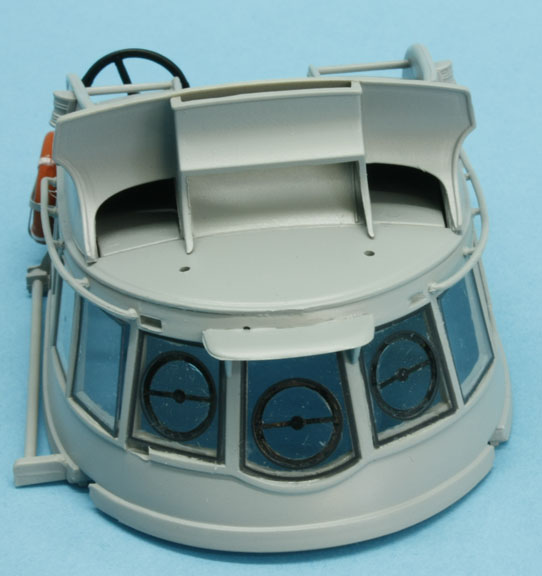
The cabin windows can be added with a tiny dab of PVA glue around the frames and the brass circular window wipers can be stuck on with the same glue used very sparingly. The small doors on the cabin can be left open so the helmsmans well can be seen. note also the instructions about adding the crew member if you have purchased the crew set
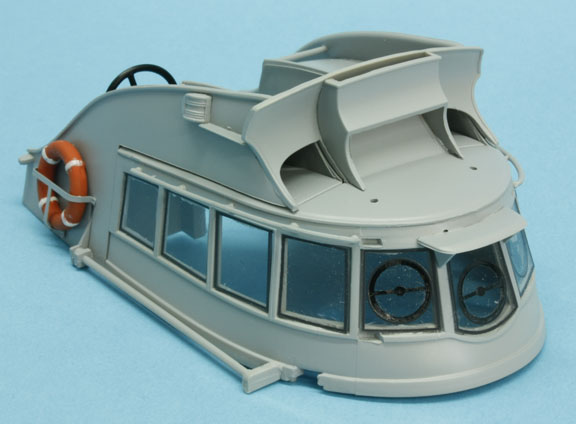
Find the small plastic Jig / Template and form the life belt brackets with it and mount up along with the outer cabin structures.
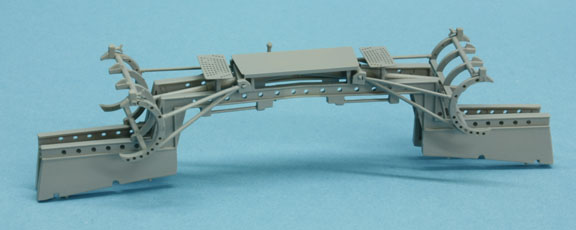
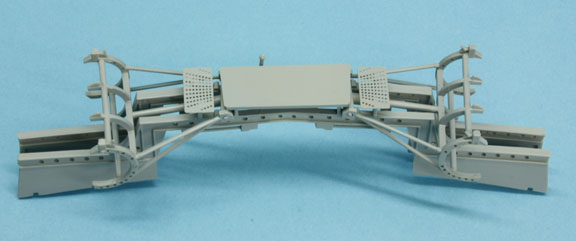
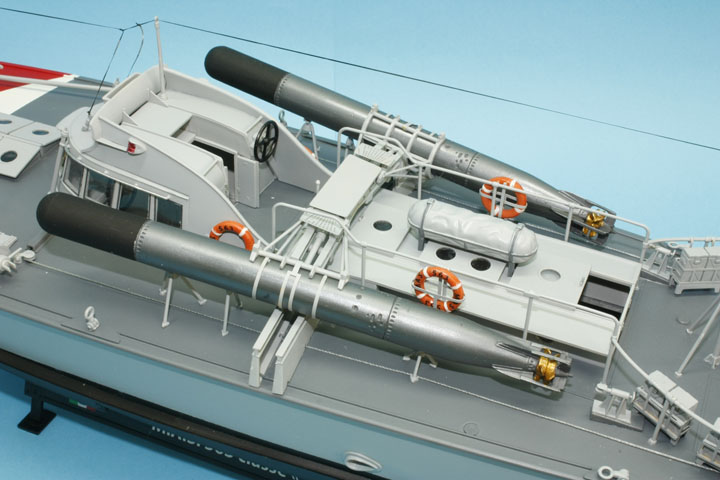
Take care when assembling the torpedo racks as they are handed and when fixing them to the deck make sure you dont trap the rudder cables which should have been threaded through the deck earlier.
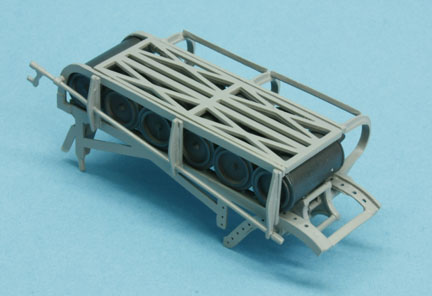
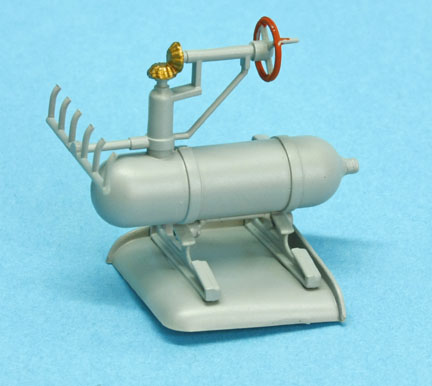
All the other structures such as the Depth charge unit etc can be built up and the details painted ready to mount on the deck which must be screwed down firmly.
The masts and hand rails are quite delicate and will need careful cleaning up to get rid of the gate marks, use a sharp scalpel and sanding stick for this and the results will show when painted. There are alternative front ends to the rails if you care to use them as described in step30.
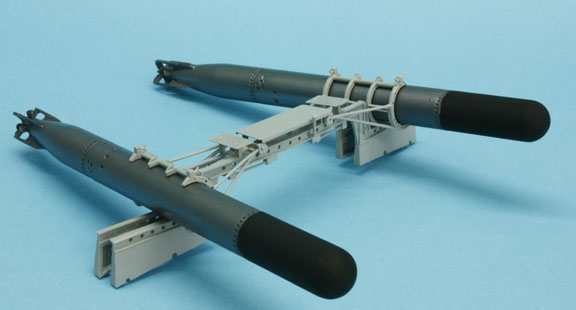
Before you add the torpedoes make up the small supports and leave to harden, there are some etch bands to go around the torpedoes and I bent these around a smaller diameter pen and when released they fitted tight on the torpedo.
The ammo boxes need to be assembled before you start to bend the brass frames, use them to help shape the etched parts but you could make use of a hold & fold tool to make up the bases, bend the hooked ends of the frames over a cocktail stick then when mounted on the rail tighten them up.
I didnt use the rope to make the aerial wires as it is bit thick I used Lycra thread under a little tension looks more realistic.
An interesting model with no build problems and recommended for any age group.
Ted Taylor
October 2011