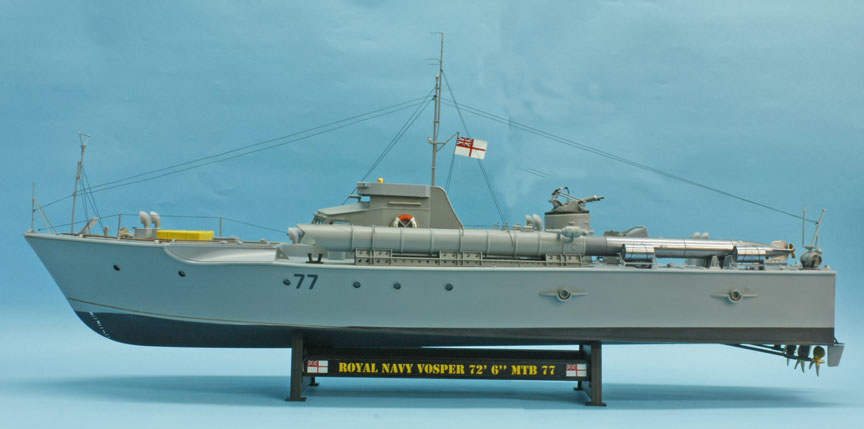
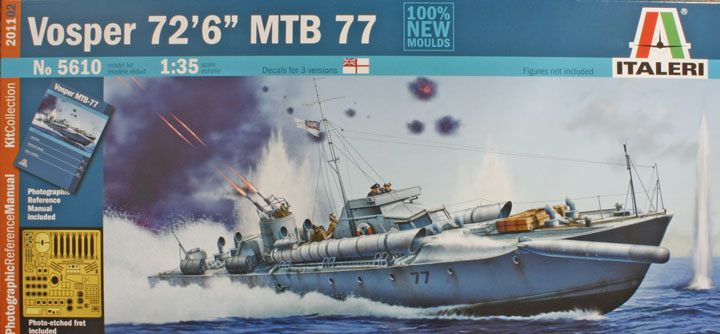
Italeri
Vosper
MTB
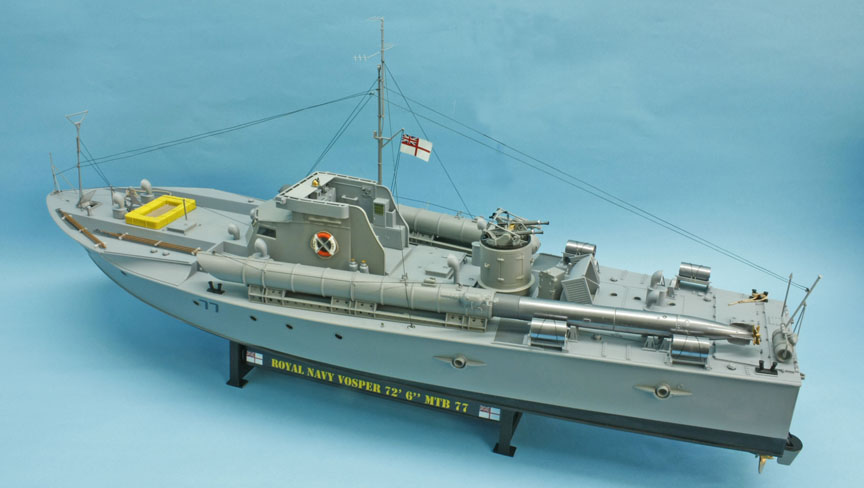
72'6'' MTB 77
Kit No. 5610. 1:35th scale
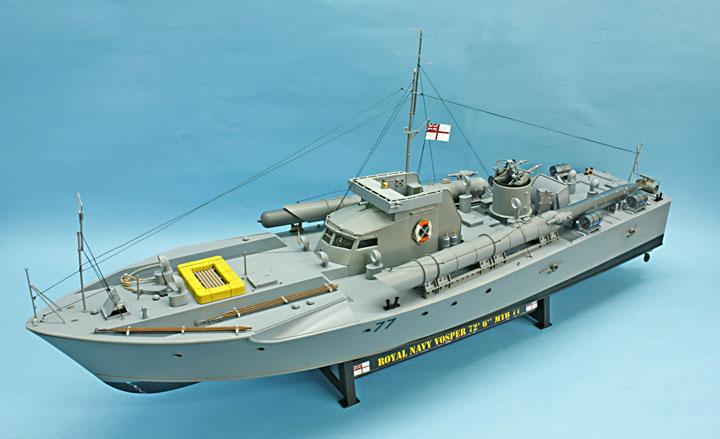
The latest release from Italeri is an all new moulds kit never been done before in this scale and comes with an etched brass set and the now usual small booklet on the real thing. In addition you get a clear sheet of plastic for the windows which are ready cut out and can be glued in with superglue without any damage to the clarity plus screws and twines to finish off with. The box is big as it holds the one piece hull in a nicely packed cardboard tray, all the parts frames are in plastic bags for their protection so no loss of parts here, the mouldings are in a light grey plastic and are very sharp with nice details on the surfaces and the fit of parts is excellent.
While this is fairly well detailed there is plenty of room for super detailing addicts to do their bit as there are a number of extra details to be found in the photos in the booklet. The instruction sheet is comprehensive and gives quite a bit of colour information for parts that are not in the overall grey scheme.
My construction notes
Step 1 just add the plastic strips and exhaust surrounds but leave part 17pe off till later as it makes the hull unstable during construction, note the measurements given for the painting of the lower hull.
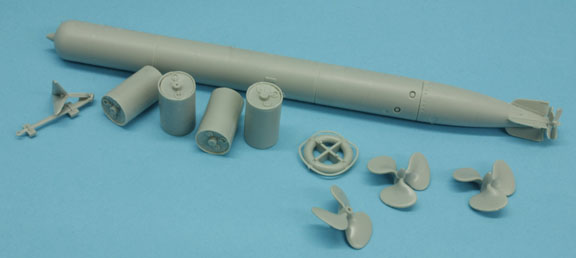
Step 2 parts 12 and 46 need to be drilled out a bit to take the prop shafts comfortably, I left the shafts and props themselves off till much later for two reasons one to paint the bronze colours on the props and because the are pretty fragile and could get broken whilst wielding such a large hull. I also left off the rudders till later to make it easier to mask up for painting the hull.
Step 4 take particular note of which holes to drill out from the underside of the deck but don't screw the deck down till all the painting is done.
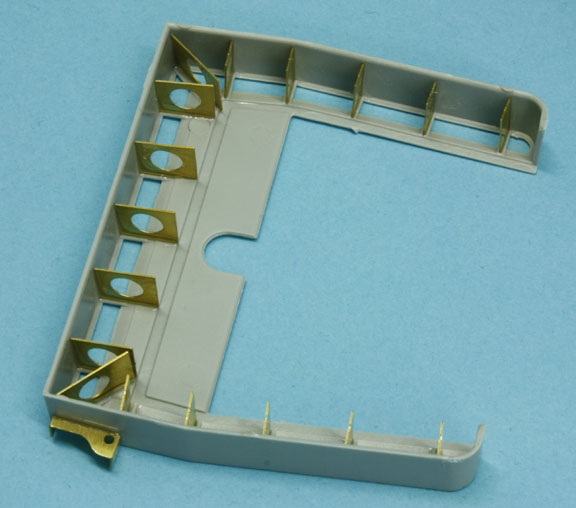
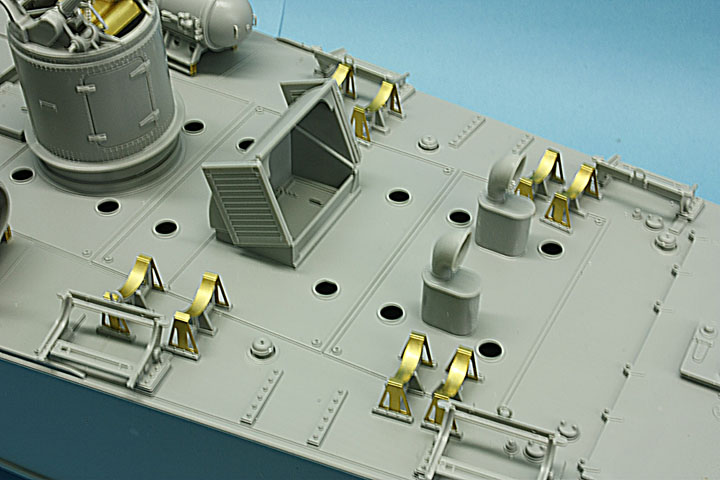
From here on I made up several sections and units and put them to one side for painting including the stand, this gave a chance for the parts to harden off and allows easy painting of some of the tiny details. I spent some considerable time on the etched brass items all of which were easy to make with my hold & fold machine, the trestles for the torpedoes looked tricky but were in fact very simple using a made up torpedo to make the curve to fit parts 44 &45d.
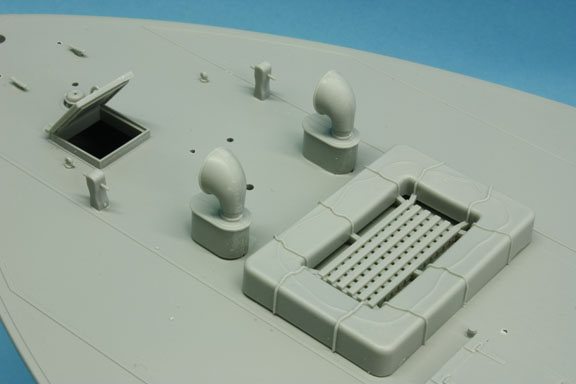
These and things like the vent tubes were glued onto the deck along with the depth charge racks before painting the deck.
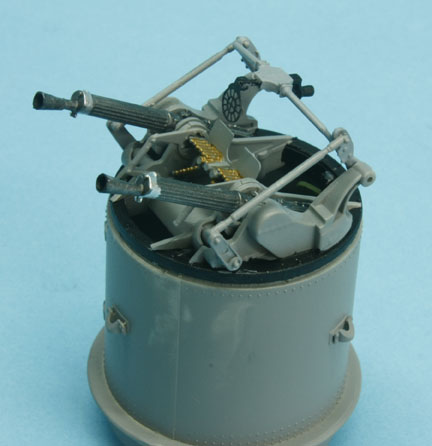
Make up the two machineguns and bend the etch brass plate 18pe as directed, add the ammo belt with a drop of CA glue then mount all on the ring part 25e making sure no cement gets onto the mounts parts 23/41 and 24/42 either side of the guns which are designed to be poseable. All the linkages are meant to be heat swaged but I did cement them once the position of the guns was established.
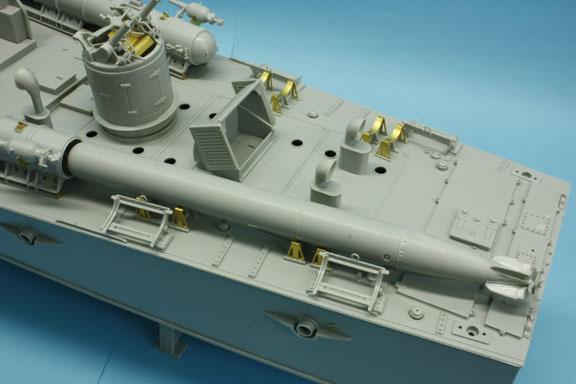
The torpedo tubes were assembled but I left the hand rail posts off until all the brass was added and had been painted, when adding the parts 15/16pe the location is not too clear but you will find it fits against the ring around the body of part 12/13e.
All the windows are pre cut and only need lifting off the self adhesive backing sheet, there are two sizes in the round windows so pay attention. For the first time I tried superglue on the spare backing and it had no effect on the glazing so I ran a tiny bead around each surround and dropped the window in, to my surprise no ill effects and all were held fast.

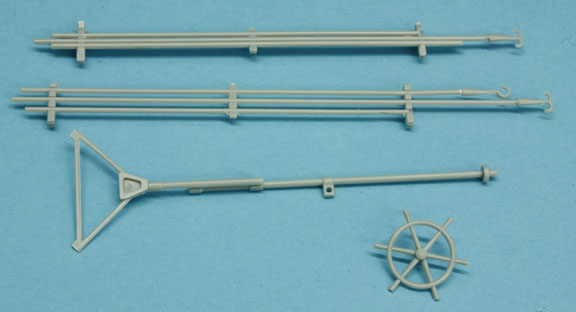
I found the etched brass aerials tricky to fix to the mast as there is very little in the way of locations so when each was in position and hardened off I reinforced the joint with some extra super glue. The rigging twine supplied with this kit is much finer than in previous kits and doesn't look too bad when set up.
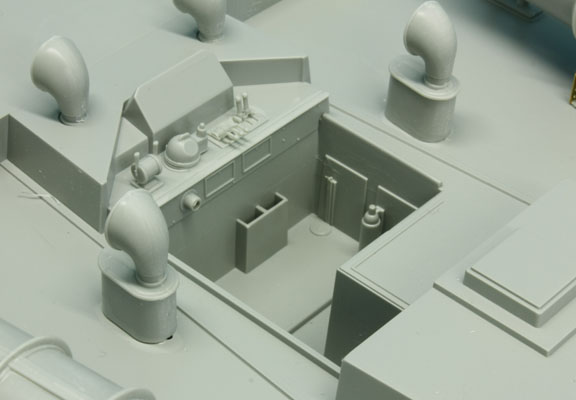
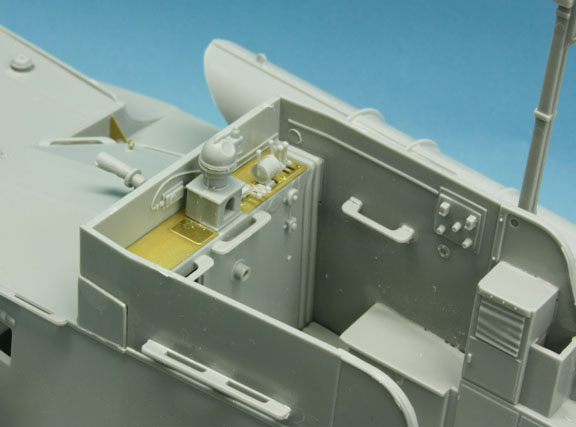
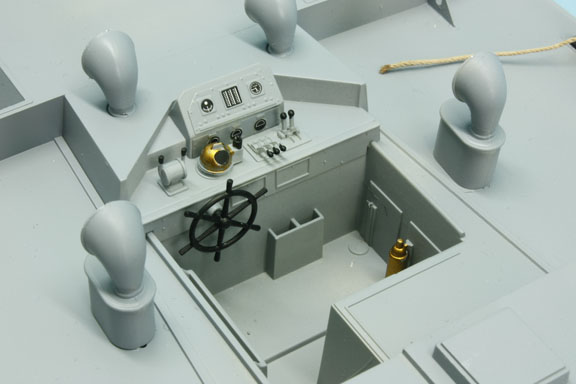
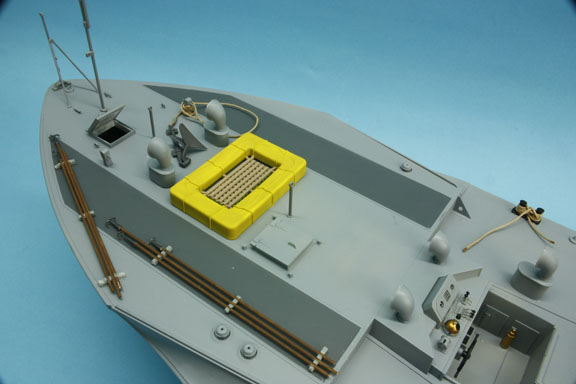
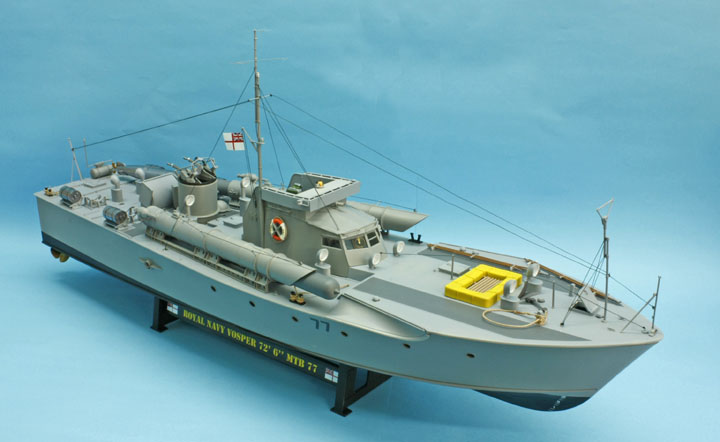
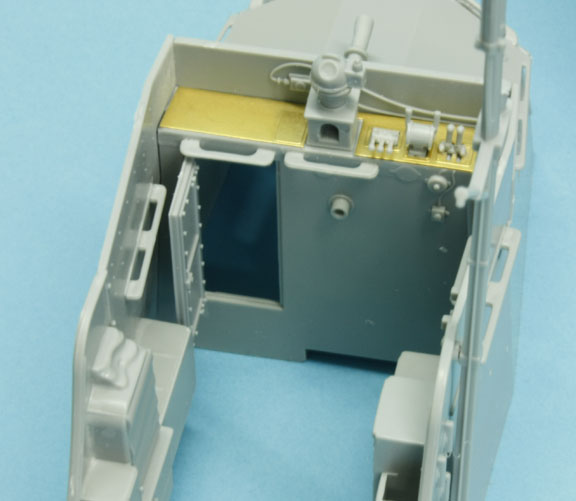
Painting... the overall colour is light grey but there are some bright spots to make a little difference, for instance the well is shown as grey all over but the booklet has a photo of a white painted well with a nice wood dashboard, an opportunity to do something a little different.
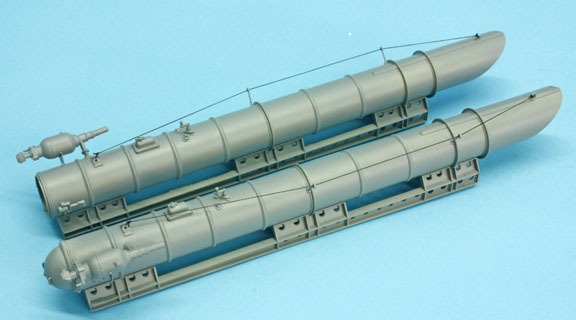
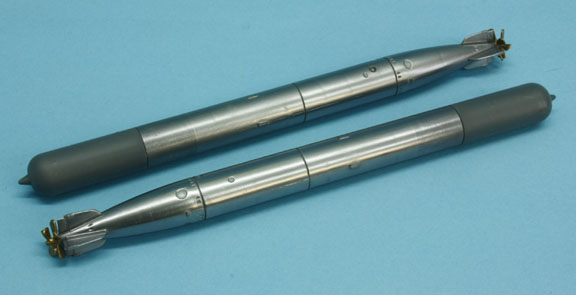
I have painted the life raft yellow with wood slats. The torpedoes want to be steel but I used Humbrol's polished steel, sprayed on, and left for 30 minutes then given a light rub over with a soft rag and that, I thought, looked effective.
All in All a worth while model can be made straight from the box to go along with Italeri's other 1/35th boats
Ted Taylor
March 2012

|
Last Page |
Airbase |
What's New |
Home |
Reviews |
Next Page |