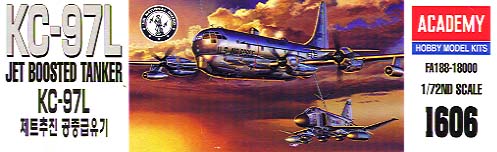
Academy
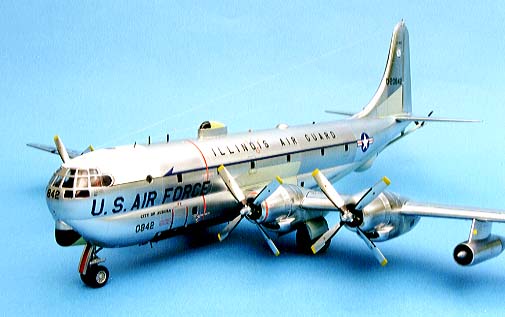
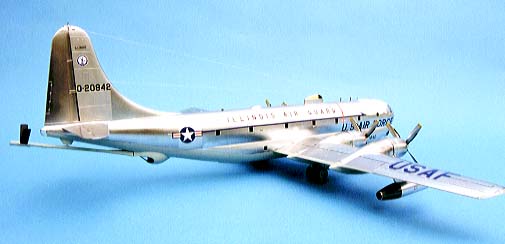
Boeing KC-97L Stratotanker
Kit No. 1606. 1/72nd scale
 |
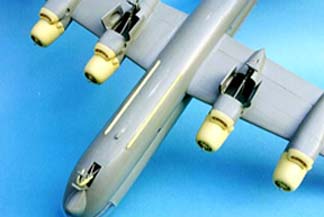
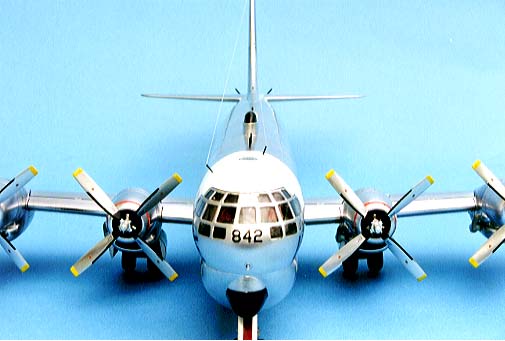
This model has been built much the same as the B-377 kit but with the addition of the COBRA resin update parts. These feature new engine cowlings with detailed engine fronts and exhausts plus late type wheels and nose steering gear, also included are the light bars which guide the receivers into station to refuel.
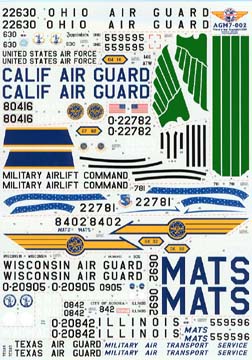
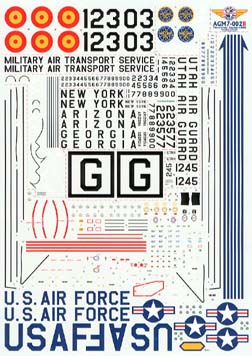
By the time this kit came in for review I had the AIRWAY GRAPHICS decal sheet for these kits, Sheet No AGM7-002, which covers “C/ HC/KC-97 Strats” there are two large colourful sheets and a small supplementary sheet in the package and as much information as you can possibly use including various alterations to the kit and colour notes etc. etc.
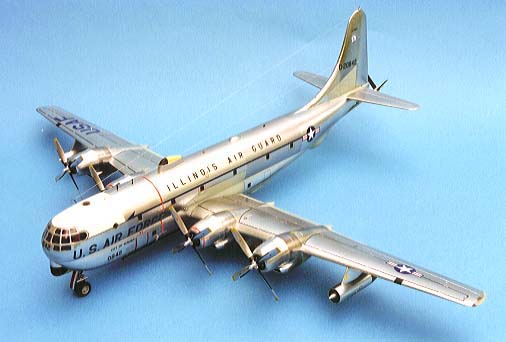
There are one or two alterations to the kit to take care of before assembly starts, the first is to move the cockpit side window back by one width and fill the resulting hole the next is to drill out the holes in the wings for the jet engine pylons, I found, with both kits, difficulty lining up the flaps with the wing surfaces if assembled first as in the plans so this time I fitted each individual part to the wing halves checking the levels then fixed them together and now they fit OK.
I added a few small tabs inside the opening for the boomers station to give a good location for the clear part, which fitted perfectly, and I left the boom off until the last moment after painting and decalling.
Each wing was made up as a separate Item with the nacelles located and cleaned up then the pour blocks were cut off the resin engines and a final sanding cleaned up the surface. The prop mounting shafts (parts M17) won’t fit now so I drilled a hole in each engine to take the shaft and cemented it in place ready to take the props.
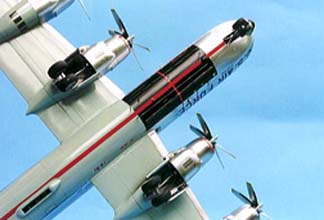
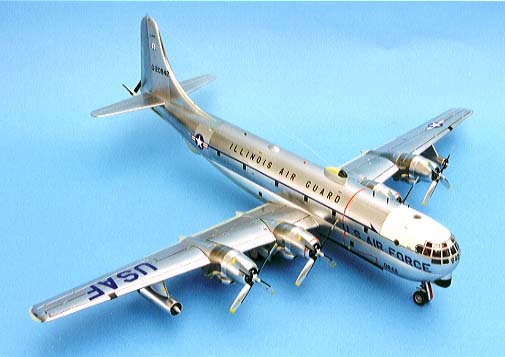
Tiny holes were drilled in the fuselage at the aerial post locations to take fine florists wire replacements as the plastic ones have so little to hold them in position.
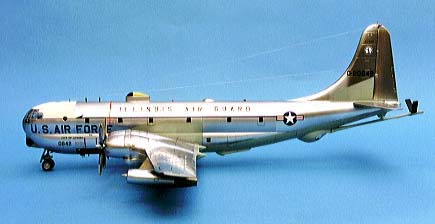
I decided to paint the grey undersides first and to add the primer and Alclad II afterwards, this was a mistake for as soon as the primer touched any excess grey enamel paint it simply ruined it, I sanded down the problem areas and started again until it all looked good. The answer is to prime and silver first then do the enamel painting over the top.
The decals took two days to put on as there are heaps of them and each item was dabbed dry then a tiny drop of Klear (Future) was placed under it to eliminate any silvering and to help to keep the decal on such a shiny surface, when all were in position I brushed a coat over the whole plane to seal it all in using a half inch brush. The aerial post were added and the wires were made from Lycra yarn which is just fastened at one end with superglue and stretched to the other and fastened off.
I hope you like the results.
Last Page
Airbase
What's New
Home
Reviews
Next Page