
Academy
Boeing C-97A Stratofreighter
Kit No. 1604. 1/72nd scale

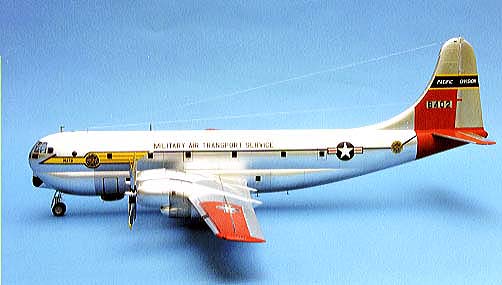


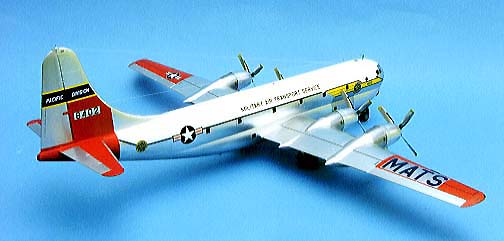
This time I wanted something colourfull and this was my choice all kit parts were used on this model no extras with the exception of the decals which were from the Airway Graphics sheet. There is only one set of data on the sheet so these all came from the kit sheet. The silver insignia surrounds will only fit those supplied with the A.G. sheet so I had to mount the kit insignia on a sheet of silver decal from the "Fantasy Print Shop" range and cut carefully around them.
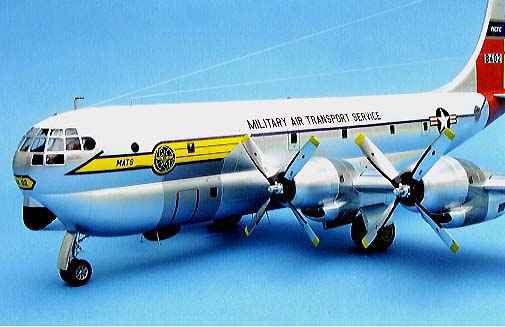
Painting was tricky to say the least, firstly use sellotape (scotch tape) to mask all the windows, put a small piece on each window and burnish down until the frame is clearly outlined then use a new scalpel blade to trim around. (Tip here if you find any adhesive left on the glass after removing the tape use a paper towel moistened with lighter fuel to remove it.)
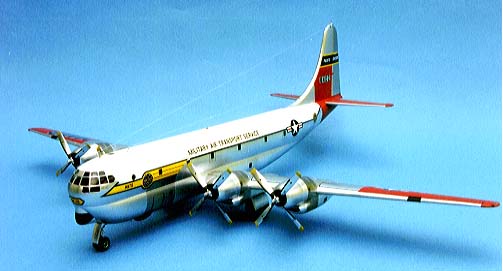
If you intend to use Alclad II then you must put a base coat on using Halfords primer, white preferably, to cope with the white top of the fuselage. Mask the white and red areas to spray the silver and mask off any panels that you want to add a different shade to.
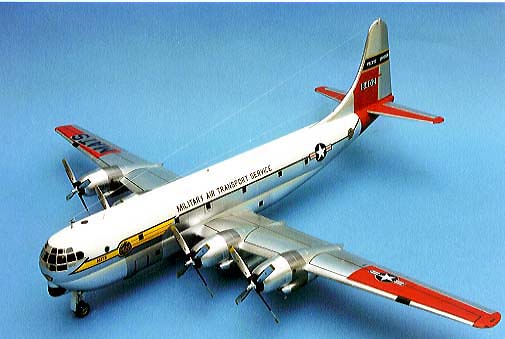
Next step was to mask the silver and expose the red areas ( FS 11136) insignia red. When this is dry mask again and expose the white area, spray just a thin white gloss over the base coat to give it that glossy look.
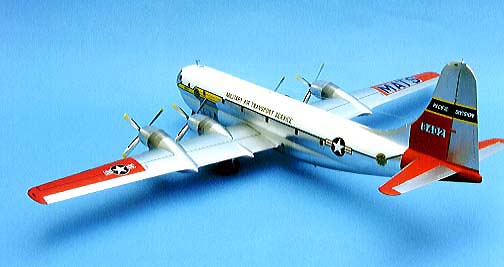
The propellors are very delicate so I sprayed the alclad II straight on without a base coat , but I used very light dusted coats and it was fine.
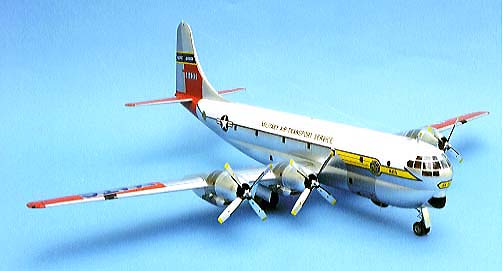
After all the masking was removed and any touching in made good the decals were applied and sealed in with Klear (future).
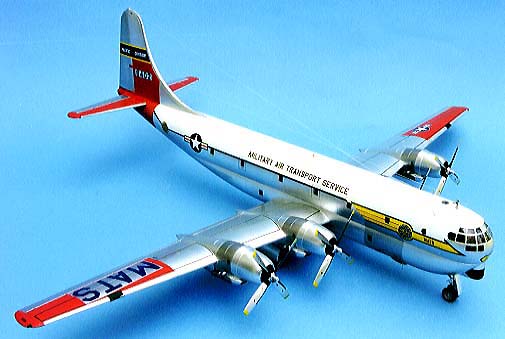
I chose the bottom example on the sheet as it had the most outstanding scheme
| Last Page |
Airbase |
What's New |
Home |
Reviews |
Next Page |