Academy
CH-53E
Kit No. 12209. 1:48th scale
U.S. Marines version of the Super Stallion
Academy
CH-53E
Kit No. 12209. 1:48th scale
U.S. Marines version of the Super Stallion
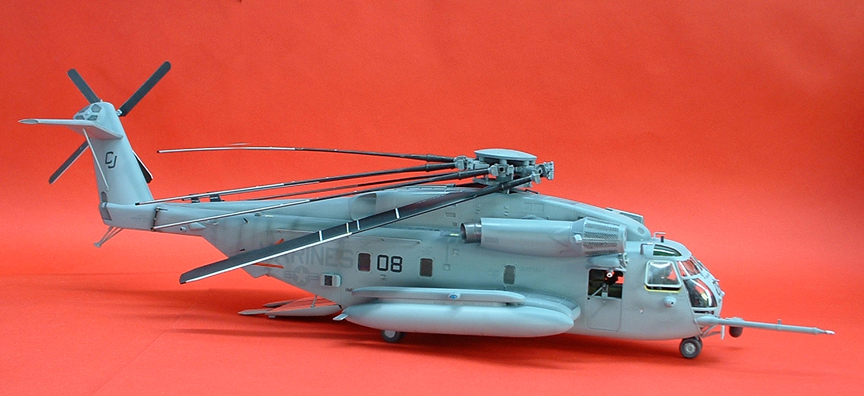
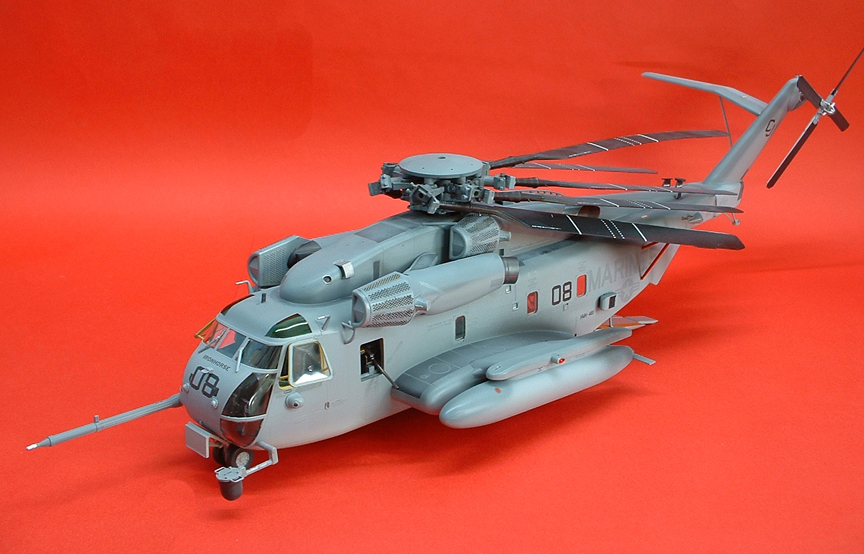
It is not very often that I build large helicopters because of the space needed for the rotors but this one caught my eye with a folded rotor option. The kit is cleanly moulded with sharp details and it has lots of parts to keep an enthusiast happy, on the whole it is simple to construct but care and attention is needed when it comes to the main rotor especially the folded option.
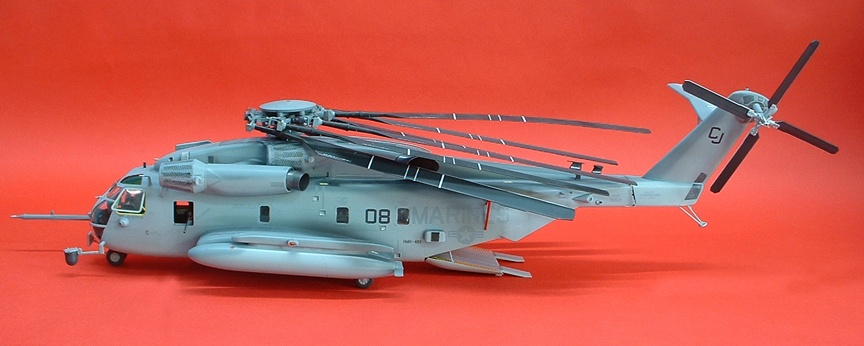
The model is quite big in overall length but you also get the option to fold the tail section but I felt it looked better with the tail extended, this version of the helicopter has three engines which gives it such great lifting power and all three are nicely depicted as are the extra fuel tanks on the sponsons.
My Construction notes
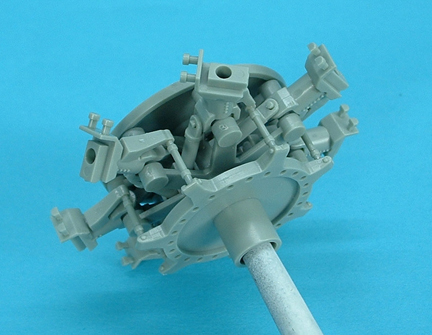
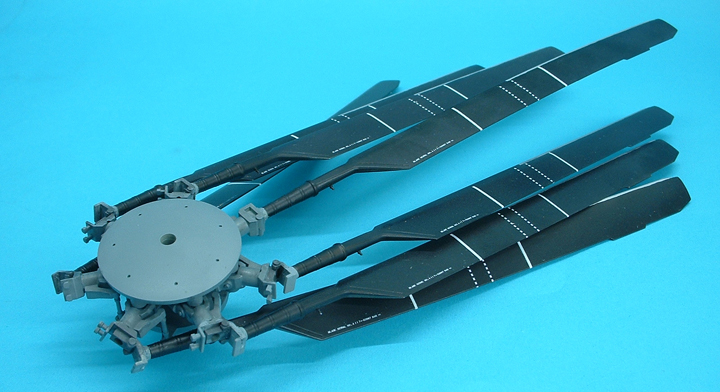
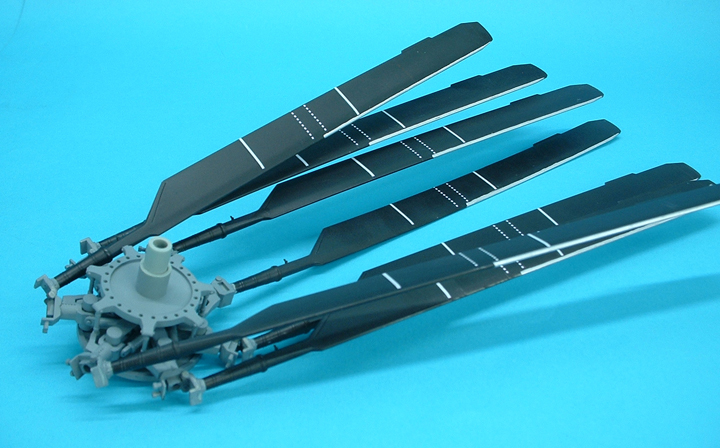
Step 1 is all about the main rotor, you must make up your mind here as you need to trim off a small location tab on parts G-10/15 to suit the version you want, the in flight position is fairly basic but the folded version needs particular care to get them right. The blades themselves were not added until later in assembly to avoid breakages and the hub was not cemented into it's mounting at all as it is easier to transport to shows when loose in the box.
Step 2 the tail rotor can be made up but I left mine as a push on item again for ease of transportation. I left the shaft C72 out at this stage but used it in Step 12 cementing it to part C65 thus leaving the blades to just pop on.
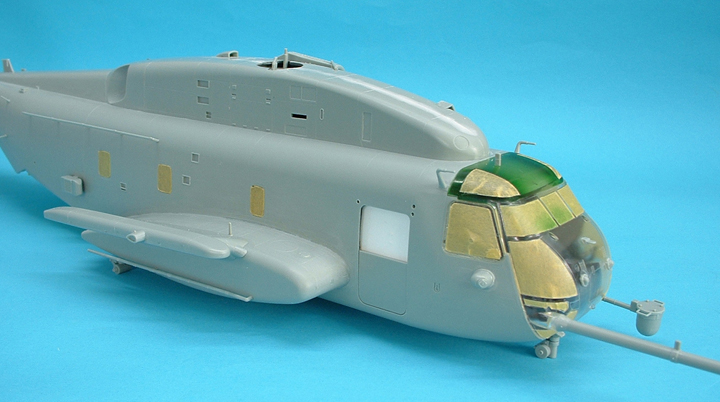
Step 3 Now that you have made your choice of blade position the next step is to drill out a number of tiny holes in the main fuselage halves, you will need three drill bits for this a 1.1, 1.3, and a 1.6mm plus a pointed blade to cut a couple of slots that are indicated on both versions. One thing I liked about this instruction sheet is that painting instructions are clearly shown all the way through assembly and when you refer to the paint list you find the the full FS numbers are provided. There are a number of decals to go on the interior so remember to place those before you close up the fuselage halves.
Step 4 If you wish to fit the seats to the interior walls then you need to open a few slots, I drilled a hole then used a mouse tail file to get the size required for the tabs to fit in.
Step 5 Don't forget to lightly glue the clear glass parts E-4/12 between the walls, but you have a choice of open or shut side door which you will find on page 10 of the sheet.
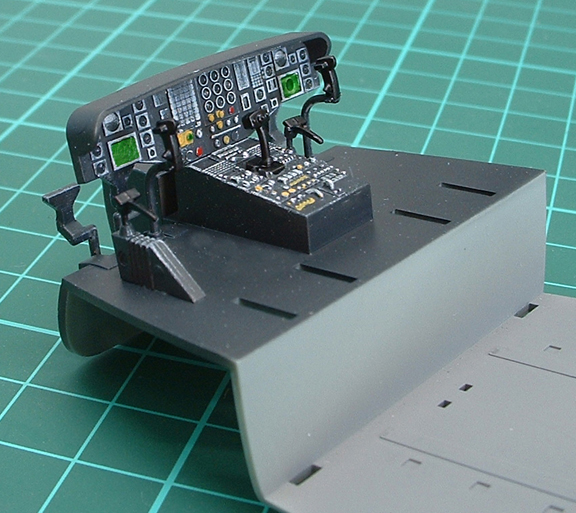
Step 6 deals with the cockpit and is self explanatory, the seats have side armour but no seat belts so you can choose your favourite method to make some.
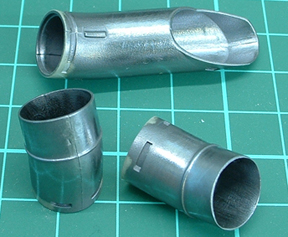
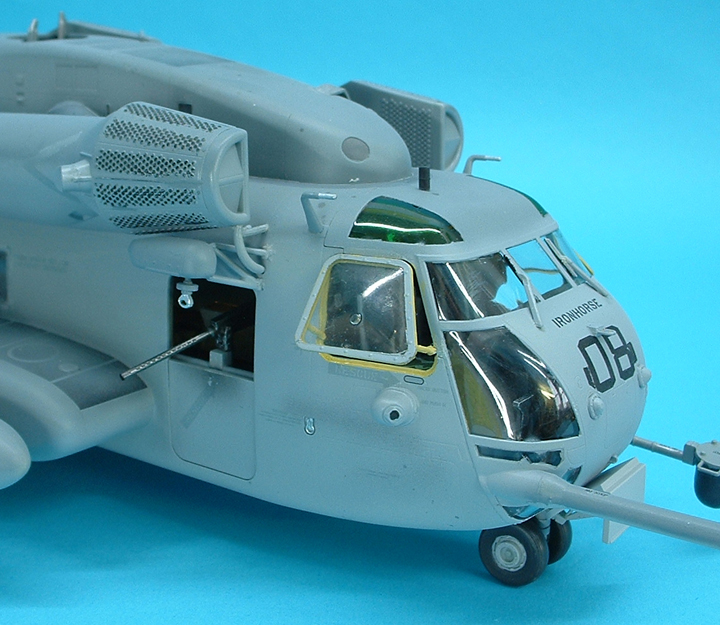
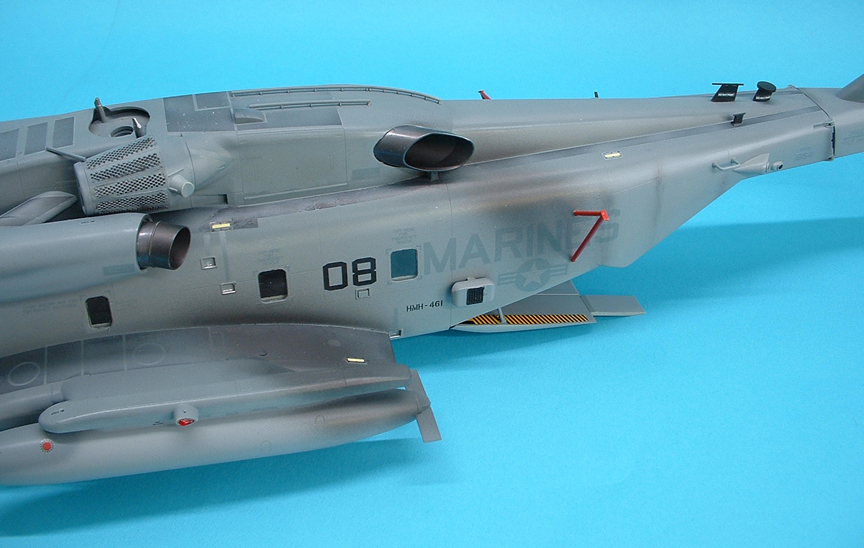
Step 7 The engine exhausts I made up all three pipes and sprayed them with Humbrol Metalics "polished steel," after 20 minutes they were rubbed over with a soft rag to reveal that steely look, later the interiors of them were given a coat of matt black and a light dusting on the rims of the exteriors to give a used look
Step 8 Closes the whole lot up but ensure that all is level and squared up before putting a few elastic bands around the fuselage to keep everything nice and tight then give one more visual check and leave overnight to harden.
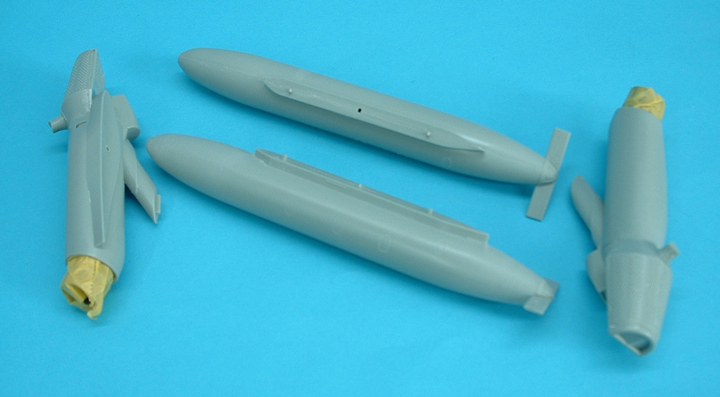
Step 9 Should you want the rear cargo door open do not fit it until after the undercarriage is fitted as you may have a wrong angle on the door which may not touch the ground. The sponsons and fuel tanks are just basic structures but remember to drill out the 1.1mm hole.
After painting the grey camo colour I gave the intake filters a wash of thin black Hu85 so that the detail stood out more
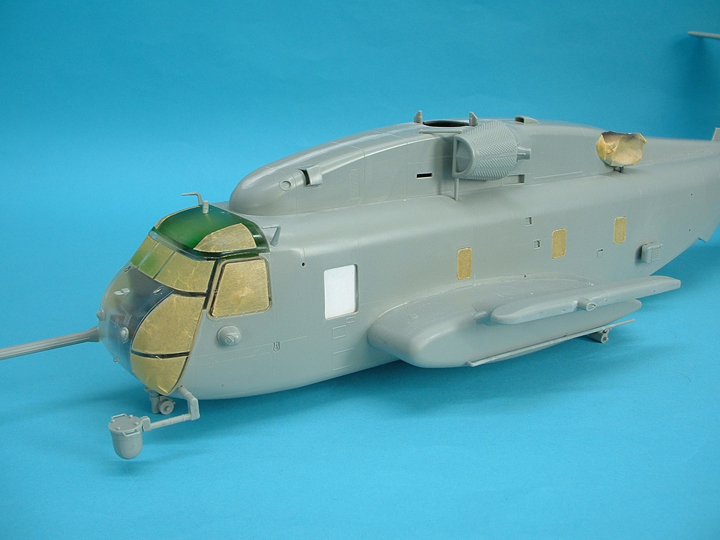
Step 10 When fitting the main canopy I used a combination of glues styrene cement for the painted areas and Testors clear parts cement for the clear areas and the open windows.
Step 11 Make up Items L & K but again do not mount them until you have wheels on so they can be supported at the right angle, the blade aerials, pitots and hand rails can be cemented at this stage.
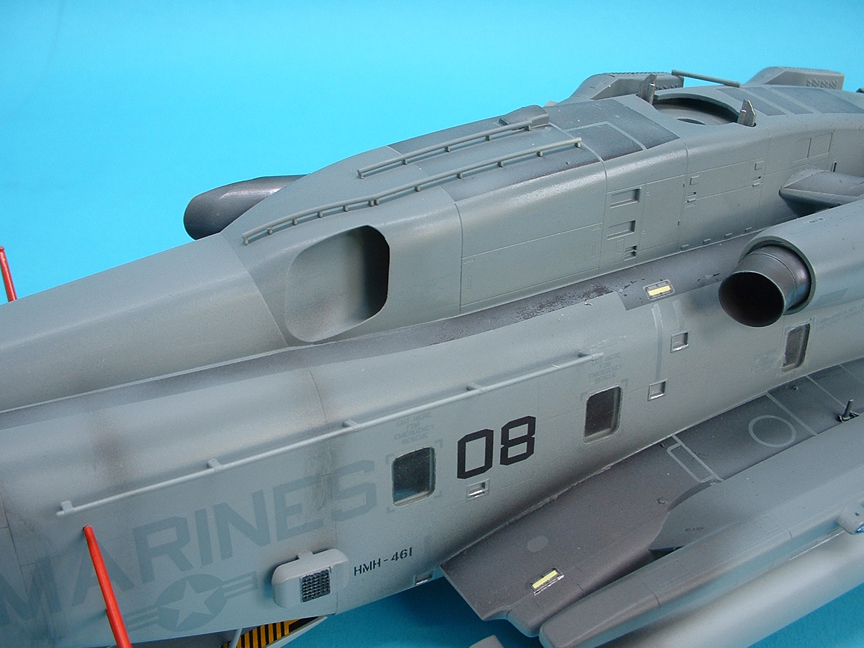
I wanted a used look here so some thinned mat black was dusted on where the rotor wash blows the smoke down
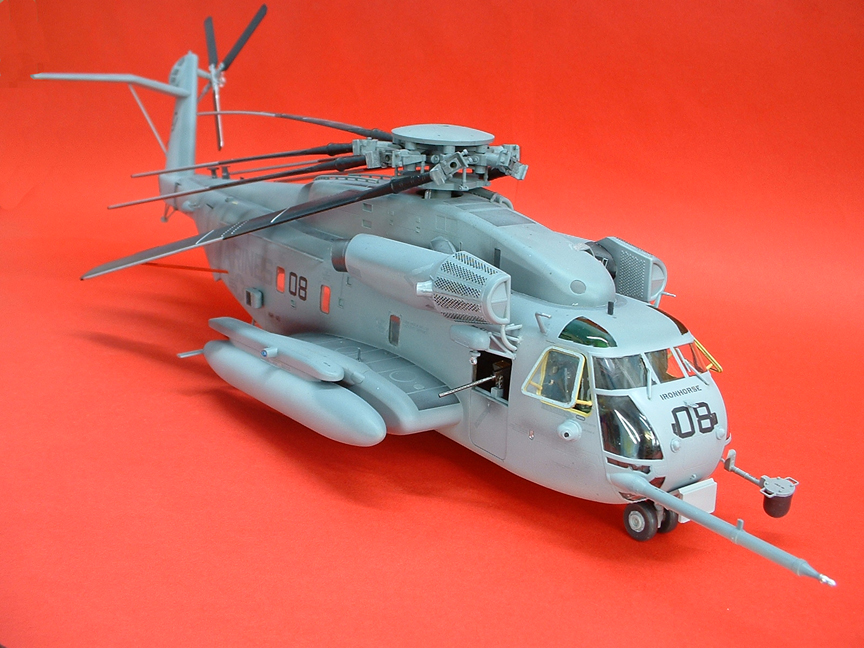
It is important to add the rotor supports parts A-17/18 or the strain on the blades may break them.
An excellent model that always draws attention at the model shows.
Ted Taylor
Sept 2006
|
Last Page |
Airbase |
What's New |
Home |
Reviews |
Next Page |