Monogram
YA-10B
Maintrack Two seat
conversion set
Set No. 48/3. 1:48th scale
Monogram
YA-10B
Maintrack Two seat
conversion set
Set No. 48/3. 1:48th scale
Here is an aircraft I have fancied for sometime now. I have liked the A-10 ‘Wart Hog’ ever since it arrived on our shores and I have made one of each manufacturers’ kits in 1:48 scale, in different colour schemes, but each time it is the same type with mods, etc. Having built Monogram’s A-10 some time ago, I was so pleased with it immediately bought another with the aim of using the Maintrack Two-Seat conversion set No.48/3.
What you get in the set is a new cockpit floor, seat and instrument panel with coaming.The main moulding for transforming the fuselage is quite impressive and so is the crystal clear vacform one-piece canopy. Bringing up the rear are two extension pieces for the fins, plus a small instruction sheet which, although very basic, is adequate as the conversion is so easy to make.
Diagrams tell you where to cut the fuselage halves along easily identified panel lines, and I cut these with a strong sharp blade against a steel rule. If you take care here, the new hump just drops in and fits perfectly and all you have to do is level off the kit cockpit sills.
CONSTRUCTION
I turned my attention to the fins next. The extensions provided are poorly made and involved taking off the top of the rudder details so I discarded these. Use a razor saw to cut off the tops of the fins along the rudder line and cement on some 80 thou card. This will need to be a bit larger than shown in the full-scale drawing provided. This will, however, allow you to sand an aerofoil shape to match the existing fin without losing the rudder hinge detail.
The kit cockpit has the seat base moulded-in so cut it out as this aircraft is fitted with the Aces II seats, and then rebuild the sides and floor with 20 thou card. Next, cut off the sill behind the seat, level with the rear wall. This is to accommodate the rear cockpit coaming and instrument panel. Fit the front cockpit in its original position and before you fix the hump on, test-fit the rear cockpit
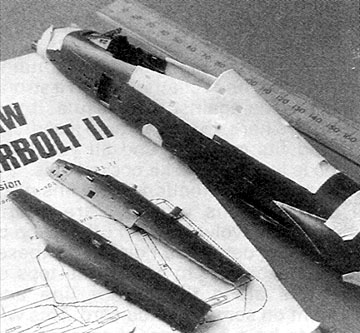
Patterns are provided for the bulkheads but these will need a little adjusting to suit. To get the correct height I built a small frame from two extra bulkheads and a top plate, which just dropped into the fuselage, and I trimmed the bottom edges of the bulkheads until the cockpit was at the correct height and attitude (fig. 1).
Fit the hump and clean up the join before fitting the wings or engine pods, this should be quite minimal as it is a good fit. I recommend epoxy resin to attach the resin parts, and should you break any bits the epoxy will mend it invisibly.
The canopy is quite clear and as a lot of the cockpit interior is visible you should at least add some framing around the “bridge” area. I only had time to fit some side rails from 3mm wide strip and this helps locate the canopy on the fuselage side walls. If you want to display the canopies open you can easily cut along the frame lines with a sharp pointed pair of scissors. Interior framing would then be an essential part of construction. However, be warned, as super glue has a tendency to ‘bloom’ so use an epoxy resin such as Devcon or Humbrol Superfast to fix all frame work.
One fault on the Monogram A-10 is that the wings will not go right home into the fuselage. A certain amount of trimming under the large wing fillet will get the top surfaces to fit, but you will still have a small gap below. To over come this, in both cases, I have laid a strip of 10 thou card 3mm wide along the join which seemed the easiest solution.
Since first introduced there have been some advances in the radar warning systems fitted, early aircraft had those angular boxes under the nose and tail but aircraft after 78-582 are fitted with the AN/ALR-69 system. These can be identified by the four small “pimples”, two on the nose and two on the tail, one either side of the fuselage. Monogram supply both sets on the model so remove one or the other according to your aircraft’s serial number. In this case the two-seater has been seen with both systems, at various times, so take your choice.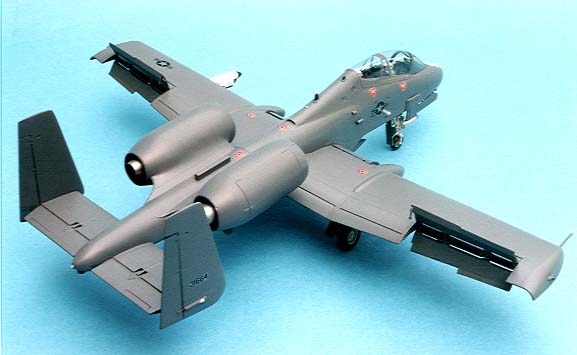
Monogram supplies a clear plastic prop for the model, but some shotgun pellets can be poured into the nose area via the front wheel bay. Then pour a small amount of epoxy in to fix the pellets and you won’t need the prop.
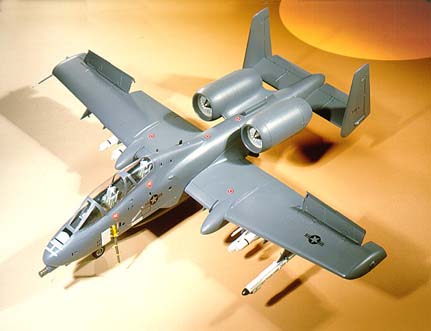
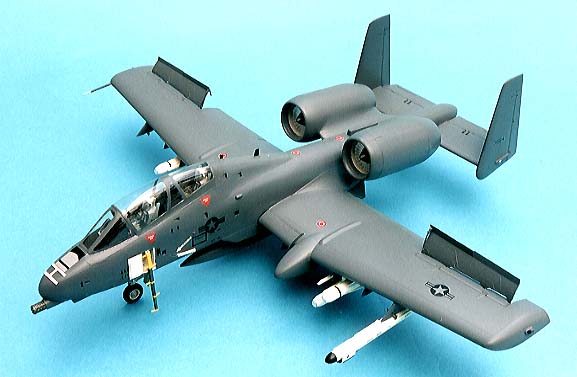
Overall finish for this aircraft is Dark Grey FS 36118, Humbrol USN 1, and the markings, which are pretty standard, can be found on a number of propriety decal sheets. Only one two-seater was built and it was then used as a demonstrator so don’t load up all the stores you can lay your hands on, as it will start to look terribly wrong! Just add a couple of items and leave the remaining pylons empty.
 SUMMARY
A very nice models emerged from what, at first, I thought was a daunting task, but once I had made those initial cuts it was all plain sailing. I can recommend the conversion set to all, even those quite new to serious modelling. In fact, I would say it was a good subject for your first try at those modified classes in competitions.
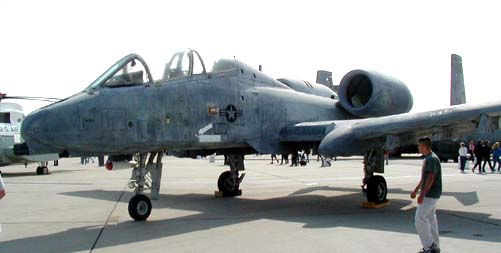
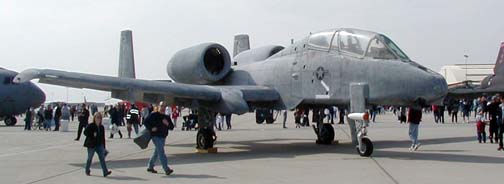
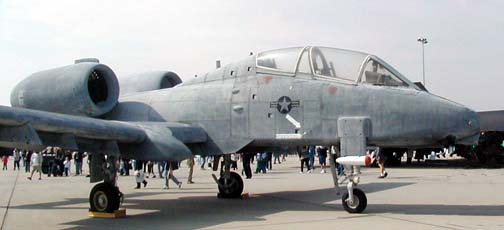
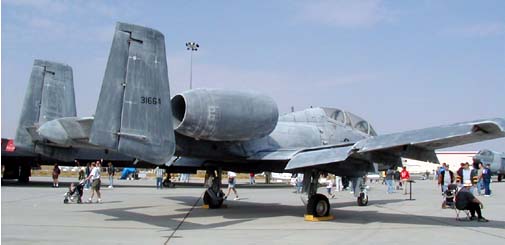
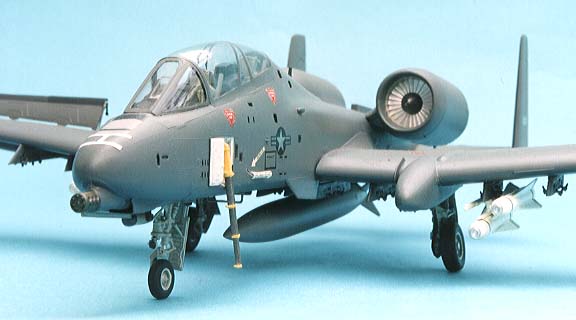
Here is how it looks today October 2002
(photos by Bob Guere, of TwoBobs decals)