Tamiya
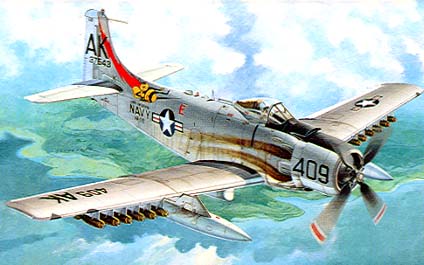
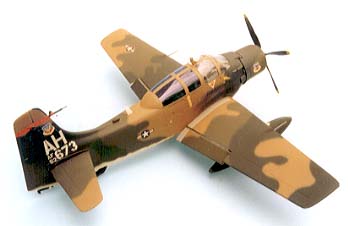
Douglas A-1H
U.S. Navy Skyraider
Kit No. 0000. 1:48th scale
Tamiya
Douglas A-1H
U.S. Navy Skyraider
Kit No. 0000. 1:48th scale
Tamiya's
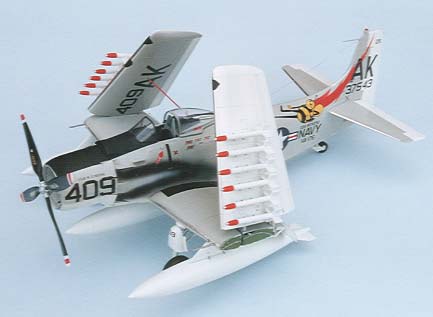
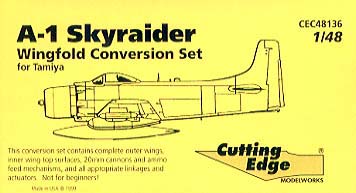
Skyraider/Cutting Edge wing fold conversion
![]()
I was looking forward to the release of this kit as it is a favourite of mine but I just never got the time to start it, then Cutting Edge sent in their folding wing set of resin parts for review so I just had to start. I am not a fan of folded wings as they never show the aeroplane in its natural state but I thought I might like this one.
The Skyraider design was started in 1944 as the Dauntless II and in 1946 the name was changed to Skyraider (it was later also known as Able Dog or Spad) and later that year the designation BT2D was changed to AD which in turn was changed again when in 1962 the AD-6 was revised to A-1H and the AD-7 to A-1J. The AD types ran from AD-1 to AD-7 and most of these had sub types built for specific operations. It saw almost 30 years of service in two wars, Korea where it was one of the very first to launch an attack and in Vietnam where it was used extensively, then in 1956 the Royal Navy used the AD-4W during the Suez crisis.
The kit comes moulded in light grey plastic with finely engraved panel lines, the flaps can be set deployed and the three air brakes can be displayed open or closed and have fully detailed interiors. The cockpit is quite small for such a big plane but the consoles and instrument panel are nicely detailed with raised instruments, which will benefit from careful highlighting. There is a separate tail wheel bay with detailed walls and Tamiya have taken a leaf out of Monogram's book with the main bays side walls moulded in one piece with the gear doors, I like that idea. The engine is fairly basic but you assemble it with a poly cap on the inside so the propeller can be pushed in easily at the end. Two sets of cooling gills are provided both the front and rear in the open or closed positions, a separate exhaust ring with stubs in the correct positions backs up the engine which fills the cowling, all these have good locations so you cant get any of them upside down then you pop the whole assembly on to the nose section.
One thing that newer modellers can easily get wrong is to arrive at the correct dihedral on the wings when they are cemented into the sides of a fuselage so I like Tamiya’s practice of making the lower wing half a one piece moulding including the fuselage centre section as in this kit which is well detailed including the heavy armour plating beneath the cockpit.
The Skyraider is well known for the weapons it can carry on those underwing pylons so Tamiya have provided quite an array for you, there are 5 in. HVAR rockets, 250Lb bombs, 2.75in.FFAR rocket pods and 2.75in. triple rocket tubes. You also get a couple of 2000 pounders and three external fuel tanks all of which are mounted using the poly caps in them so you can change the load on the aircraft as you wish.
The instruction sheets explain fully all the construction sequences and painting details you could possibly want. Three sets of four view drawings give all the camouflage and marking details but the paints listed are Tamiya’s own which are not widely available in this country and they fail to give the correct FS numbers so you can buy an alternative brand, I personally asked Mr Tamiya if he could alter this and he said he would try but no result as yet.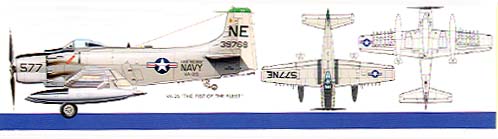
The decal sheet gives three alternative markings, VA-176 “Thunderbolts” which I always thought were the “Stingers”, VA-25 “The fist of the fleet” and VA-52 Knight Riders. The sheet is well printed with no register problems and various pieces are printed separately to allow for moving surfaces even the number nine has slits to accommodate the open cooling gills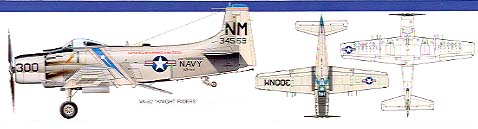
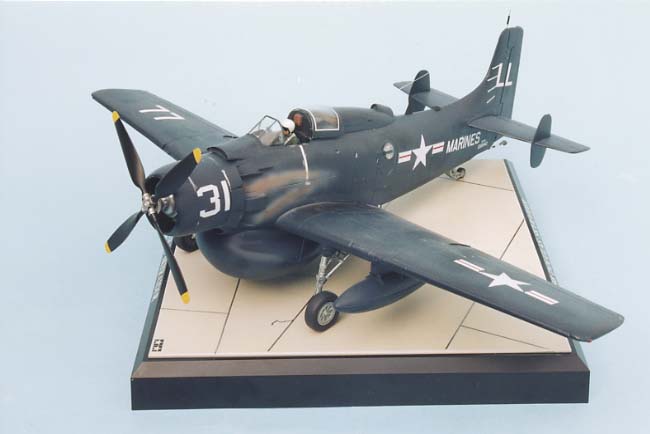
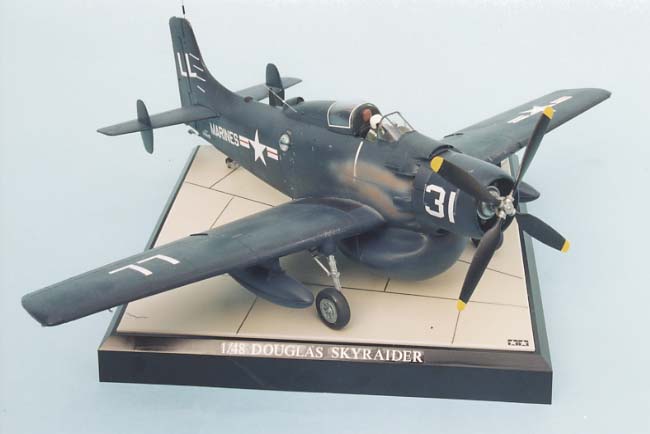
An excellent model in its own right well recommended.
The Cutting Edge wing fold set is specifically for the Tamiya kit and you get the top halves of the inner wings and complete outer wings plus lots of tiny delicate internal items,
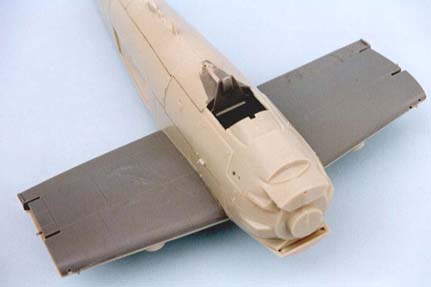
Construction Firstly you need to cut off the outer wing panels from the lower wing moulding but do make sure you cut outside of the line and when you have the new top halves in position you can sand back carefully to level them up. I had a small problem matching up the port wing half but a quick word with Meteor Productions and I got a replacement part. You have a choice to make armed or unarmed version as you get inboard 20mm cannons, feed mechanisms and ejection chutes all separately moulded but that’s not all you also get all the internal structures for the wing right down to the locking pins to hold the wing down. The parts are very delicate and need careful removing from the pouring blocks and the outer wing halves with delicate hinge mechanisms come taped in card to protect them, finally there are a set of dust covers you can enclose the wing joint with if you need to as I did.

After adding the wing unit to the fuselage, install the cannon, shell chute and feed mechanism after painting each item and then mask off the area whilst the main painting is carried out. The instructions warn you to take care of the hinges on the outer wing and I tried, but managed to break one side three times and gave up, my solution was to drill a tiny hole in edges of each wing part where the hinge would be then I inserted a length of floral wire between the two and bent the wing up to it’s appx position. Using some stiff cardboard I cut a template, a triangle with one side at 55 degrees to it’s base, and resting it on the top surface of the inner wing, I finally bent the wing panel to meet this. Cement was not applied until all the decalling was finished, some exhaust stains were added and the missiles were fixed to the pylons. When Skyraider wings are folded, two braces between the wing and fuselage are used to take the strain, I made these from florists wire app. 42mm long, the locations are depicted by small circles on both parts and these I drilled out very slightly to allow the ends of the braces to locate properly. Once all this was in situ I added the covers and the small rod between the two wing parts plus the wiring bundles as shown on the instruction sheet then popped in the propeller.
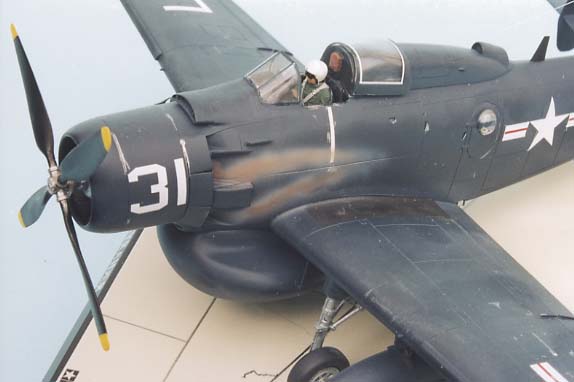
Painting. I like the grey over white schemes used by the navy as it is so easy to paint, I can add all undercarriage legs, gear doors and pylons etc. etc. before spraying the white (Hu No130) including the upper surfaces of the control surfaces. Leave for a day to harden and mask off those control surfaces and spray the grey (Hu No129) freehand. Take care when masking the anti glare panel as any faults will stand out then give it a short blast with matt black. I have used strips of Baremetal foil to show the Corruguard leading edges on wings and tailplanes but I used Humbrol silver (No11) on the fin and nose cowling. The photos of the model were taken just before it was completely finished and it now has a full compliment of guns 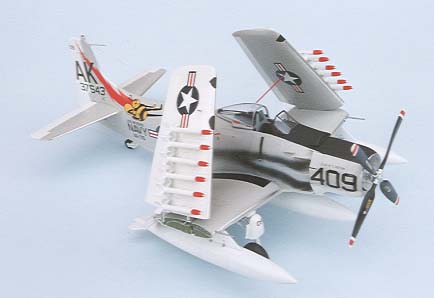
AMT/ERTL AD-4W Skyraider 1:48 scale
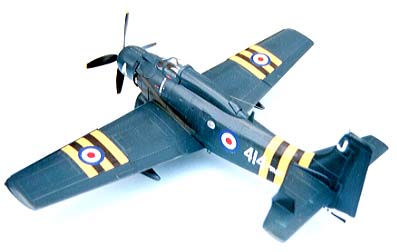
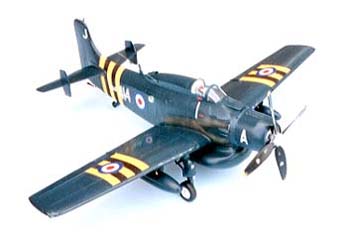
Although not generally available at the present time the old ESCI kit is worth a mention here. While not the most accurate kit it looks like a Skyraider and with new panel lines inscribed and a few mods it can make a companion to Tamiya’s model yet look altogether different. This is the machine sometimes referred to as “Guppy” built for an AEW role it has the large radome slung between the wheels, a long fairing behind the cockpit, small finlets on the tailplanes and doors on the fuselage sides for the extra crew member. The aeroplane is finished in sea blue gloss and the kit supplies markings for the Navy, Marines and our Royal Navy


Matchbox/Revell AD-5/AD-5N This kit was issued in the early eighties and represents the side by side two seater with lengthened fuselage, taller fin and larger canopy It was used mainly by the Navy but the Airforce did use some for counter insurgency work.

not bad for it's age
Ted Taylor April 2003
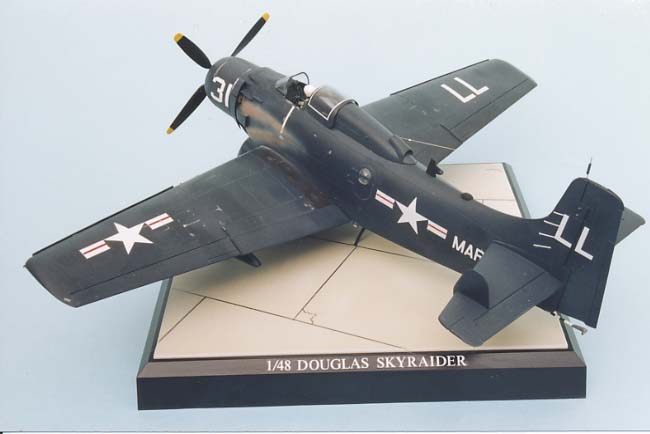
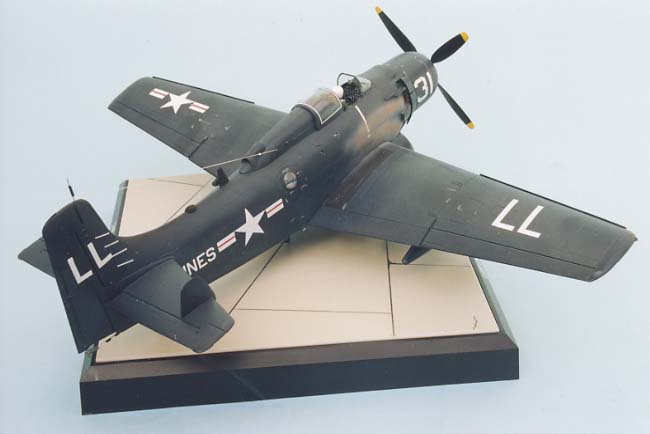
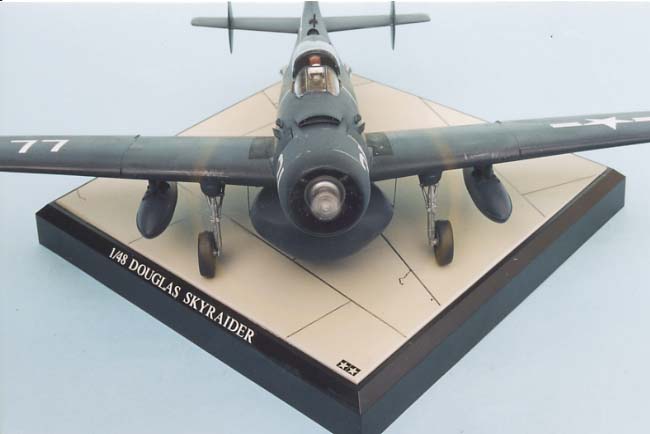
These next photos are of a conversion from The Tamiya Navy skyraider to a Marines AD-4W/AEW.1 Guppy from Cutting Edge Modelworks
Set No CEC48327
This is the motorized version, the only one available at the time
Powered by two AA batteries
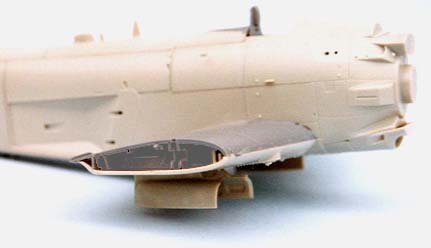
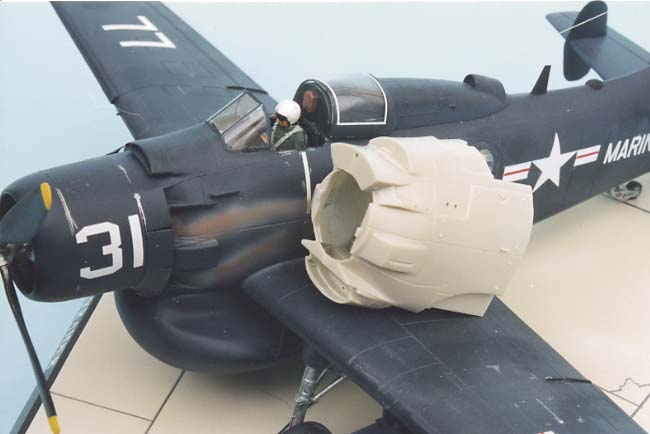
this below is the kit armoured fuselage front section cut away for the guppy fit
A certain amount of alterations were involved to accommodate the motor which is not needed for a straight conversion.
Last Page
Airbase
What's New
Home
Reviews
Next Page