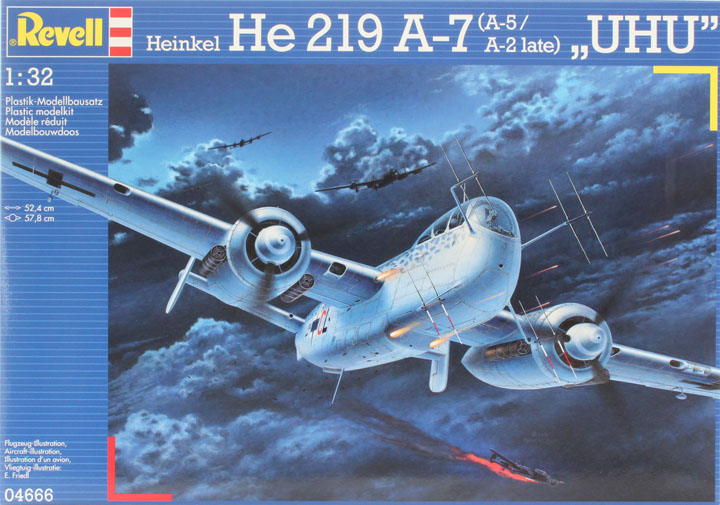
Revell
Heinkel He 219 "UHU"
A-7 (A-5/A-2 late)
Kit No. 04666. 1:32nd scale
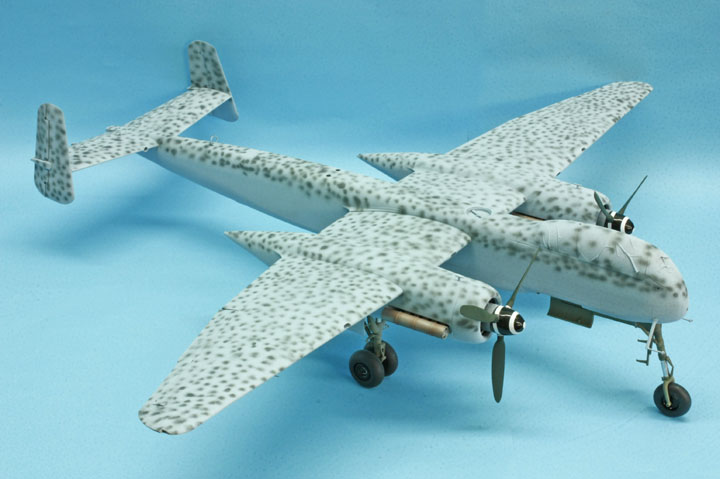
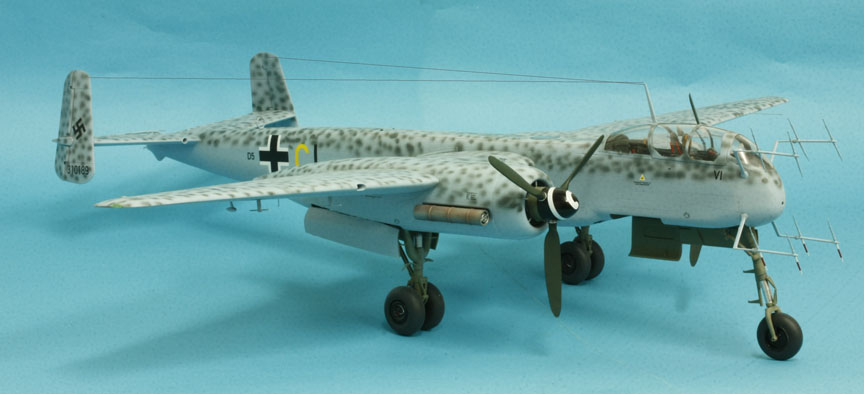
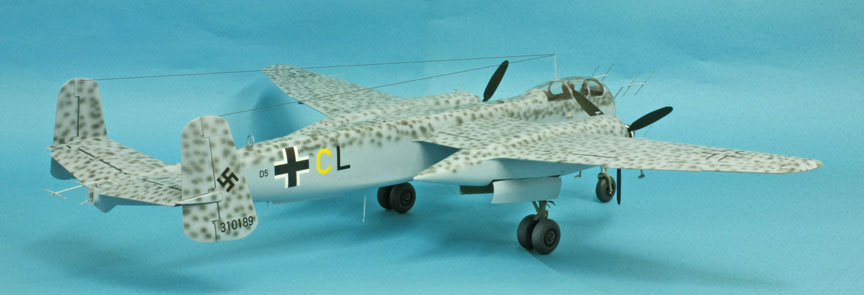
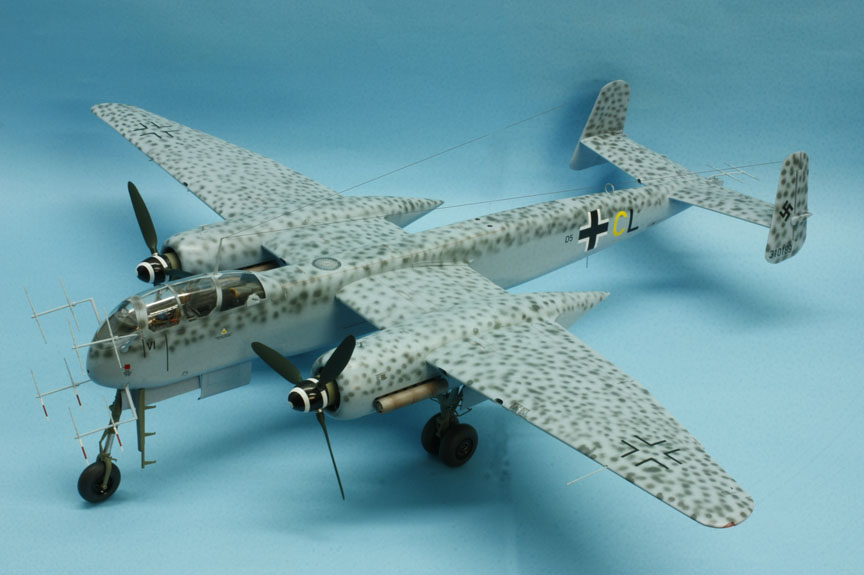
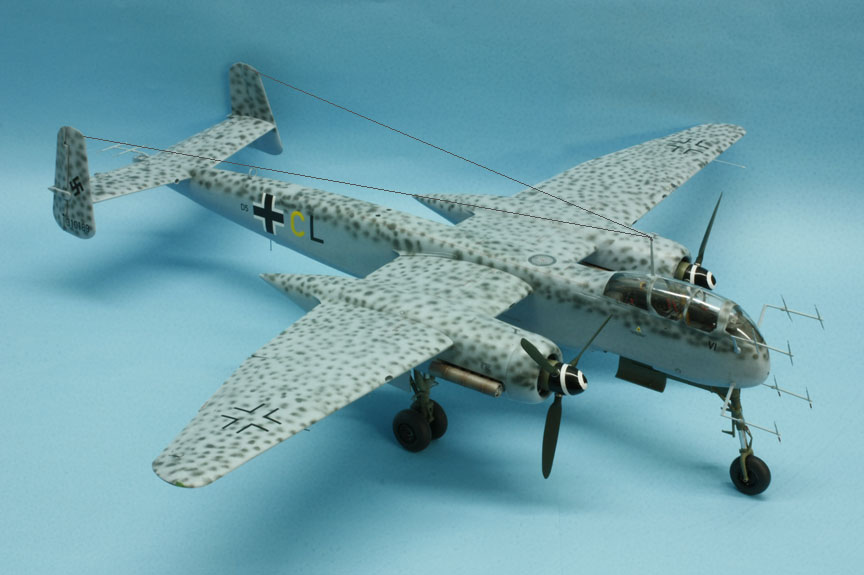
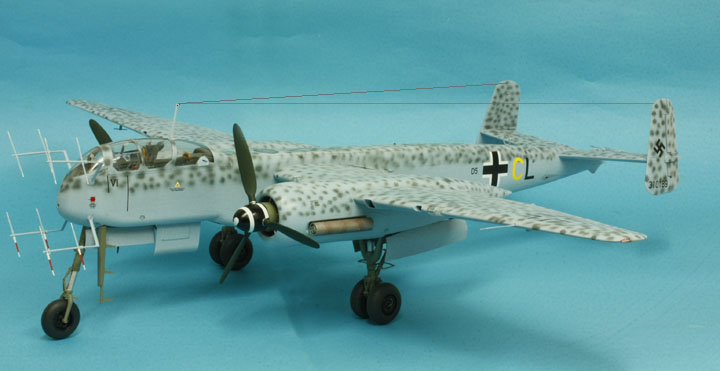
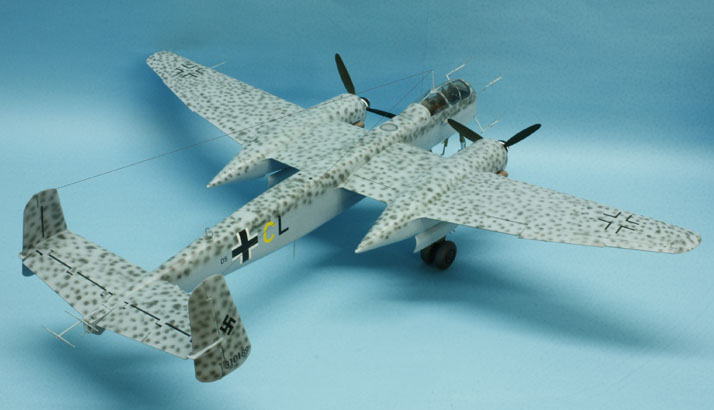
This is one of the nicest looking Luftwaffe night fighters in my opinion and I think you may also like the made up model as much as I do.
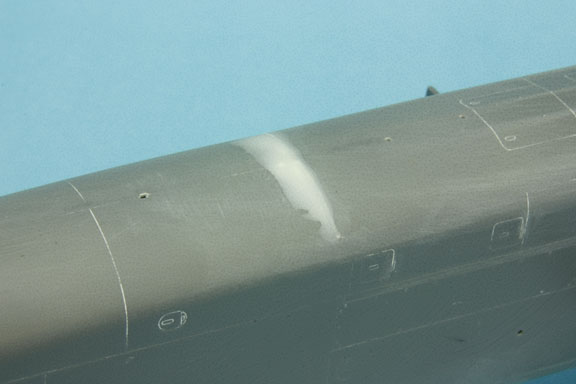
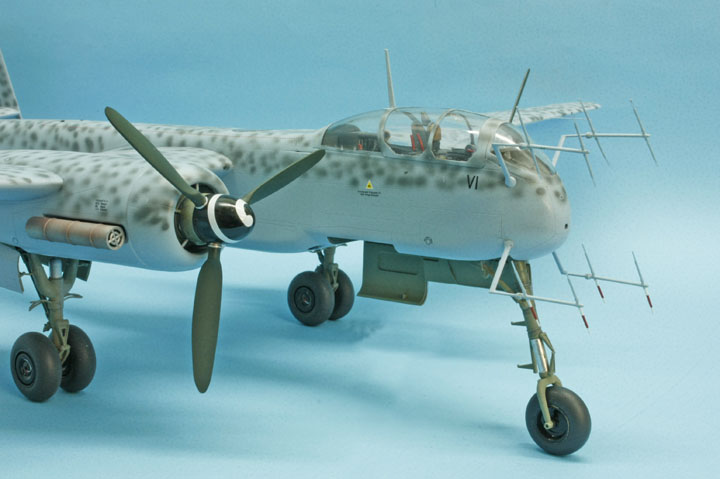
The kit is the latest in the 1/32nd scale range and is of excellent quality with some of the finest surface detailing I have seen in recent times, the fit of the parts is pretty much perfect and I have used a tiny amount of filler in only two places which may have been through hurried construction on my part.
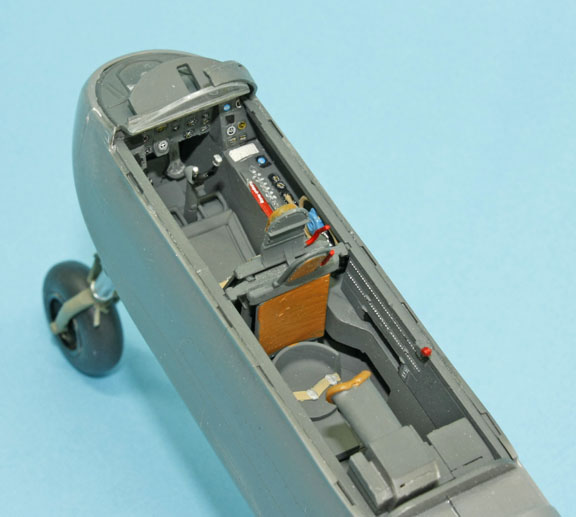
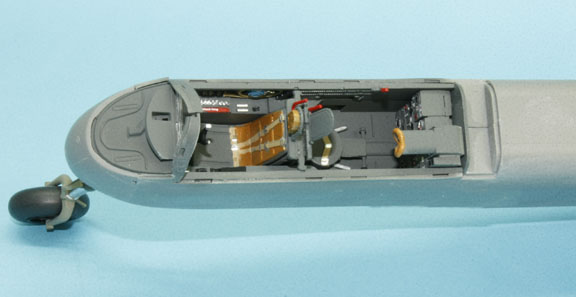
Detailing in the cockpit is bang on, this I know as I actually climbed in the cockpit of the aircraft that Revell used for their research. The instruments on the panels just have the outlines engraved on them and decals are supplied for each of the instruments, a much better effect than other methods I have used.
The clear frame is crystal clear and Revell supply three canopies for the three different versions in the kit. Actually there are four schemes in the instruction sheet on pages 79 to 81, there are several alternatives for the different parts so watch out for these numbers as you go through the steps. There is one problem with any He219 model it is tail heavy, now Tamiya gave us a metal interior which worked fine but here we have to add weights in the front fuselage and both engine nacelles, amounts are shown but I added a little more and it only just worked. There is a second minor problem; it is awfully big so you will need to clear your bench right off.
A couple of minor inaccuracies were pointed out to me by staff at the museum, on part 37 there is a small engraved rectangle towards the rear end, this really should be a window above the back seat where certain maintenance is done. The second is to do with the fins, the bottom edges are tapered when they should be the same thickness all the way down except for the curve from the leading edge.
Construction notes.
In the first few steps there is a lot of painting of small parts and they all need doing before assembly some in particular need decals added and these are much easier before adding the parts.
Step 14
Part 33 which fits in the back fuselage is the mounting location for part 171 in step 76 so make sure the face with the recess is facing the rear
Step 15
Take care with the front cockpit over rib as it can easily be broken off
Step 16
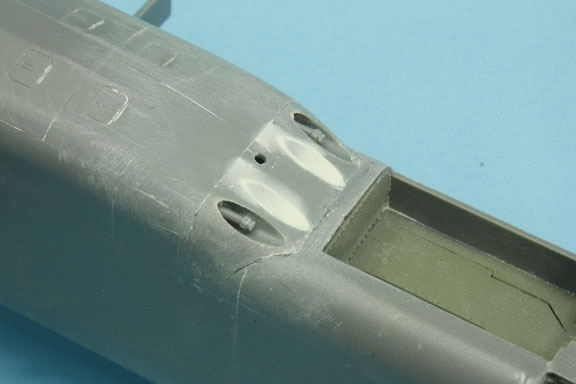
Gives you a choice of guns, four are provided for the underbelly but if you use all four you wonít use the upward firing guns in the fuselage, blanking plates are provided so use two and two guns if you want the schrage musik.
Step 17
Gives you the alternative for the schrage musik, remember there are two guns buried in the wing roots.
The next few steps deal with wing assembly, fairly straight forward but donít forget the added weights in the nacelles, The flaps and ailerons are shown in three positions but I managed to break some of the very fine hinges so all were cemented in the neutral position.
Step 38-39
Take care of the assembly sequence if you want the rudders to move, note part No.....115-116-117-114-118
Step41
There are four pins on part 95 and only two holes in the front of the nacelle, now donít remove the two extra pins as I did they are there as distance pieces.
Step 42-43
There are five radiator cores to go into the engine cowling easy enough but you may have difficulty in getting a perfect alignment if so hold part 95 in the centre and all will work out fine. The propeller shaft part 96 has a section to be cut off but only if you are doing version (80) as this version does not have the extended hub as shown in Step 71.
Step 46-47
If you add the exhausts to the nacelle first then it can be a little tricky fitting the flame dampers later so I suggest you assemble all the parts with the exhausts in the dampers and fit them much later after the model had been painted .
Step 50
Is where you really have to make up your mind which version you want to do, version (81) is the only one that needs the Naxos control panel.
Step 51-52
There are three main canopy versions which can be displayed open or closed, Revell have been very clever here giving two locator tabs on the stbd side for the open version and four tiny locators on the lower edges which fit into tiny slots in the fuselage sides for the closed option, you will need to trim off the open tabs if you want the cockpit closed, again make your mind up time. Do not remove the canopies from the frame until you are sure which version you want.
Step 53
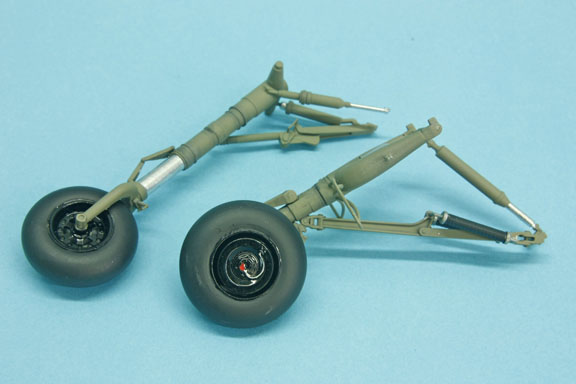
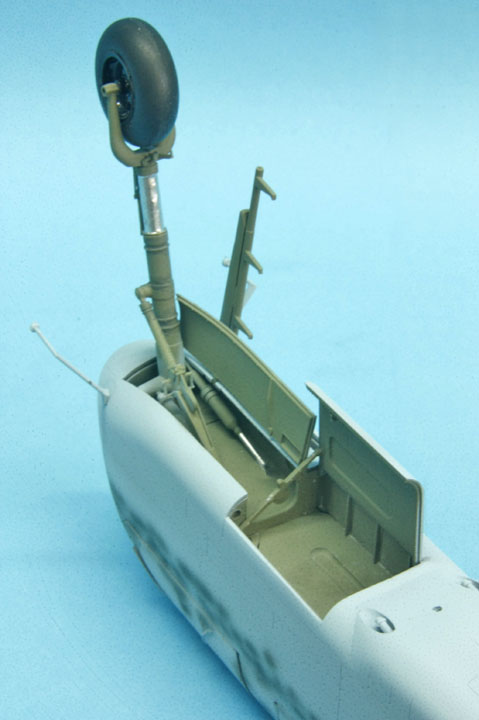
It is almost impossible to fit the nose leg into position at this late stage without some stress, my method to overcome this was in step 15 to leave the front section of the fuselage around the cockpit unstuck so the leg could be inserted before closing the fuselage. Cement the leg and its braces ASAP.
Step 56
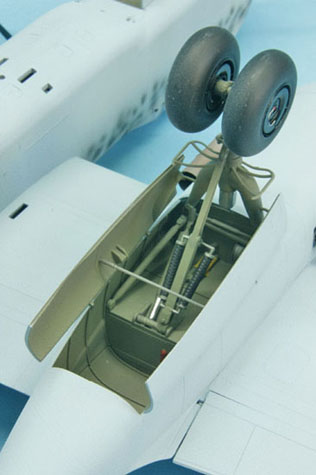
I used the gear doors to mask the wheel bays on the nose and nacelles by pressing into position with a blob of Blu Tac while spraying the underside colour, these were later cut as shown and positioned much later.
Step 63
Part 148 where it fits to the floor of the nacelle is a very tight fit so I gave it a couple of strokes with a sanding block to ease it a little.
Step 68
There is a brace, part 162, which I would think must be positioned after the plane has landed I would suggest you fit and glue this before the cement on the doors hardens.
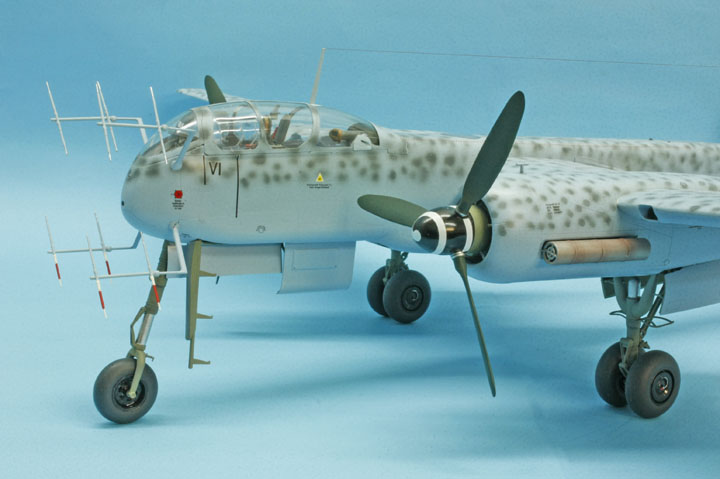
From now on it is all about adding antenna and tiny parts so again I would suggest that you do all the painting and decaling before you even think about adding the antennas as this is a big lump to keep moving around without damaging delicate parts. Remember there are two different antenna sets one in particular is for version (81) but which ever you use try to make all the braces parallel and on the Neptune radar for version (81) the rods are vertical not sloped as are the other set. I have recently acquired some Revel enamel paints and have used them throughout this model, I brushed some and sprayed others both dried fairly quickly and were pretty strong.
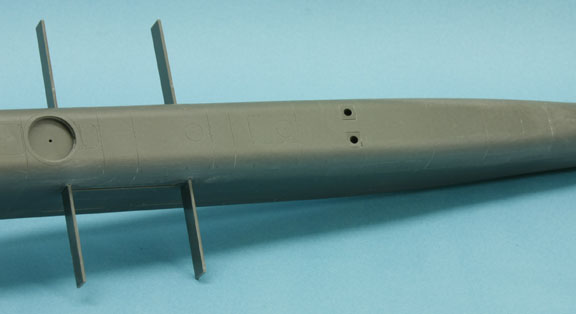
This shows the top of the fuselage which Revell have created as a separate part so there is no top seam to worry about and the joins are all along panel lines
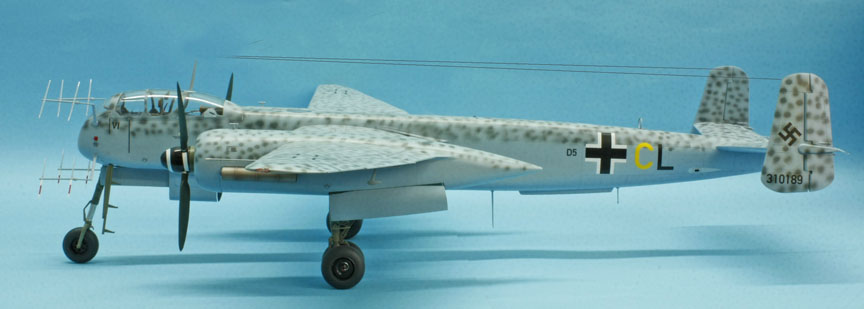
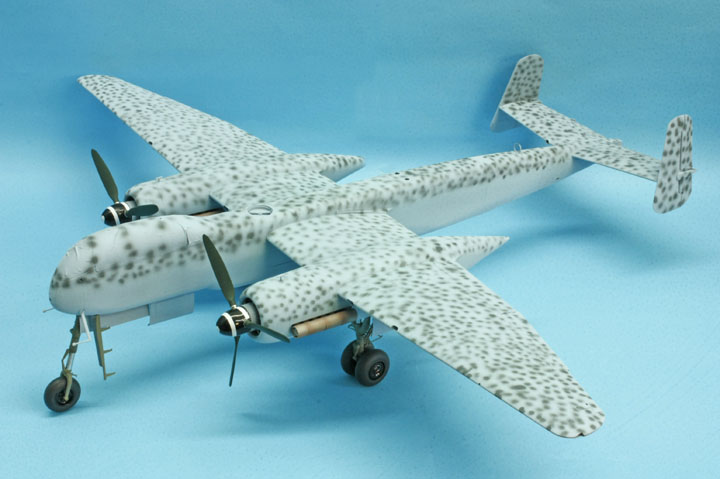
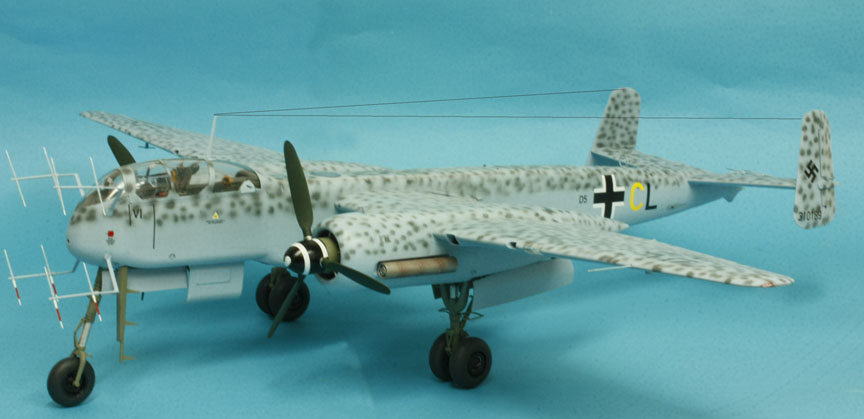
The model here is awaiting a coat of Johnsons Klear (Future)
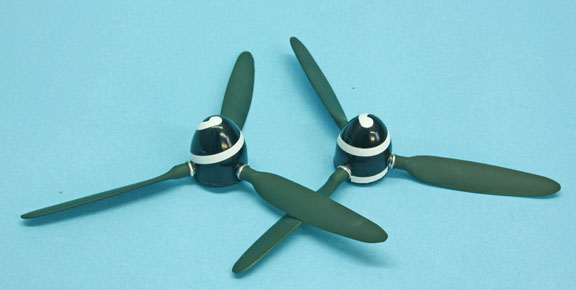
The props are still removable for easier decaling
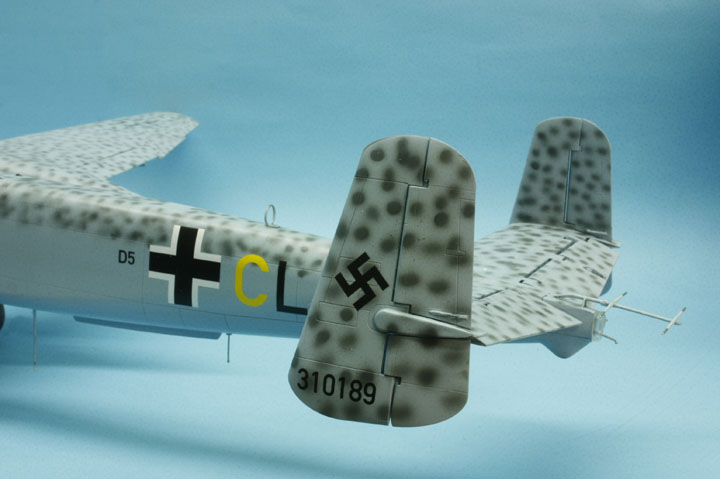
I can honestly say I enjoyed making this model and I think you may also, OK it isnít very colourful and there are not many schemes to finish it in but is great to look at in model form. The two schemes shown in the instructions are RLM76 overall with RLM75 mottling, or black undersides, RLM 76 top sides with RLM75 mottling.
The preserved plane in the NASM has a medium grey topsides with light grey squiggles and black undersides.
With a price of £49.99 in the UK you can't go wrong
Ted Taylor
Oct 2012
