Hachette Part works
Lancaster Bomber
125 Part construction kit
1:32nd scale
Part 2
I have learned a lot about different glues since starting this project and as a result i have used PVA glue for the wood work, zapagap superglue for the stringers and some of the metal parts where there is no strain on the part and Evostick contact adhesive for the skinning of the model.
To Continue
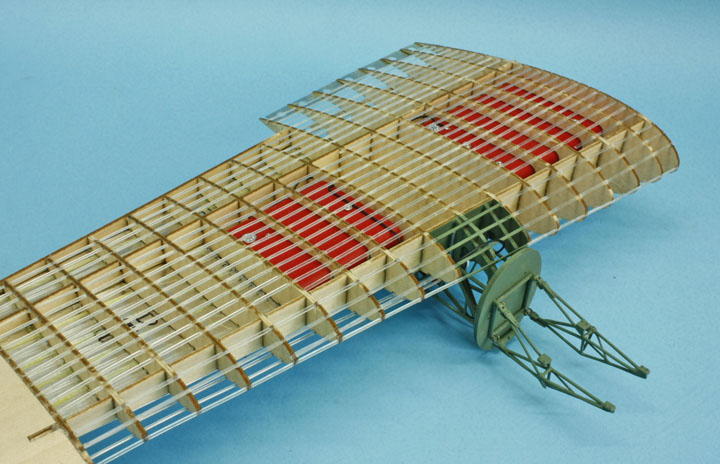
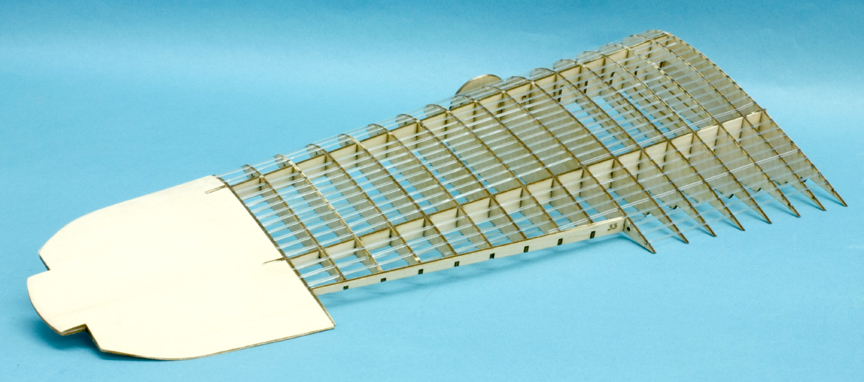
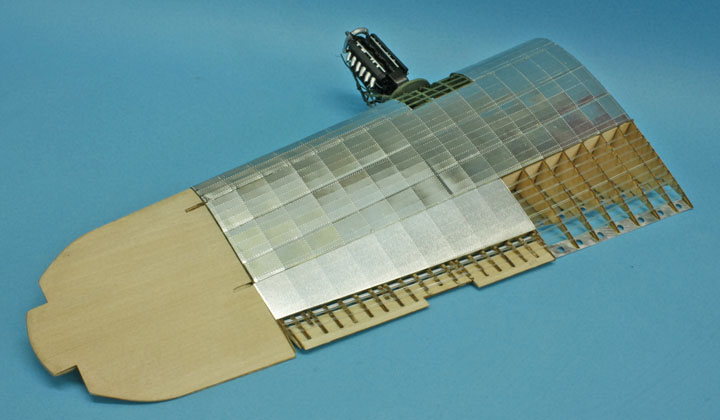
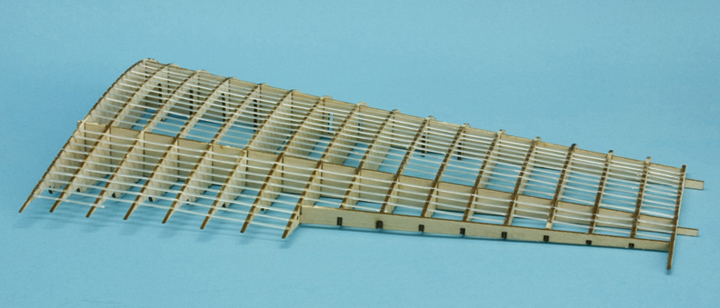
The stbd wing all ready to take the wing tip
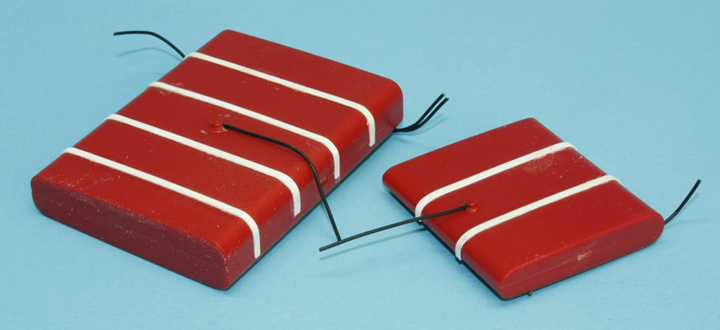
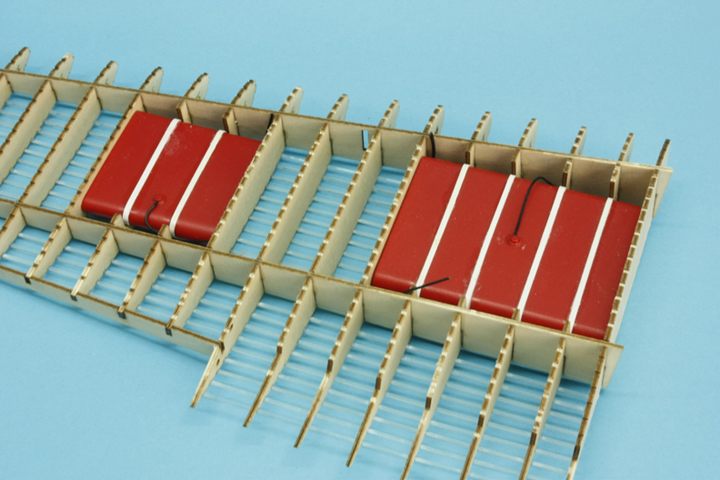
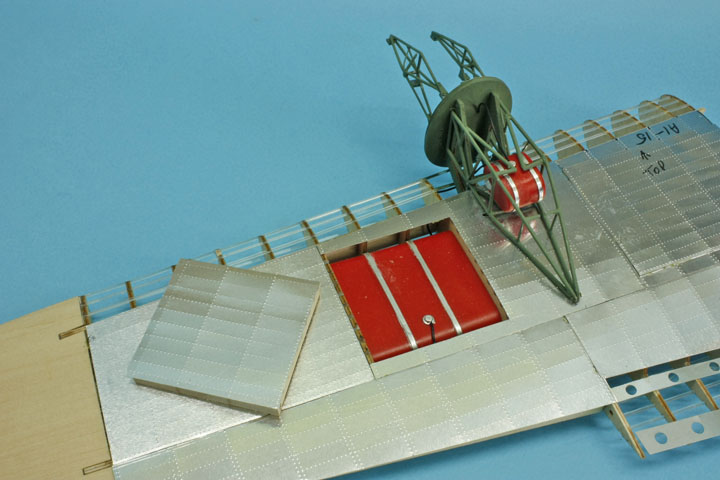
Two fuel tanks for the wing with fuel pipes already added, these are the tanks the German fighters used to shoot at with their upward firing guns
When finished there will be lift off panels covering them for easy viewing
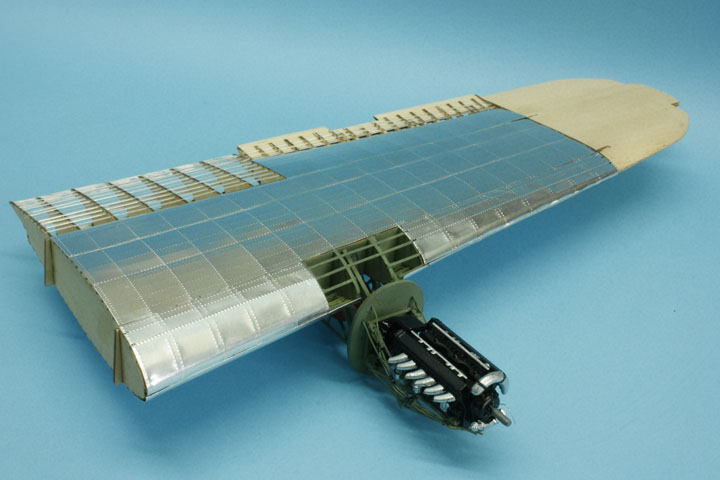
The engine bearers and the structures behind them are all metal castings
The lift off panels
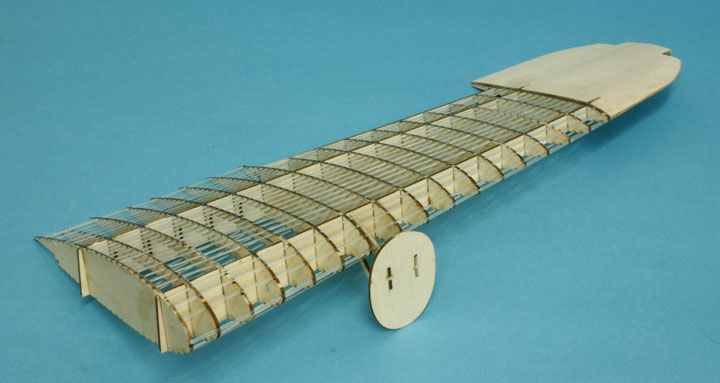
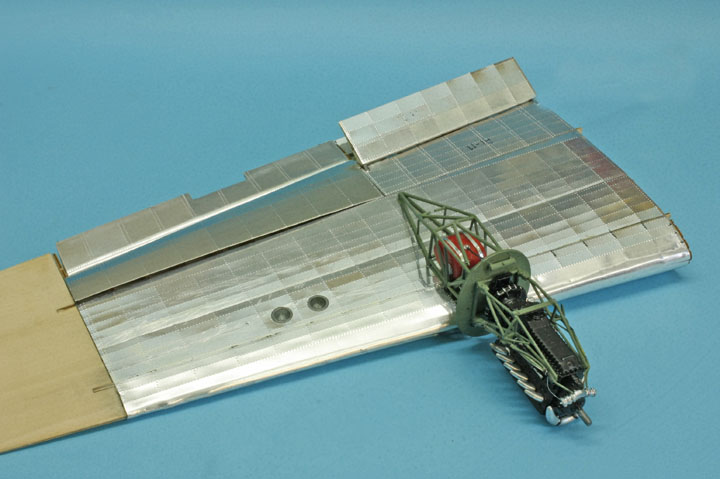
The port wing built, the balsa wing tip will finally be skinned but will be further shaped before final covering
The engine mount built in
The cowlings and rear of the nacelle come as clear moulded plastic parts so that all will be visible without dismantling.
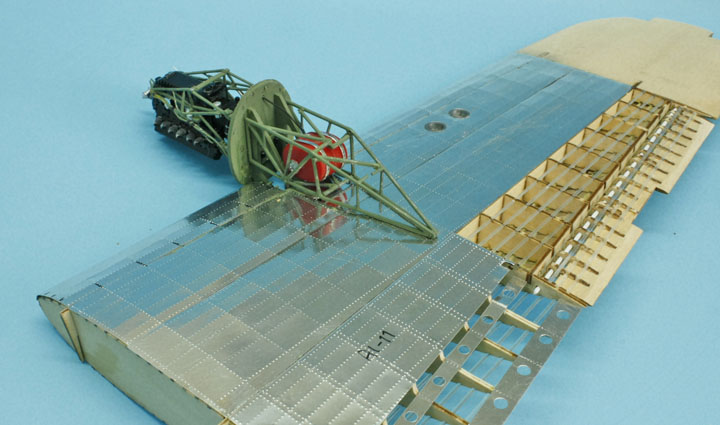
Note the oil tanks in the framework and the landing lights in the wing underside
The aileron is fitted temporarily but will be skinned before final assembly, note the space left for the trim tab
Almost finished
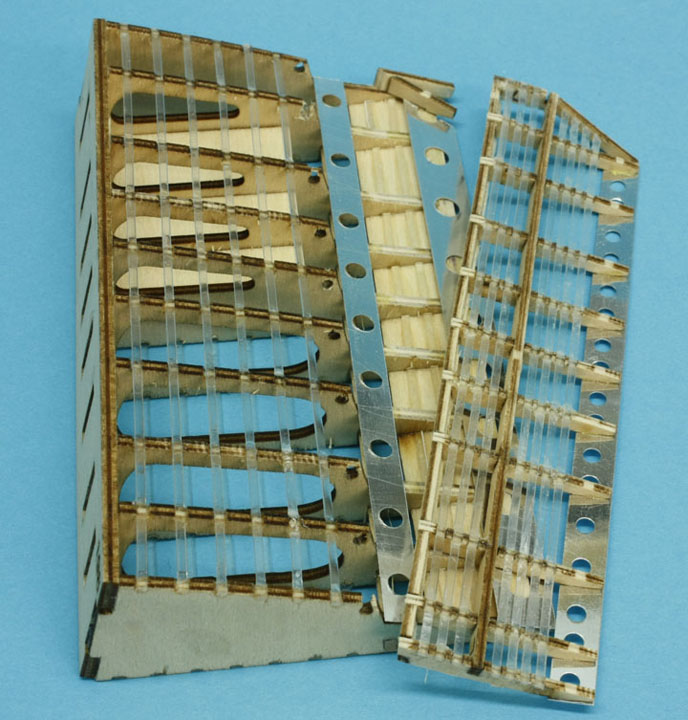
This is the rear part of the centre wing with separate flap, there is another for the port side
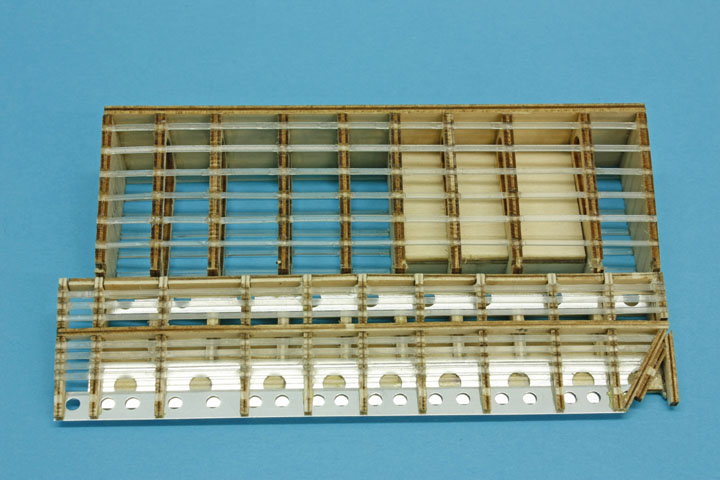
Flap in situ note the box visible here....
.......it is the stowage for the life raft
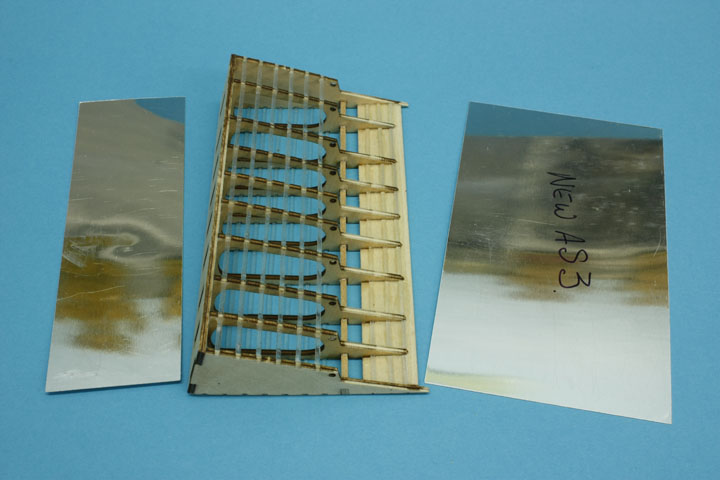
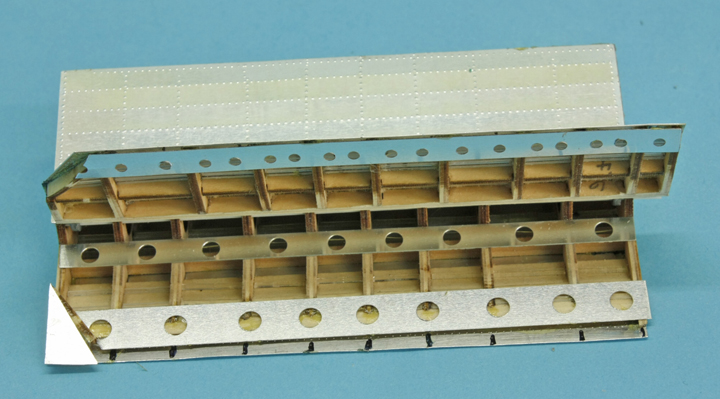
These skins will be riveted before adding to the structure
Note the life raft panel is a lift out for viewing
Final assembly with the flap in the drooped position
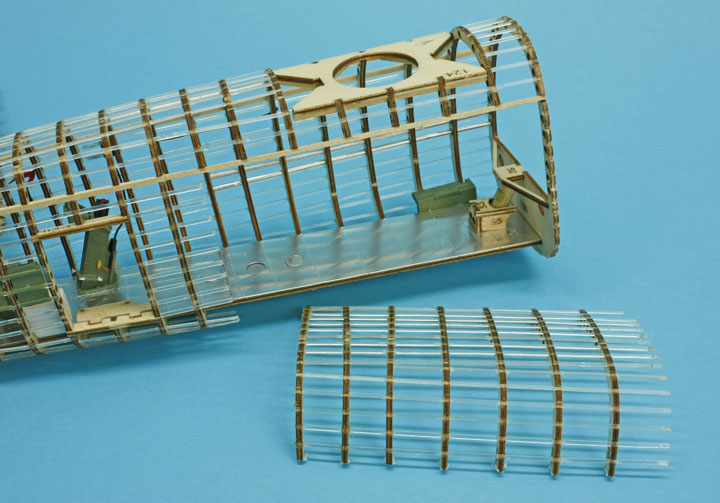
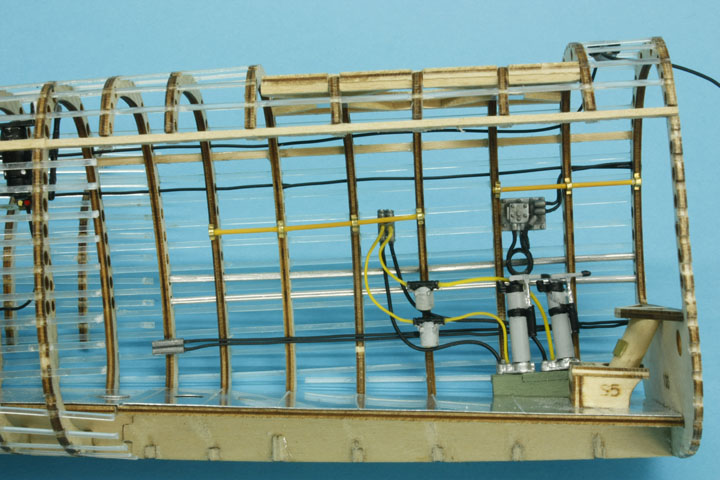
This section has lots of details to be added so they recommend cutting out a section of the side to gain easy access for placing things like the hydraulic pumps and the ammunition troughs etc.etc. When glued back in position it is very strong again. Also seen here is the crew entry doorway with one of the chutes and the elsan is installed towards the rear of this section
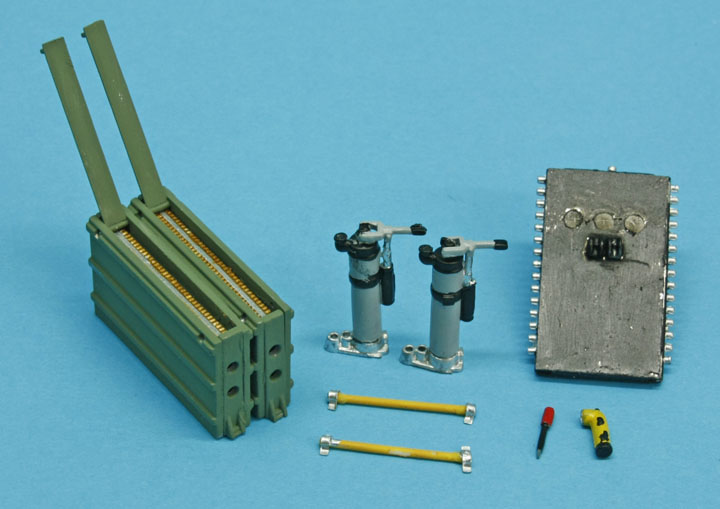
These are some of the Items made up for the interior we also get coloured wires to represent pipework or electrical wiring
Note the screw driver and torch below the engineers panel you don't get details like that in 1/72nd scale
Some of the details installed note the control rods and the electrical wiring even the overhead light, also of note are the yellow hand rails with their metal brackets holding them in.
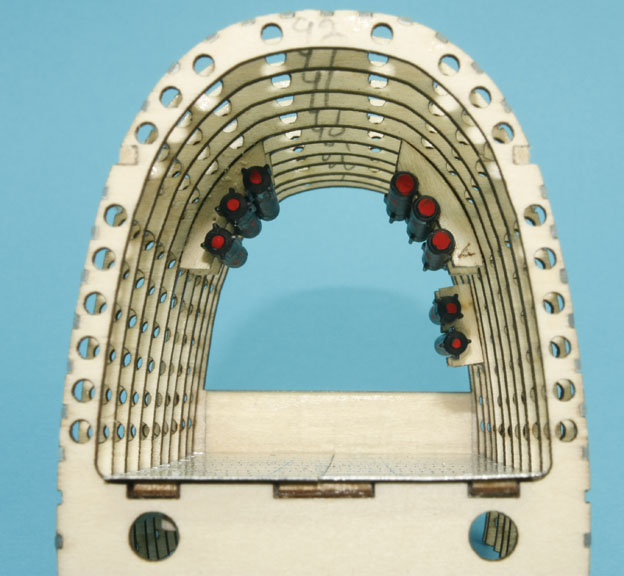
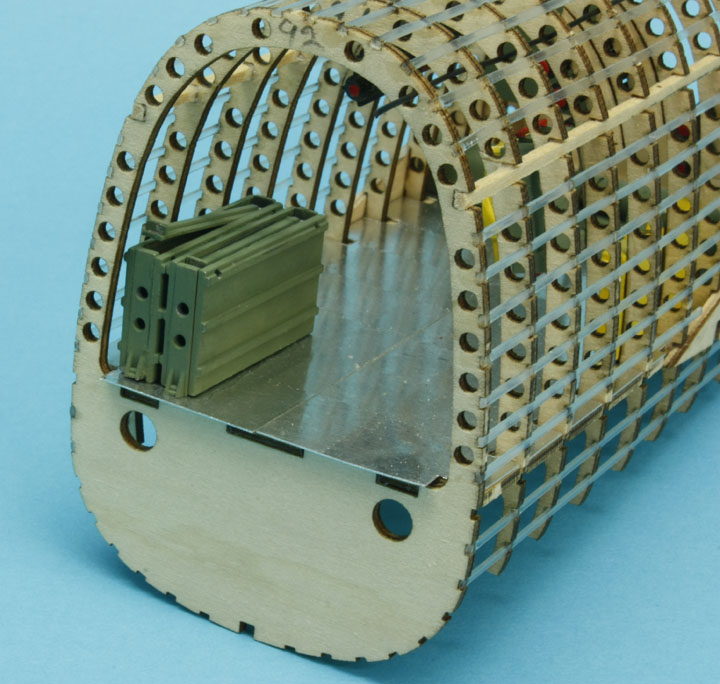
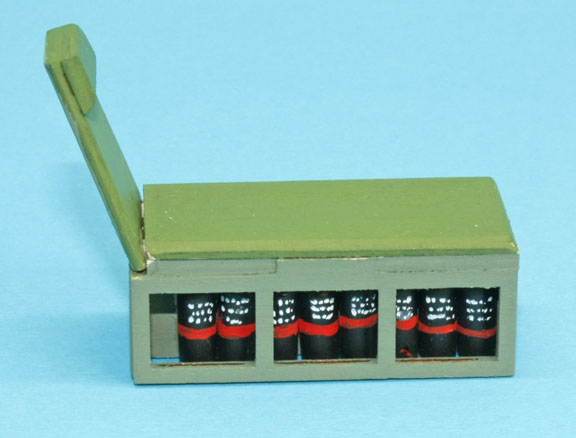
This section is the aft end of the bomb bay with flares mounted and one of the Ammo boxes added there is another pair for the stbd side and the ammo tracks run from here to the rear turret, note the windows where the crew can look into the bomb bay
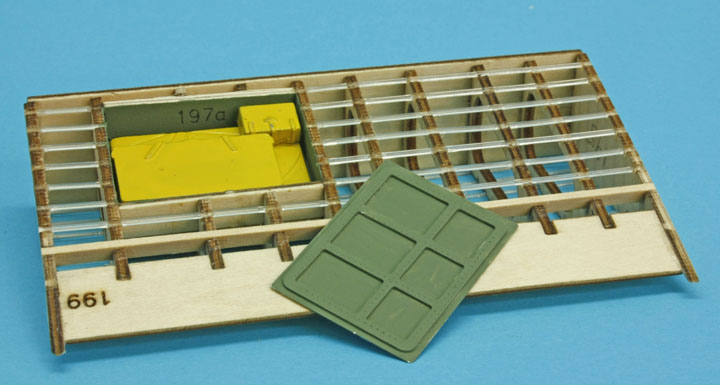
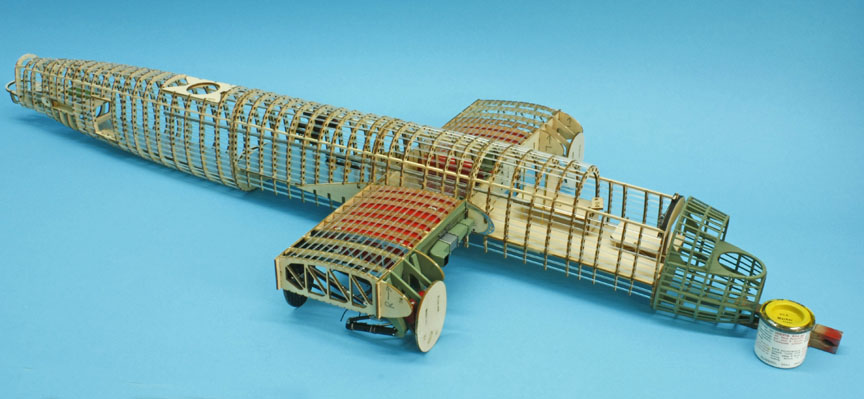
This is the rest bed with the oxygen bottles under it and this fits in the main spar section although it is not mentioned in the instructions but I found it's position in a cutaway drawing that I had.
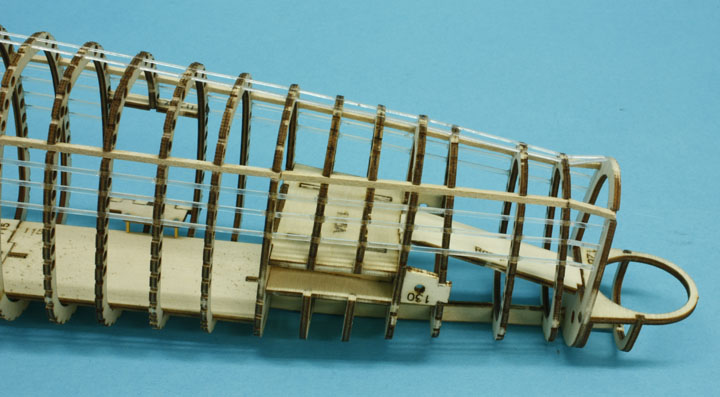
Tail end Charlie's position note the box section to take the tailplanes and the ramp down to the turret for the rear gunner
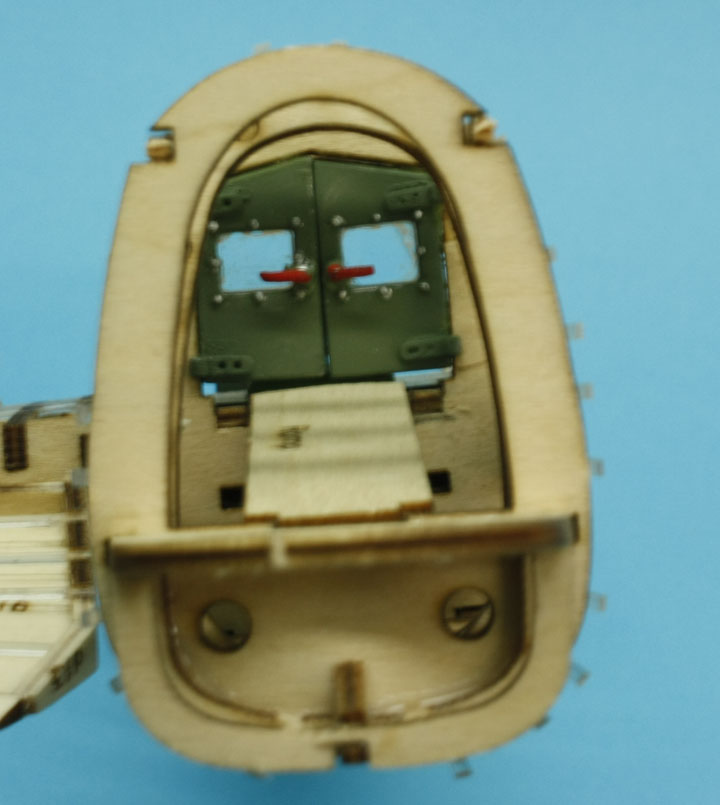
Here the doors are fitted, this is the entry to the rear gunners domain viewed from the rear
This should give a rough idea of the size of the model when compared with the tin of paint
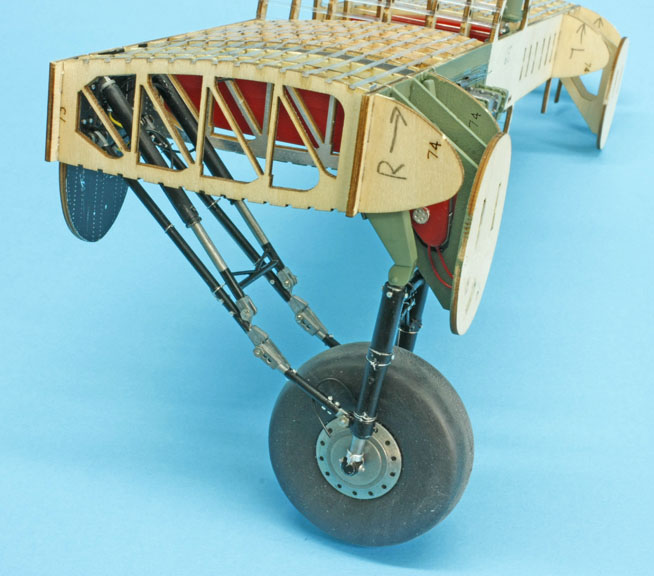
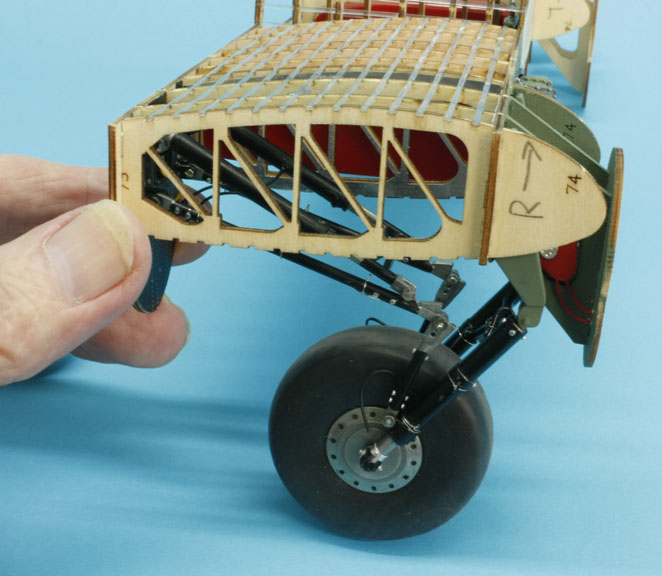
These three pics show the undercarriage retraction sequence
.....it goes a little further than this and locks up into the nacelle, the legs are fully sprung with tiny springs and stops to allow it to sink when loaded
Well that's all for now folks, part three will be along soon
Ted TaylorAug 2012
Last Page
Airbase
What's New
Home
Reviews
Next Page