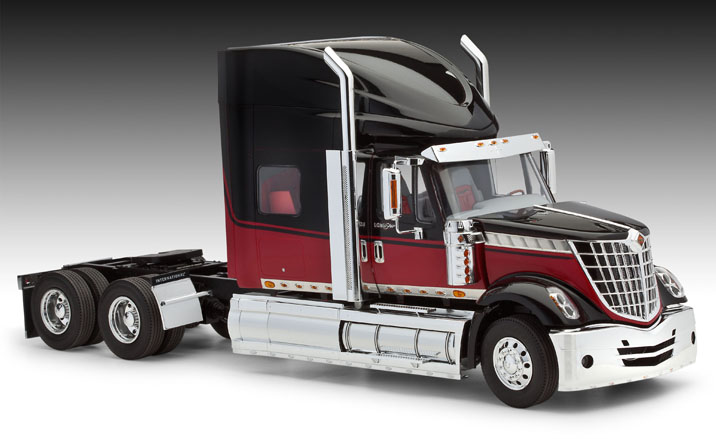
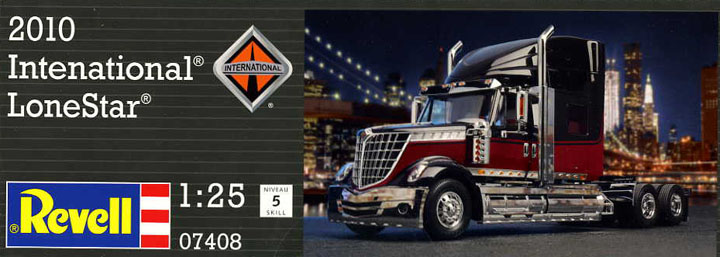
Revell
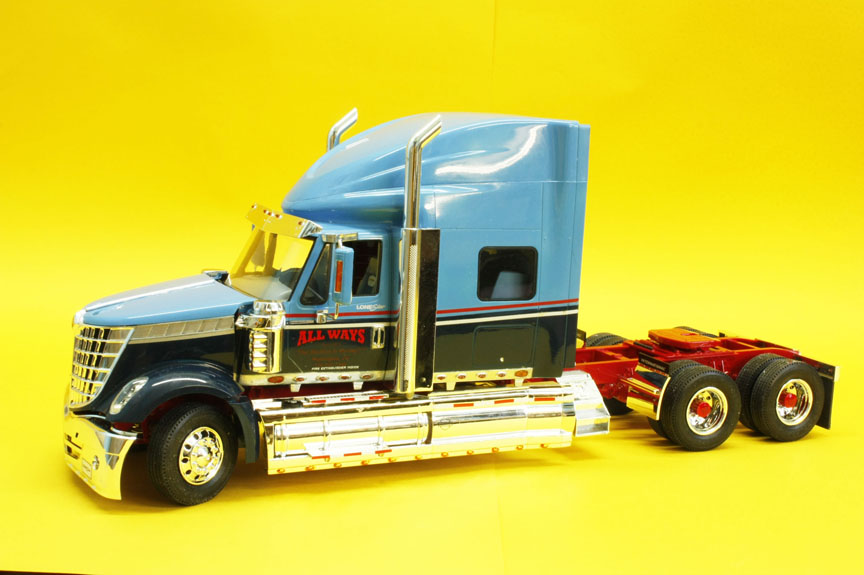
International Lonestar
6X4 tractor unit
Kit No. 07408. 1:25th scale
Welcome to the ugly bug ball as the old song says
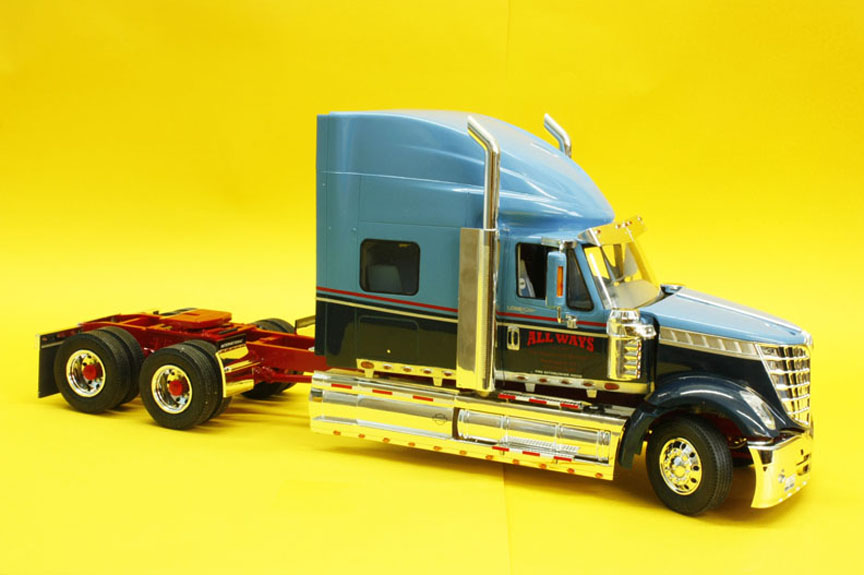
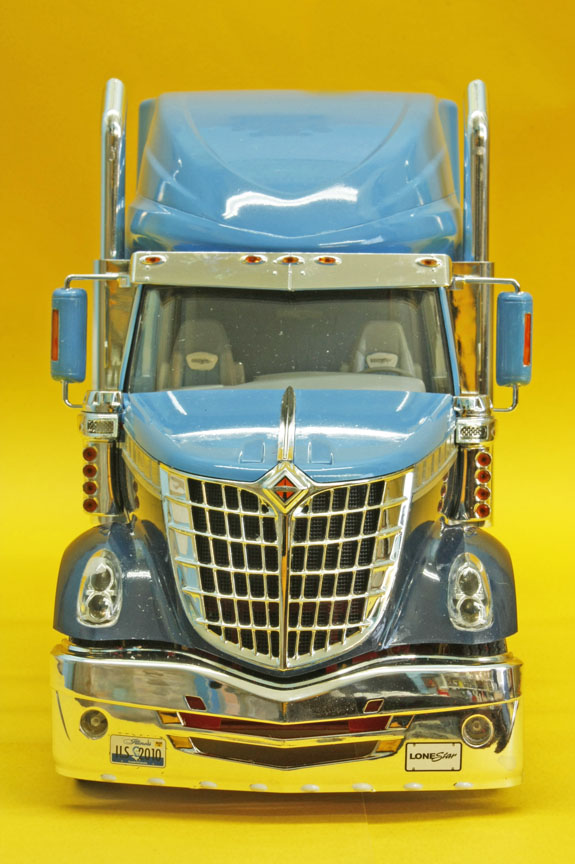
When Revell announced they were to release a new US truck kit I was very pleased as it had been some time since the last "new" kit came out but I am not too happy now as this has to be the ugliest front end I have seen on a conventional U.S. truck, but that is just my opinion of the real thing.
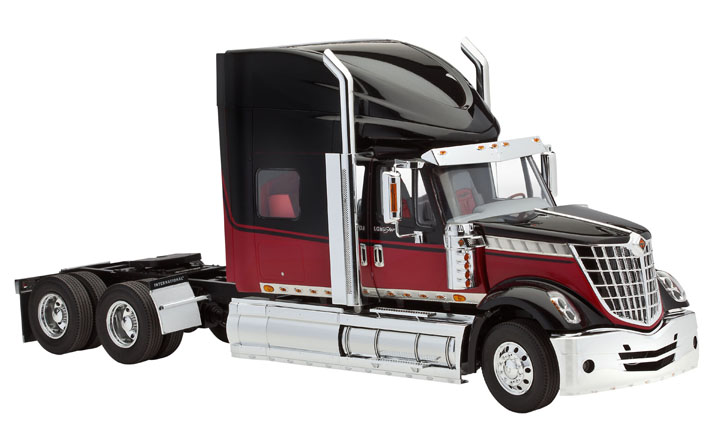
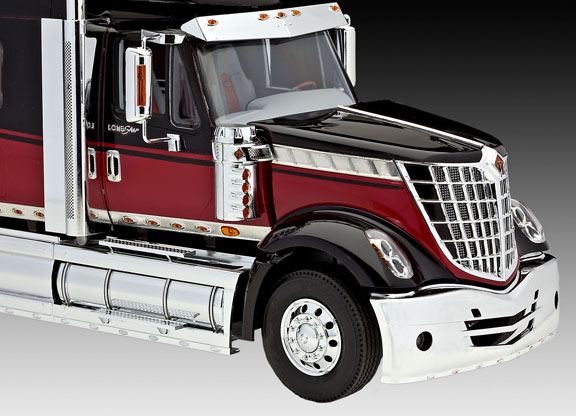
The kit itself is quite good with sharply moulded parts most of which fit perfectly with one exception the hood / bonnet seems to give problems closing. There are a lot of chrome plated parts but all are enclosed in plastic bags so there is no damage here and for the same reason there are no parts missing. A frame of crystal clear plastic is supplied for the windows and light fittings i.e. headlights and running lights etc.etc. some of which are very tiny but should the carpet monster eat a few there are some spares to work with, you also have a choice of roof mounted air spoiler, high or low though this isn't mentioned as an alternative. The decal sheet is huge giving markings for two colour schemes both of which are International's standard finishes but both are quite dull and dark so I chose my own colours for my model.
One thing that Revell seem to do these days is give you parts with raised details on such as instrument panels and then give you decals to replace them with, I can see the reasoning for this, to give every one a choice, but for those of us who might not be all that good at painting details and would like to use the decals find we have to scrape the details off or the decals will not lay flat. The instruction sheet runs to 23 pages and is quite clear and easy to follow with plenty of colour info using the Revell paints.
My construction notes
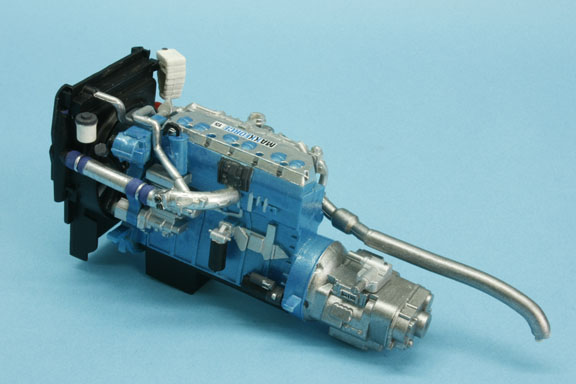
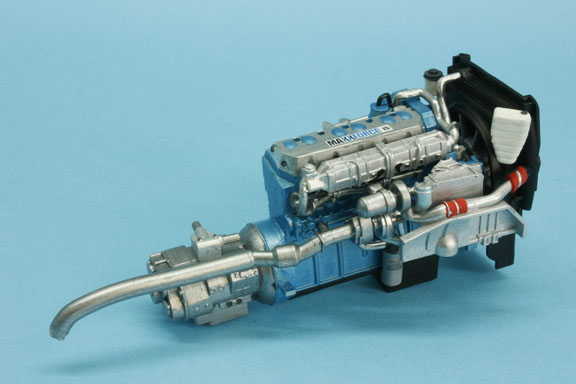
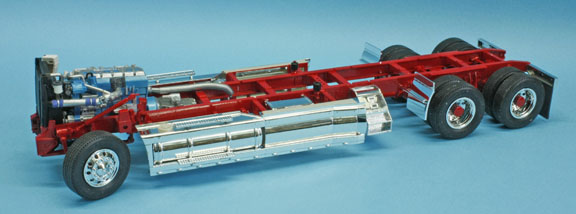
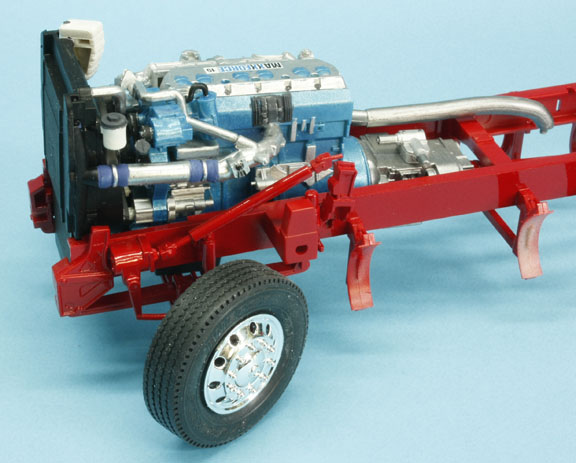
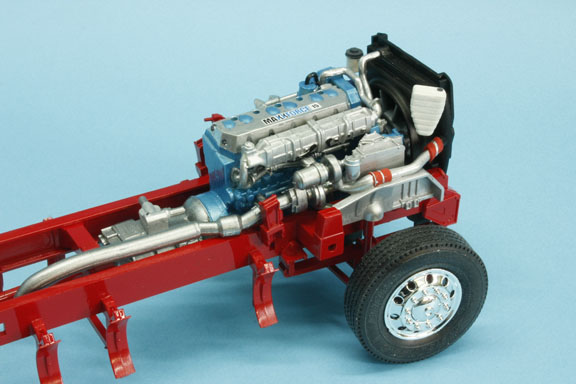
Steps 1 to 12 deal with the engine build up so lots of painting parts before assembly as this is well detailed, I would suggest that you do step 11 straight after step 7 and then do step 12 as you do step 9 so you can square up the parts before the cement hardens and don't forget the decals.
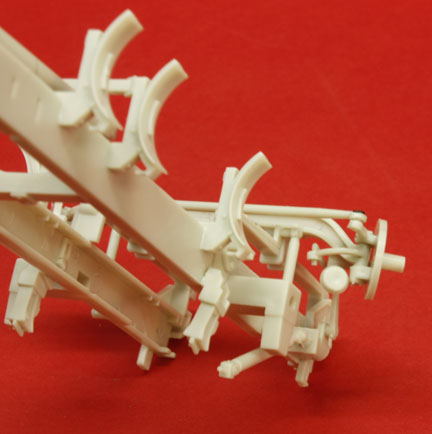
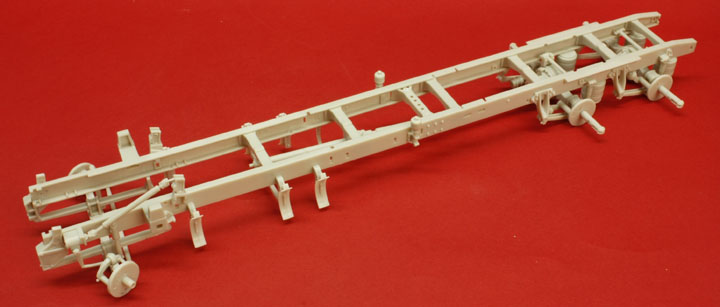
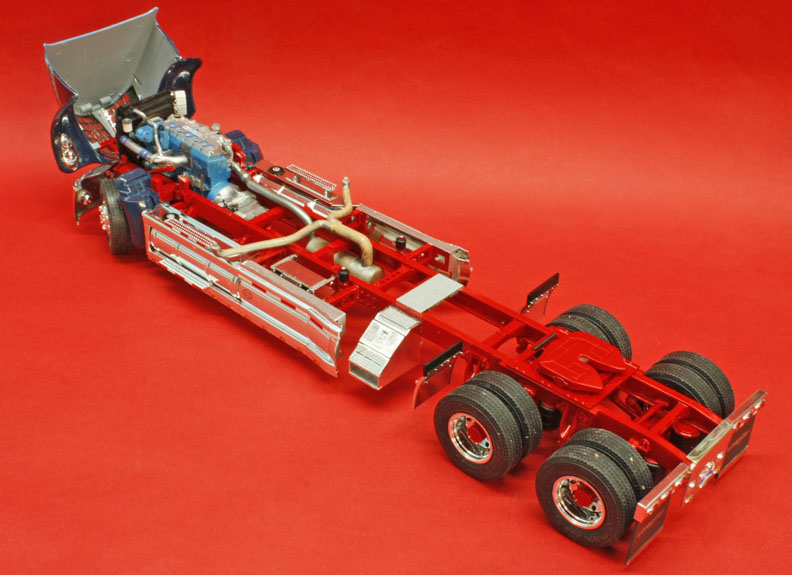
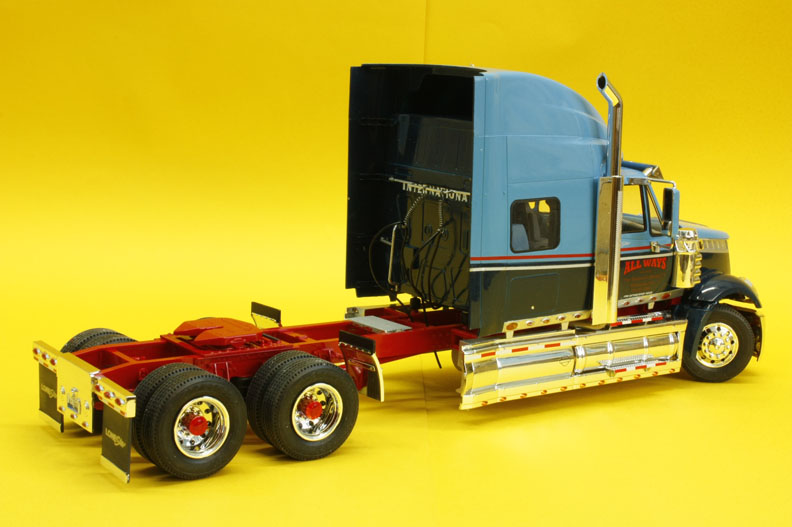
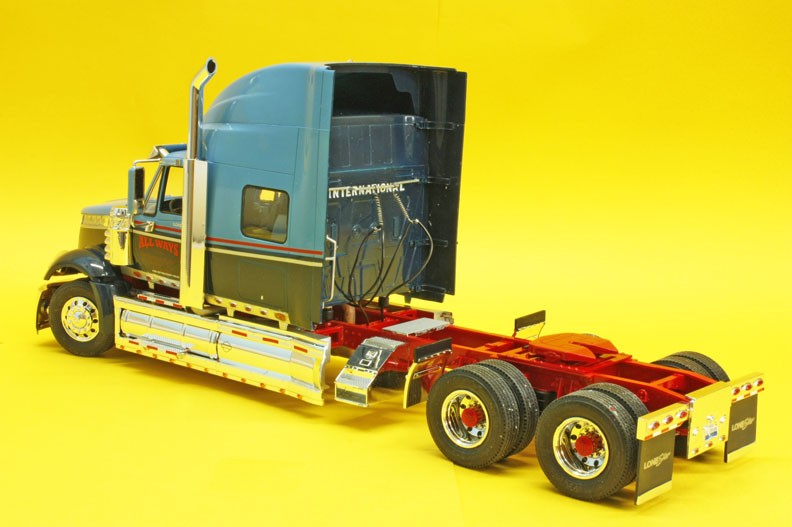
Step 14 onwards, I have built up all the chassis components including the drive axles and the brackets for the fuel tanks and exhaust silencer box, the front axle I noticed while assembling, the sheet has part d178 glued into the king pin bush instead of the wheel back plate totally wrong of course but to alter it you would need to make movable joints from the steering box itself.
One tip here, only glue one side of the front axle to a spring leaving the other side in position but un glued until you have the engine mounted as it is a tight fit and it helps if you can spread the chassis rails a fraction to get it in. My chassis was painted red with Humbrol Hu 19, I used Humbrol because Revell paints are hard to find these days, the air bags were done with Hu 85 satin black.
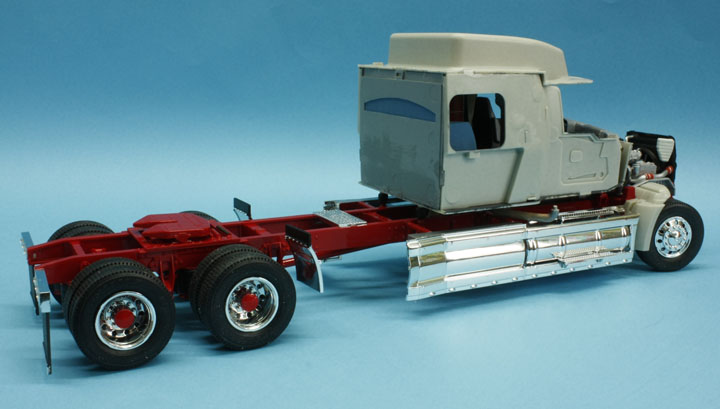
Steps 22&24... when adding the cab mounts parts D168/169 use the cab floor to line them up correctly before the cement hardens
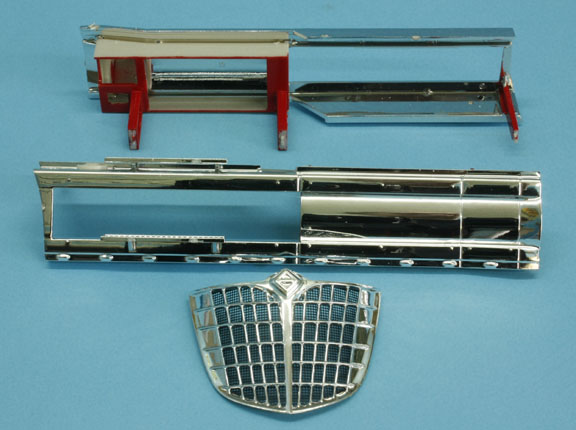
As most readers will know you can't cement chrome parts together without scraping the chrome from the surfaces to be glued and these parts have been made with a recessed join which is not only difficult to scrape but has a build up of lacquer which is quite thick, it would be much better if the joins were just flat and easy to sand off the chrome. In most cases the gates to each chrome part are smallish or in an unseen spot but some are not making it difficult to hide.
There is an alternative with "Alclad 11" chrome, this entails removing the chrome with Fairey Powerspray or Mr Muscle oven cleaner which are caustic so take care, now the joins can be cleaned up and sanded smooth, then painting the parts with a gloss black enamel Humbrol Hu21 and finally airbrushing the Alclad on, this really makes a nice chrome finish.
Steps... 42/43 remember to paint the internal frames chassis colour
Step 46... leave the fifth wheel turntable and mount off until you have a trailer ready to mount up to set the angle of the turntable.
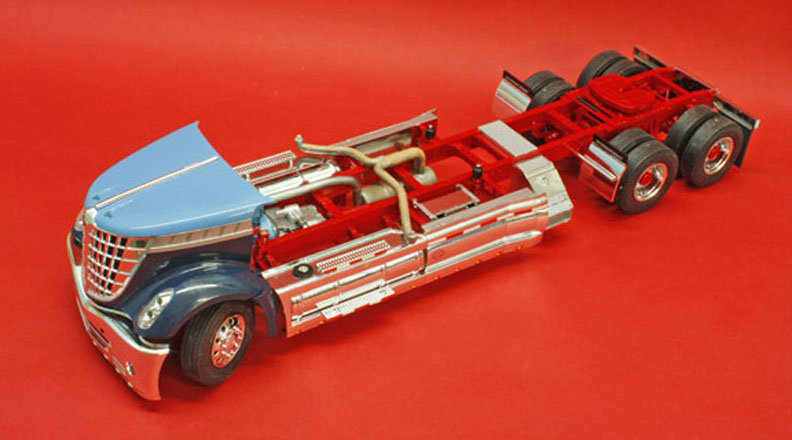
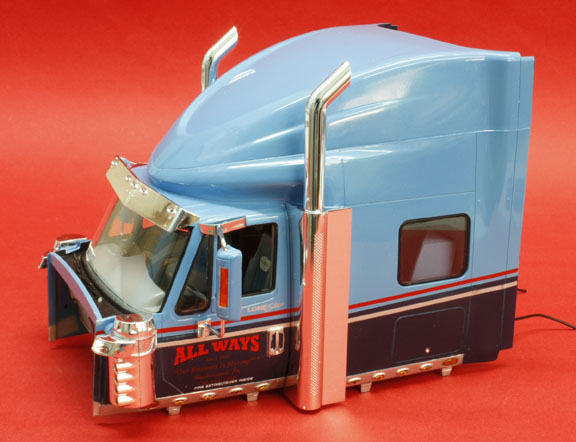
Step 49...This is where the hood hinge is made up and mounted, I made mine exactly as shown but I could not get the hood to shut down properly, I adjusted the fitting as much as possible but it only improved the fit by a little. Not sure if it was my fault or not but several other modellers have had the same problems.
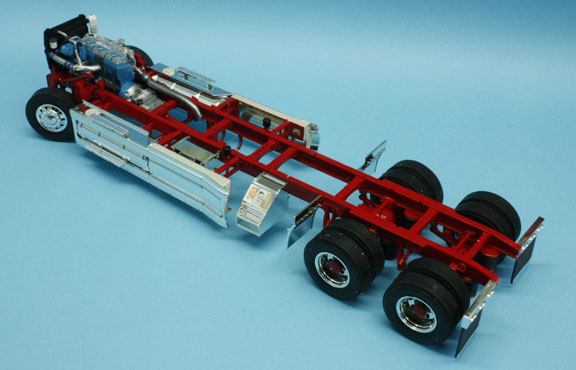
Step 51...There are some areas of chrome that need to be scraped off of the rims and these can be seen in this photo indicated by the blue marks, after joining the wheel halves make sure the holes in the rims line up opposite each other when the twins are glued together, the rear set just pop on the axles but the fronts are supposed to be held on by part E80 which is cemented to the stub axle, tricky without cementing the whole wheel, both of mine got stuck.
Step 55...don't add the mudflaps at this stage leave until almost the end as they will get in the way and the stays are quite delicate.
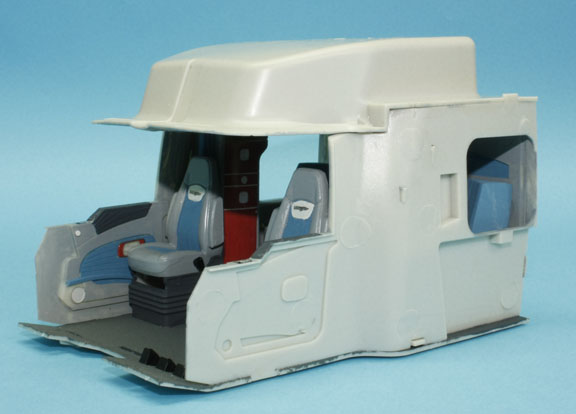
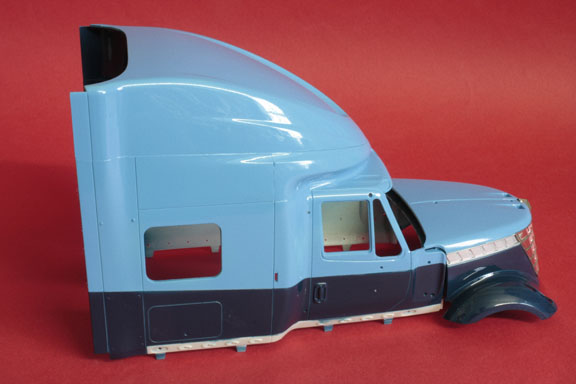
The cabin is nicely detailed and there are plenty of colour details on the sheet plus decals to make things easier. I chose colours to match my exterior scheme, the windows all have good location points away from view so no accidental cement marks will show, only one point here there are no door windows supplied but a sheet of clear plasticard can overcome that one.
Step 74...I found it tricky to fit the breather pipes to the sides of the cab walls so I just cut off the locating pegs and fitted them where they set.
Steps 75&76... take care to place the correct parts in each front wing as there are handed locations for each part and they will not seat properly if wrong.
Steps 83&84... when cutting off parts M29/31 make sure you are not cutting off the mounting pegs as well, I did and had to make new ones.
The rest is very straight forward and you finish up with a very nice model which I must admit has grown on me.
Revell model kits are available from all good toy and model retailers. For further information visit www.revell.eu
Not for the youngest modeller but anyone with some experience can handle this kit and it is reasonably priced
Ted Taylor
June 2012
You are visitor Number

#Back to the Top