
Revell
Heinkel He 111H-4/ H-6
Kit No. 04526. 1:48th scale
Revell
Heinkel He 111H-4/ H-6
Kit No. 04526. 1:48th scale
This kit has been around for some time now and I felt in a Luftwaffen mood so out it came, and I am quite pleased with it. I think it originates from Revell Germany but I am not sure.
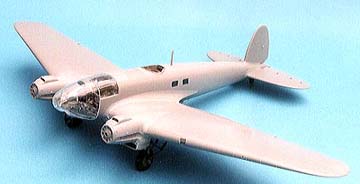
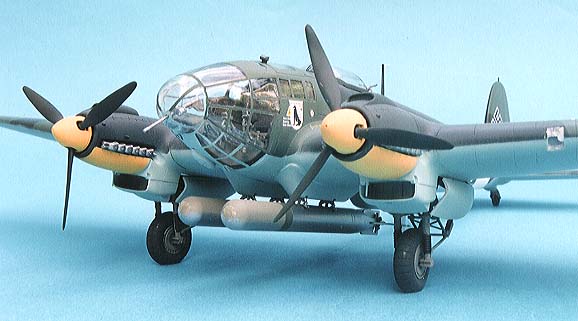
The detailing is very good with engraved panel lines and lots of details for the cockpit interior. The fit of the parts on the whole is good but I did need some filler below the wing joint to get a smooth transition. The clear parts are crystal clear and canopy frames are well defined making it easy to mask up, I have used Eduard’s canopy masks for the first time and was pleasantly surprised how easy and useful they are.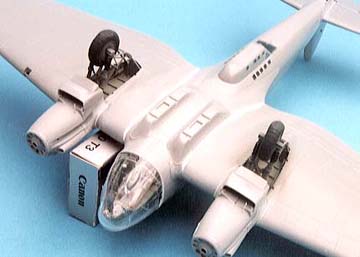
Construction was straightforward but I deviated a few times from the 9 pages of instructions, for example the gondola side windows didn't seem to want to lie flush with the surface so I discarded them and filled the holes with crystal kleer and after spraying the camo these were knocked out and redone with fresh material.
The main undercarriage doors were cut from the side walls to make it easier to mask up when spraying and reinstated at the end.
All my guns were eventually broken off but I didn't worry, when all was finished they were all glued back to the remains of the interior parts, made masking easier.
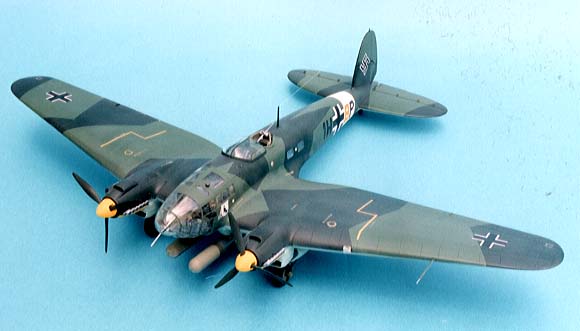
I chose the H-6 because I wanted to add the torpedoes,I had to take care to use the staggered mounting holes or they won't fit on the racks. I sprayed these using Alclad II but no undercoat; I just dusted two coats on.
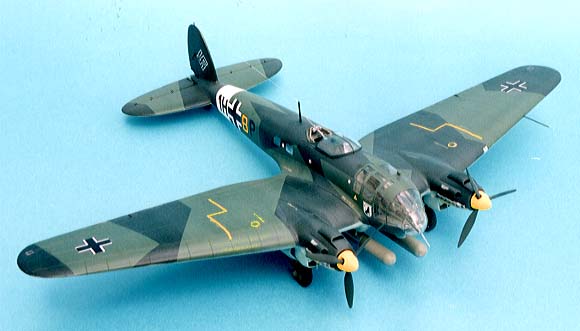
After masking the canopies I wrapped some tin foil around the U/C legs to cover them, and sprayed the white fuselage band rather than use the decal provided, this was masked with Tamiya tape prior to the camouflage being applied. Humbrol paint was used from the old authentic range but there are equivalents in other ranges. The light green was put on first and left overnight then masked with 10 mm Tamiya tape just on the edges of the colour demarcations and sprayed the darker green carefully.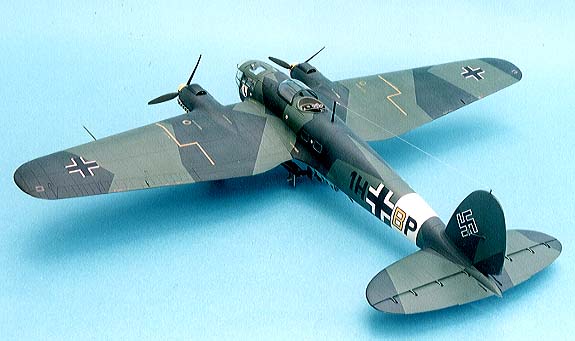
Another night drying and the upper colours were masked while the blue RLM65 was sprayed on, all this masking was then removed and any defects touched in with the appropriate colour before a couple of coats of “Klear” were dusted on.Next the decals were put on and it is quite a simple job as there aren't that many but I needed swastikas from the spares box and I found a couple on Fantasy Print shops sheet FP828. the whole model had a final coat of Klear and then I made a mix of Klear and Tamiya flat base 3 to 1 ratio and gave a final light coat to bring everything back to a nice sheen. The cockpit masking was now removed and I was pleasantly surprised at how the Eduard masks had worked, I added a tiny Aerial post on the top of the fin and made an aerial wire from Lycra yarn superglued into place. 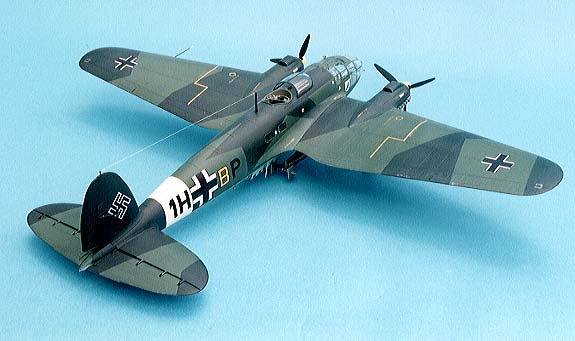
Ted Taylor July 2002
“That’s all folks”
Last Page
Airbase
What's New
Home
Reviews
Next Page