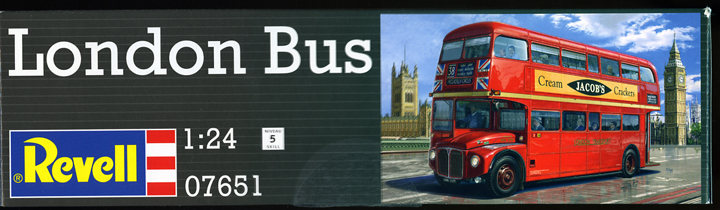
Revell Germany
London
Bus
Routemaster RML
Kit No. 07651. 1:24th scale
Some time ago I built the city liner coach kit from Revell and thought what a nice model it made so when the London bus was announced I was surprised to see it advertised as 1/32nd scale but pleased later as I found out it really was in 1/24th scale to match the range of trucks that Revell produce.
I waited eagerly for it to arrive, now it wasnt late nor were there three in a line, but this ginormouse box held an enormous amount of grey plastic, all very crisply moulded and very detailed, also included were three frames of crystal clear windows and a huge decal sheet with the patterned covering for the seats. Everything was in sealed plastic bags so there should be no loss of parts and the whole package can be put together with the aid of a 28 page instruction booklet which is very easy to follow but do read through it first as one or two pieces need to be done in a certain order.
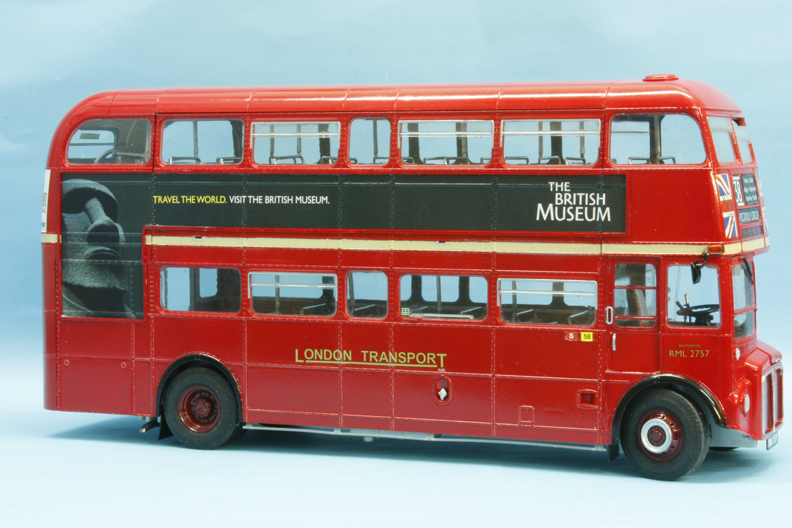
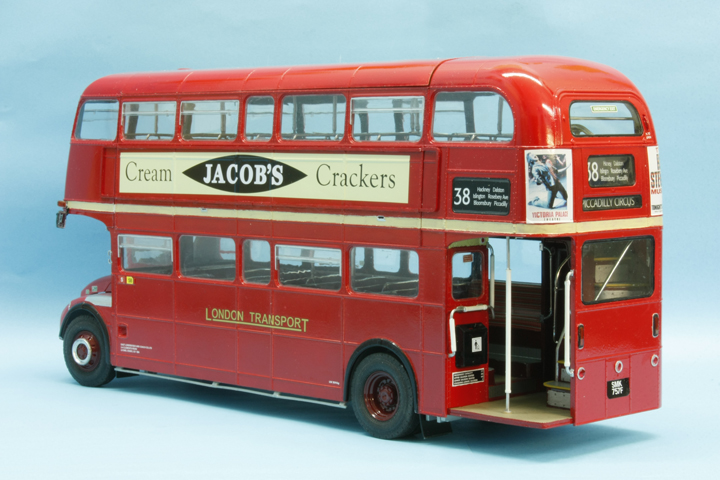
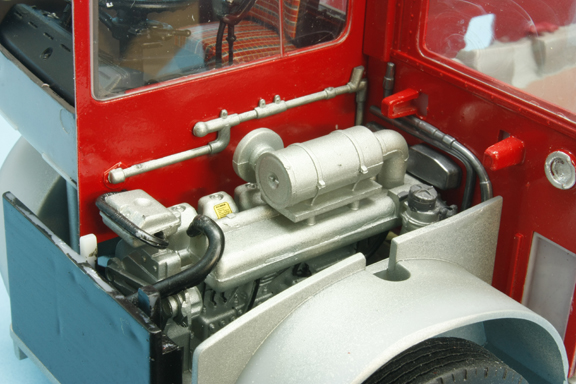
Well what do you get? There are two versions of the RML bus (the one with the extra window along the side) RML 2273 and RML 2757, there is also a choice of two engines A Leyland or a Scania for the later version, unfortunately you cant make both up fully as only one flywheel cover and fan blades are provided but the remainder is quite well detailed. Alternative front flashers are included so check your references if you are going to build either an early or later number.
I have spoken to several ex bus drivers and enthusiasts and they have found little inaccuracies in seat covers arrangements such as full or part fabric covers, some different type of rear lights etc. etc. but remember Revell have worked from a restored bus and that one may not have all the "correct" parts fitted
My Construction notes
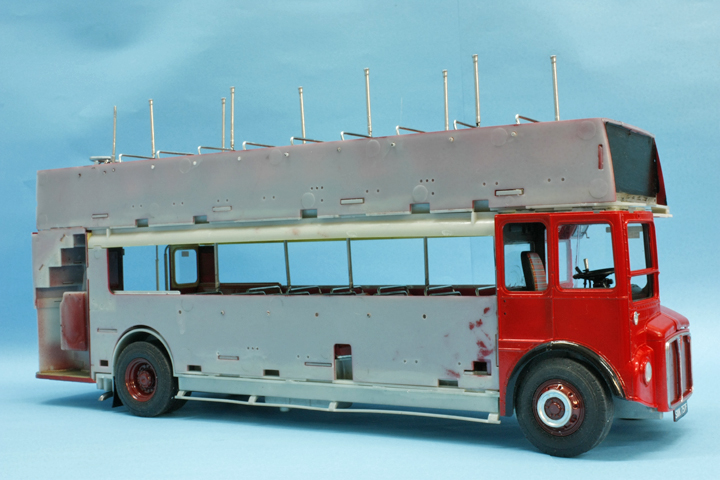
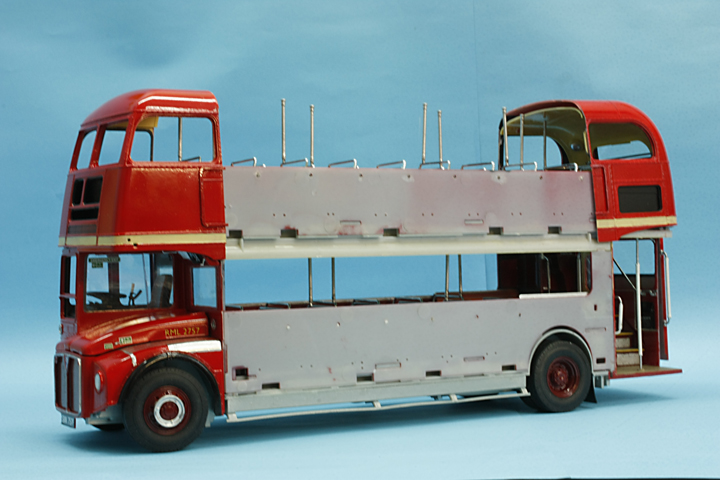
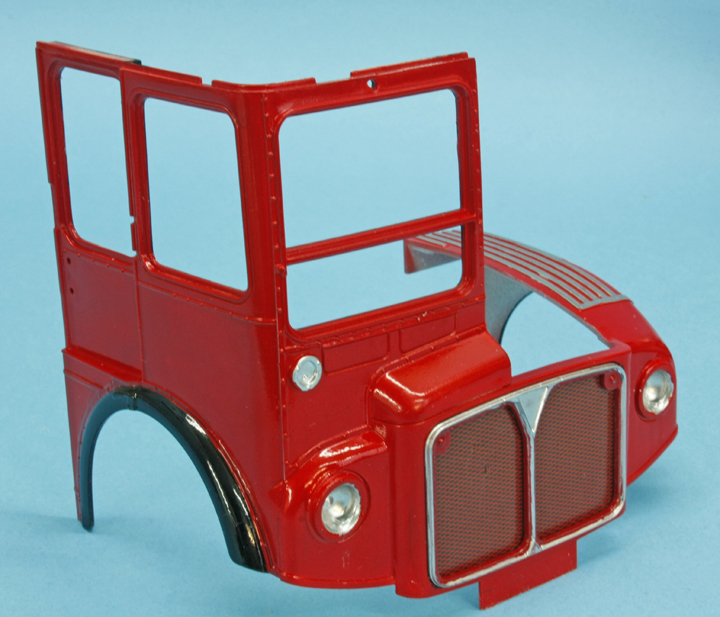
I always think red paint looks brighter when over a white background but unfortunately the kit is moulded in grey plastic which always makes red or yellow very dull so I sprayed all the exterior parts with a white undercoat using Humbrol Hu130 satin white which was lightly rubbed down before Using Hu19 gloss red, I wanted to use some of the colours that Revell list but was unable to find a store that sold Revell paints. There is some beading to go around the advertisements and it isnt mentioned until step 80 but I would advise modellers to drill all the holes shown in step72 and fix it in position on the exterior parts before painting, take careful note of the part numbers and all the bits will be safe to assemble, there is a small overlap of the ends but these help with the location on final assembly


There isnt much chrome on busses but the seat frames and some hand rails are so I sprayed these with Hu21 gloss black, when that had hardened I used Alclad chrome to finish them off.
I normally do a fair amount of building on major components but there are so many parts that need painting in different colours that I found it difficult and I was opening tin after tin of paint which needed to be left to dry before assembly, and dont forget the decals that have to be placed on the engines.
Work is straight forward up to Step 13, dont add the mud flaps at this stage as the join is so tiny they will get knocked off, wait until the wheels have been added, these are very free running if assembled carefully so you may want to glue one solid to stop it running away later.
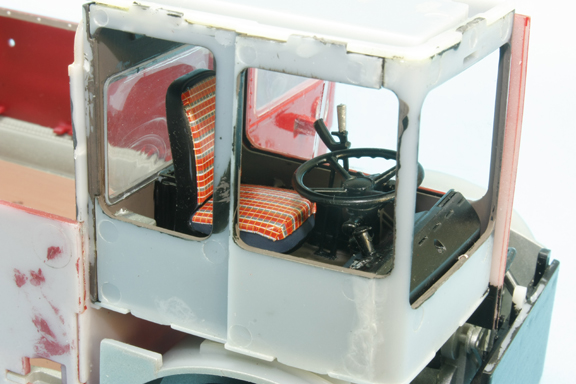
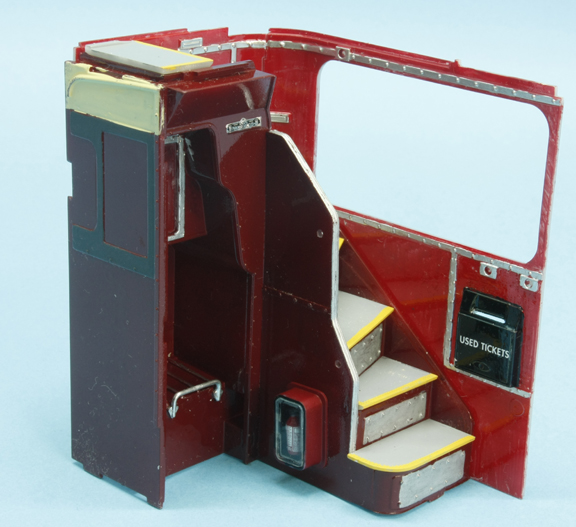
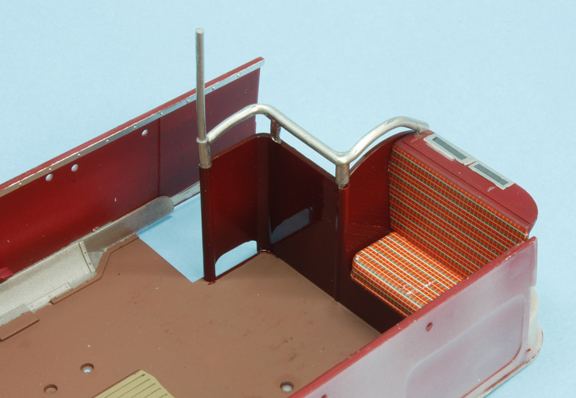
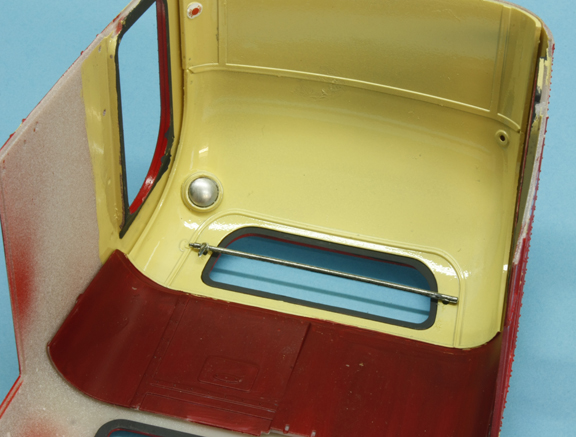
The drivers cabin is fully detailed right down to the indicator switch, there are only two pedals as this bus had a semi automatic gearbox. The decal No7 for the drivers seat is a bit large and will need a trim and some decal set solution to get a snug fit but most drivers seats were a black leather so I would paint it instead.
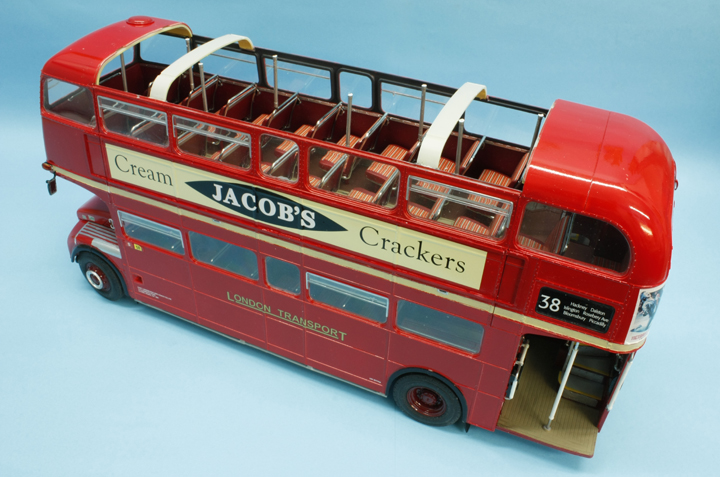
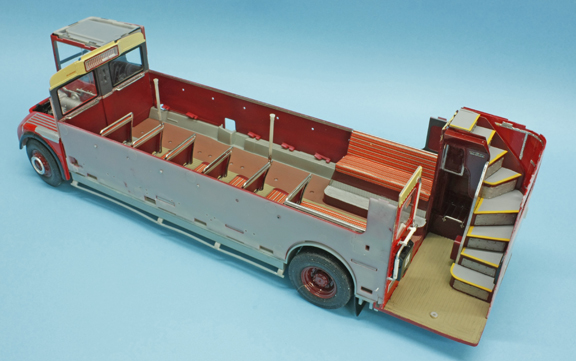
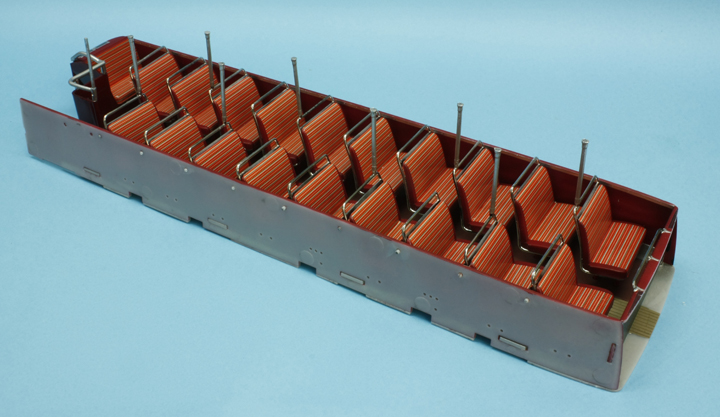
Before assembling the seats parts 80 & 84 the rear and edges will need spraying, use a dry seat decal to see how much you need to paint. Remember that the seats are handed and to make sure I assembled them in the correct frame I pencilled the part number under each seat,
The decals provided all the seat covers but these also are handed so check first before using, I found them to be very thin and they all fitted perfectly but are easily damaged with a lot of handling so I have given all of mine a coat of Johnsons Klear to protect them.
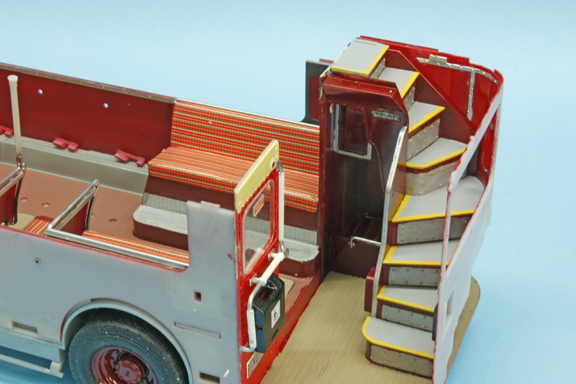
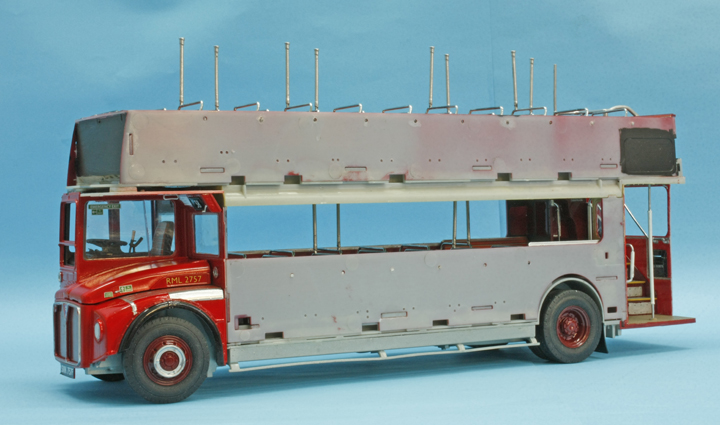
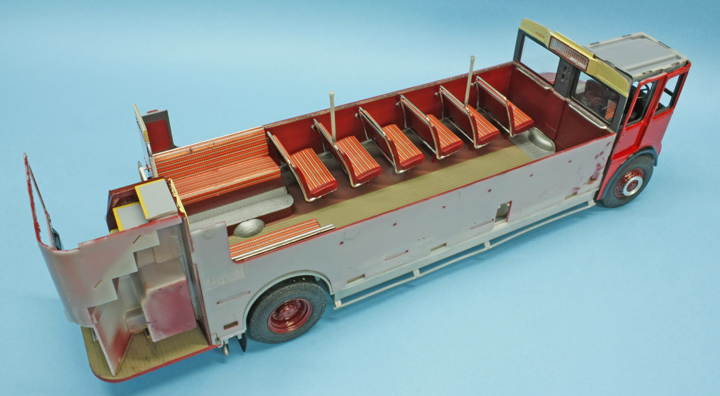
The exterior surfaces come in four assemblies, front, rear, and two sides when I came to fitting them all together I found I had one or two gaps where the ends met the sides and I could not find the reason for the problem but I think that the top deck floor may be trifle too long, might be worth while checking before final assembly.
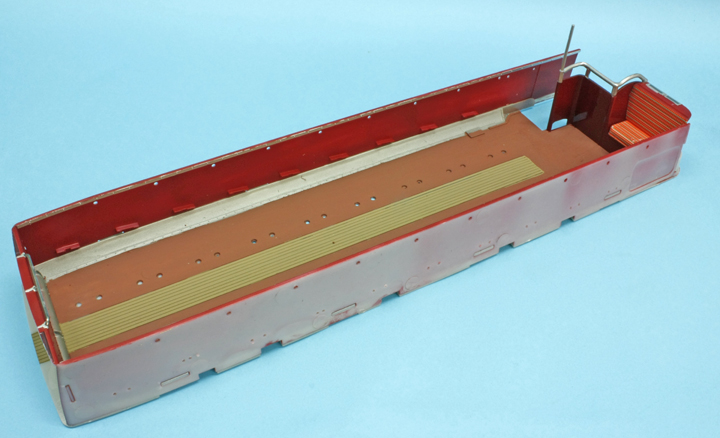
Step 61 before adding the top deck give the outsides of the side walls (parts E133 & F134) a sanding to remove any protrusions such as ejector pin marks and ends of the tabs or the side exterior panels will not fit flush.
All the windows are a tight fit and can just be pushed into position but I have run a fine bead of PVA glue around the surround and then placed the glass in position the PVA will dry clear and will hold everything tight. You get separate parts for the opening sections and with a little care you could open one or two quite easily by cutting off the top of the main glass and adjusting the moving section, I did one as an experiment and it looked quite good I thought.
You certainly get your moneys worth with this kit and I can recommend it to serious modellers with some experience its not difficult but needs concentration to get it correct.
Ted Taylor Dec 2011