Revell
He
111 P-2
German Bomber
Kit No. 04696. 1:32nd scale
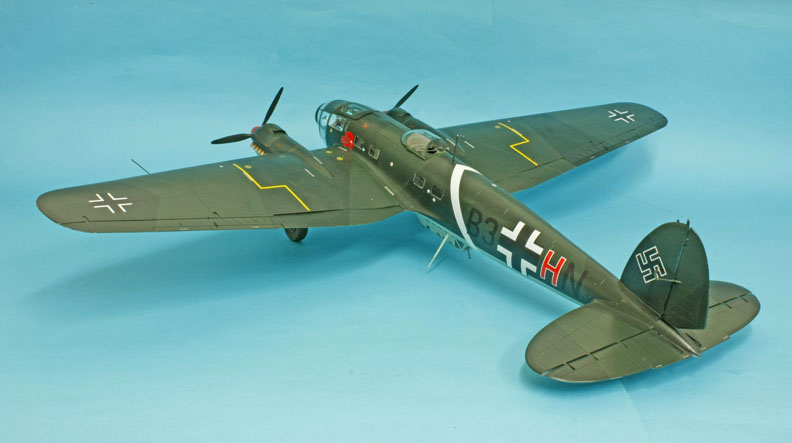
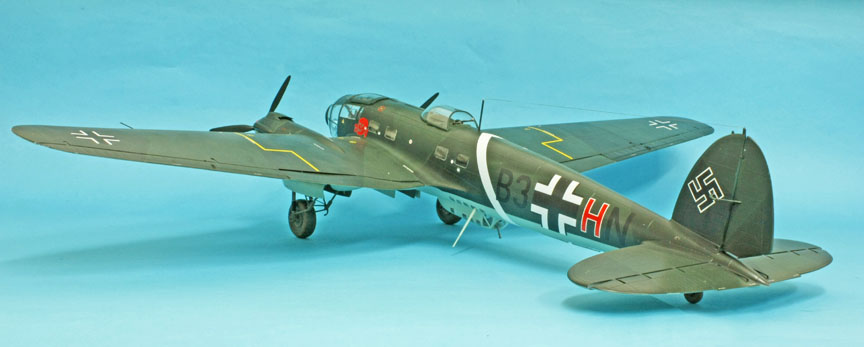
I think this must be the most famous German bomber of WWII and Revell have made a big thing of it and I mean BIG. Yes it is 1/32nd scale and it has the wing span almost equal to a 1/72nd B-52. I have never seen a model kit with such perfectly fitting parts as this before, I did use a tiny bit of filler in one area though but it was where I had pressed too hard on a join and it set overnight. I tested all my seams later with a dark grey paint and found all they needed was a light sanding just to clean up. The one thing that did impress me was the clear parts for the cockpit not only are they crystal clear but they all just pop together and may need no cement at all but A drop of Testors canopy glue was used in my case.
Revell kindly supplied final test shots to build the model and the instruction sheets were at an early stage so you may find some alterations when the kit is released.
My construction notes.
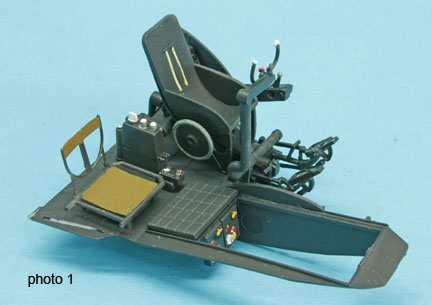
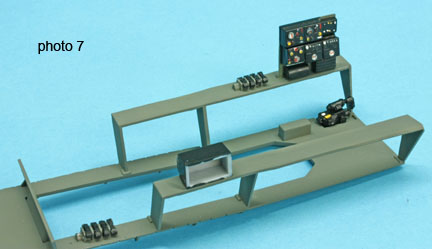
Step 1,2,&3 is basic floor assembly with no problems as you can see there is an option to open or close the floor boards note the RLM 66 colour of the cockpit area
Step 4 do not cement part 193 until parts 190 and the controls in step 5 are in situ,
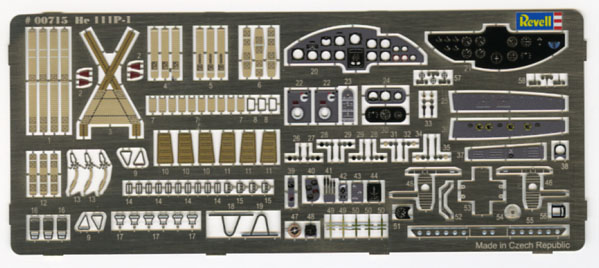
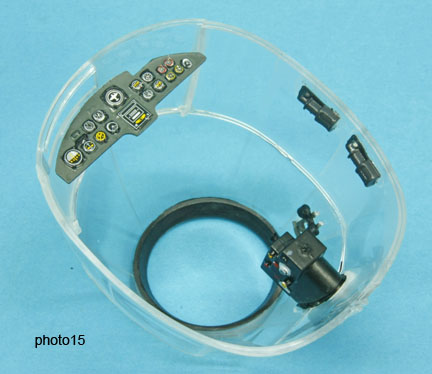
For those who like to add some extra detailing there is also a small etched sheet available from separately Revell containing instrument panels, rudder pedals and seat straps etc. etc. with full instructions on how to use them.
Step 12 I would suggest you do not cement the cockpit floor to the main bulkhead (part 45) until you are ready to close up the fuselage halves as several delicate parts may get broken during construction.
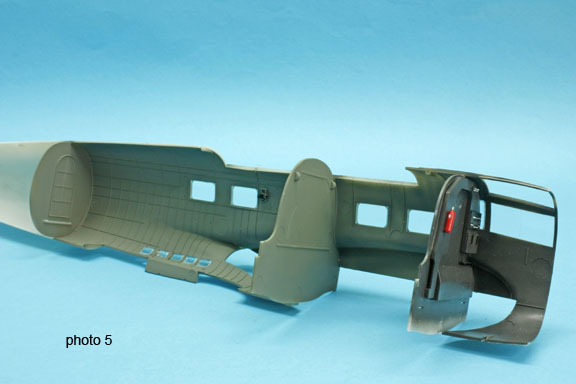
Step 13 &14 all the windows here are on an angle so try each part both ways up as one way gives a perfect flush fit and use only a tiny drop of liquid cement or PVA glue to fix them.
Steps 15 & 17 Fit the three bulkheads into the fuselage but close up the fuselage halves temporarily to check alignment.
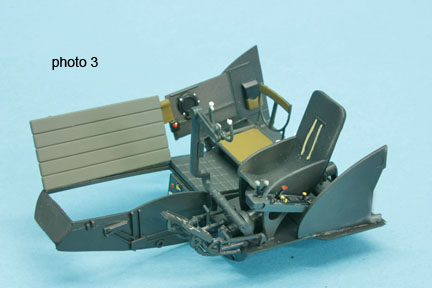
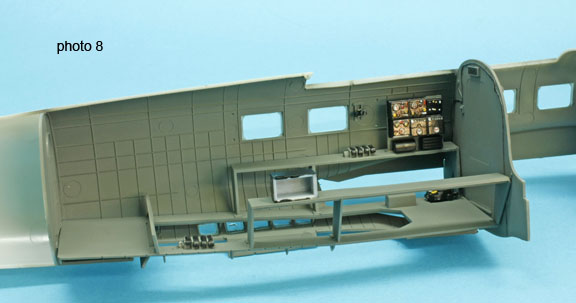
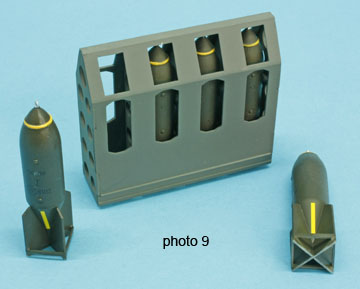
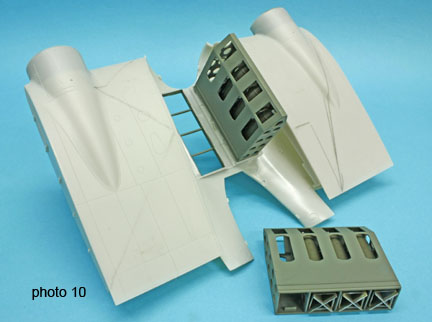
Step 18 I built the floor of the radio compartment as a separate item to be positioned later when all the radios etc. are painted and in position, on the port side there is a location for the radio (part 352) which means you must move the Magazine rack rearwards from that shown.
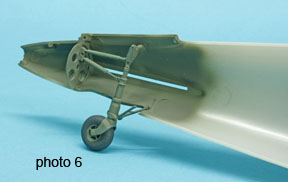
Steps 22-24 some of the parts are very delicate so take care, make sure all parts are cemented properly and use the other half of the fuselage to ensure correct alignment or the tail leg will wobble.
once installed it looks quite good
Step 30 I found it tricky to fit the walkway (part 49) as shown so I fitted it between the bomb racks at a later stage before I inserted them into the fuselage.
Steps 45-46 the wheel bays are handed so make sure all the sloping parts match up with the side parts, have a dry fit to check first and mark port or stbd.
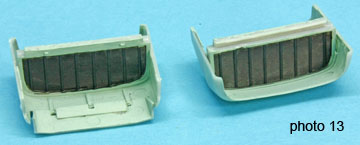
Step 31 a little improvement here if you thin down the front edge of the intakes.
Step 32 I did like the hollow exhaust pipes and I did thin down the ends before cementing the halves, I left them out of the cowlings until I was ready to mount them as they will slide in quite easily later but I masked them off before painting .
Step 42 do make sure you put the radiator in the correct way around as it has to hook onto part 22 of the cowling.
Steps 49-52 when building the cowlings I marked each as port or stbd and added the parts 20-21 and parts 32-33 then, but I checked them out against the wing each time before cementing and I was able to add Parts 28 to the assembly which locked in the radiator it seemed much easier that way.
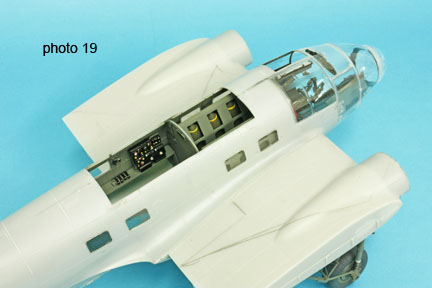
Step 59 there are four tiny tabs on the fuselage where the centre wing fits make sure the tabs are all tucked away nicely. I taped the model to allow it to set overnight and photo 19 shows how good the joint is
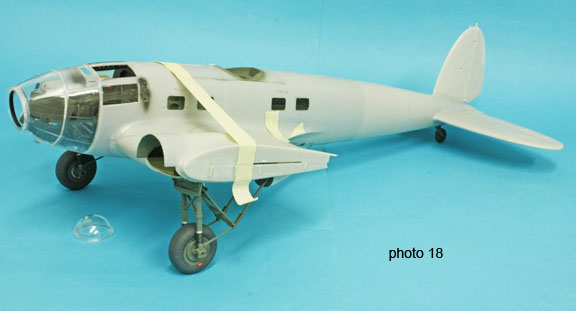
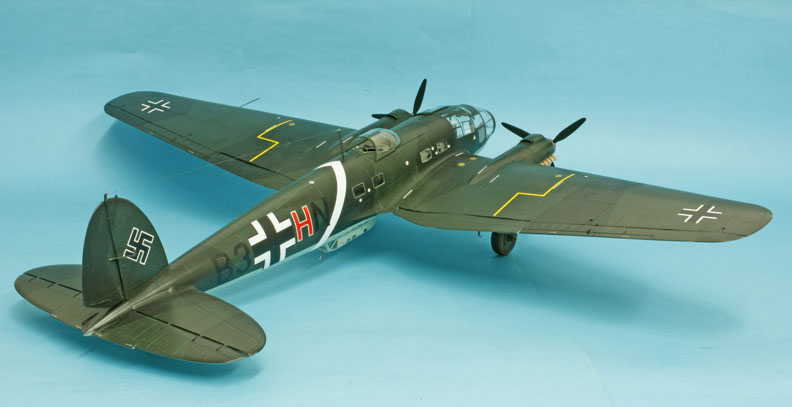
Steps 60-63 I built up the outer wings and added the ailerons but I never added them to the centre section until after all was painted as it just gets too big to handle easily, when joined the seam is perfect in fact it looks just like a panel line, and adding the main flaps holds them in position. The flaps and ailerons are poseable but remember when the flaps are down the ailerons move down slightly in sympathy, all are a very tight fit and probably wont need cementing and so remain adjustable, photo 20 shows a dry run.
Step 70 when assembling the fin and rudder add parts 133-134 but only use part 132 as a guide as later if you have the swastikas (not supplied in the kit) it will interfere with the decal placement.
Steps 71-73 The tail planes are handed so do a dry run making sure the trim tab actuators on the elevators are on top, I got it wrong and needed some corrections.
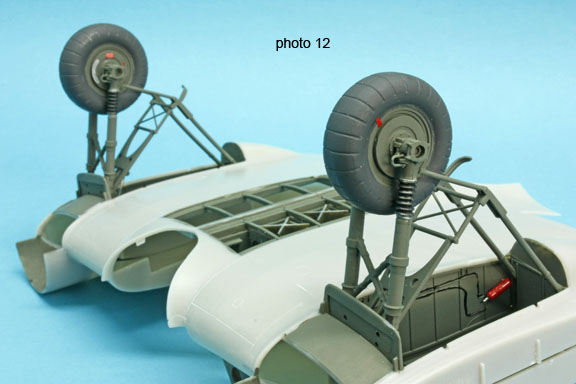
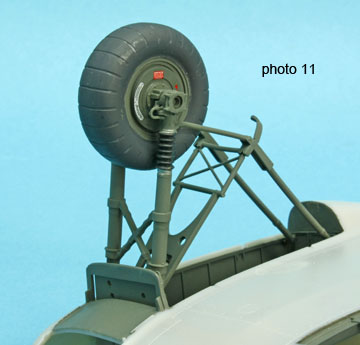
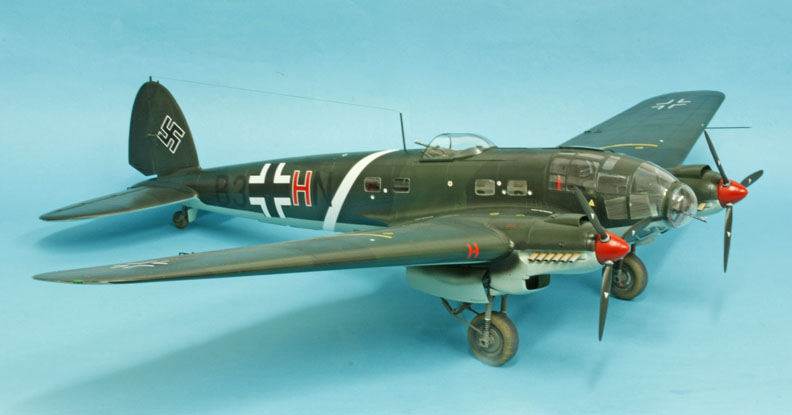
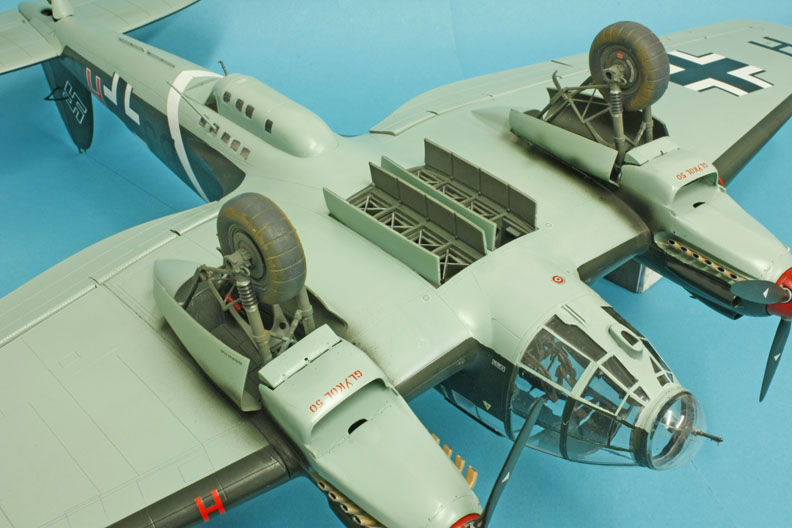
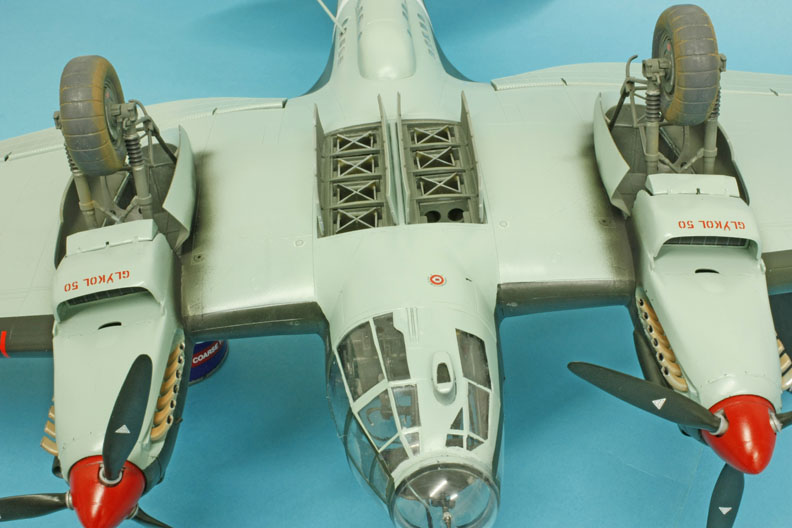
Steps 75-81 The undercarriage is quite detailed and just a little complicated so I built the whole section up before the bays were mounted in the centre wing (see photo 12,) much easier to handle. The wheels are nicely detailed with separate hubs so they will rotate independently and there are even decals for the hubs and creep marks for the tyres, I have not seen that before. The U/C legs are quite strong with the gaiters nicely detailed and although some struts may look fragile they are strong when assembled and need to be as this is a heavy old lump.
Step 81A This is a tricky bit you are expected to spread the legs apart so the wheel hub will go into the axle bearings at the bottom, almost impossible! I eventually shortened the hub axles by a fraction to make it a little easier but an alternative method would be to carefully cut off the lower half of the bearing and cement the hub in place then replace the lower half, the wheel will still rotate on the hub if you want it to.
Step 82 There are two pairs of gear doors supplied but some confusion around the numbering of parts on the sheets, the larger of the two are for the outboard side of each nacelle and the smaller are for the inboard sides this is due to the dihedral of the wing, check with a dry run first.
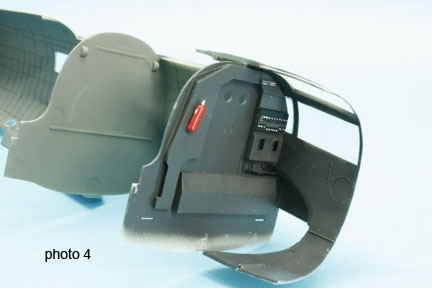
Step 88 The machine guns are little gems with ammo boxes and gunsights but for those to be used in the nose and gondola do not fit the gunsight (part 223) or it will not go through the holes on the windows, of note here both nose and gondola gun windows are a tight fit and need no cement at all.
Step 94 The roof of the radio compartment (part 325) is a tight fit so needs not be cemented and can be lifted to see inside the cabin.
Step 99 Part 174 is a sliding panel and fits on the outer surface not the inside , also in step 102 part 307 acts as a windshield when the panel is open so can be posed upright if you so wish.
Step 100 The bombsight (part 176) has a sloping moulded line around it make sure this line is on the outer surface when cemented into the nose section or the floor boards (part 185) may not lay flat.
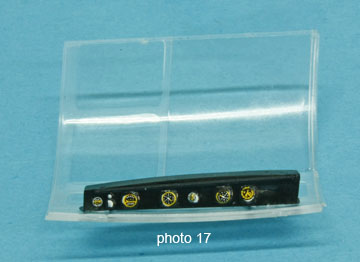
Step102 The instrument panel comes with raised dials and a decal which is awkward to fit but I cut each instrument out and placed it on the appropriate dial then varnished them to seal each piece in and it worked well. The same applied to the overhead panel in Photo 17
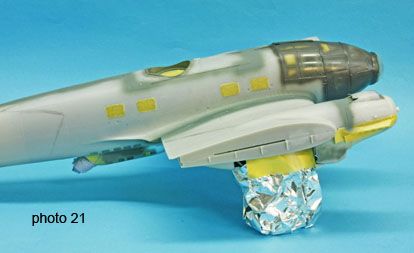
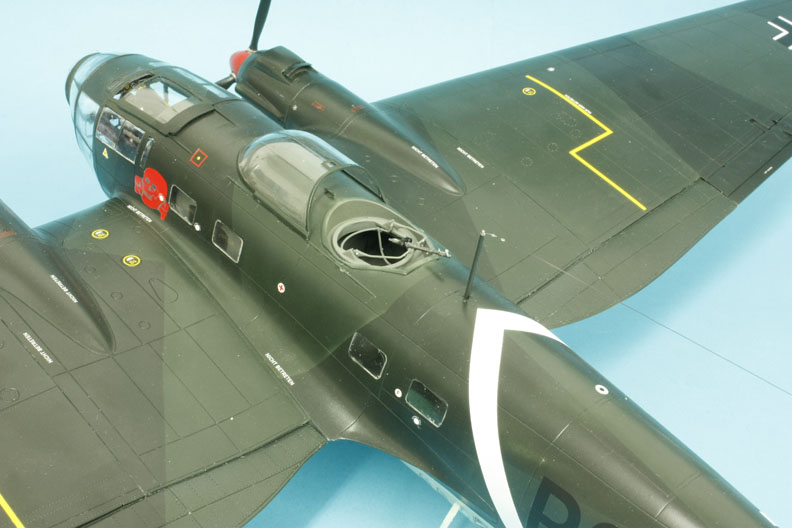
The remainder is straight forward except for masking and Painting, the masking of the cockpit is interesting because the window panes are so finely marked you can not see where to cut each mask if using Tamiya tape so tiny pieces of Sellotape (scotch tape) were used and the frames can be seen through this. I have found in the past there may be some sticky residue left behind but a drop of lighter fuel on a cotton bud will remove it with no trouble.
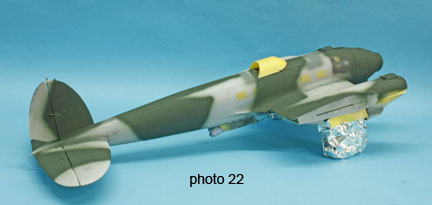
Photo 21 shows the seams test with dk grey paint and the interior frames colour for the cockpit while photo 22 shows the lighter green put on freehand
To mask for the second colour I just use narrow Tamiya tape and keep the airbrush almost closed to establish the edges then in fill with it only slightly wider, on such a big model this saves a lot of masking tape
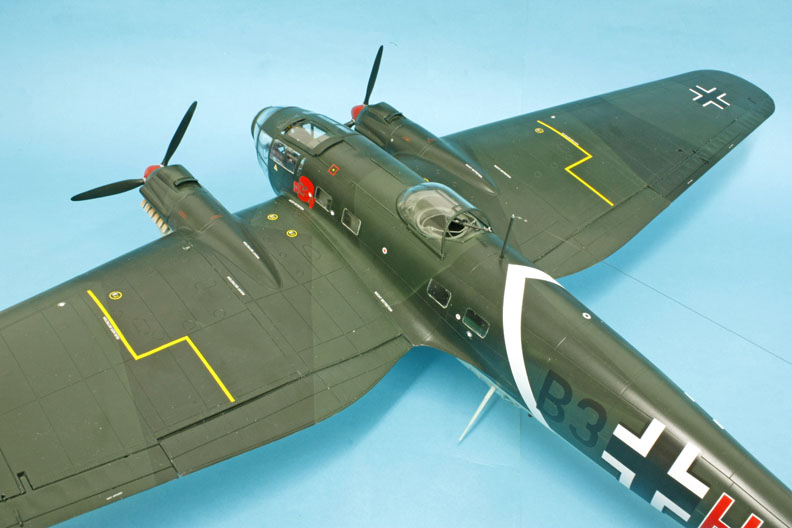
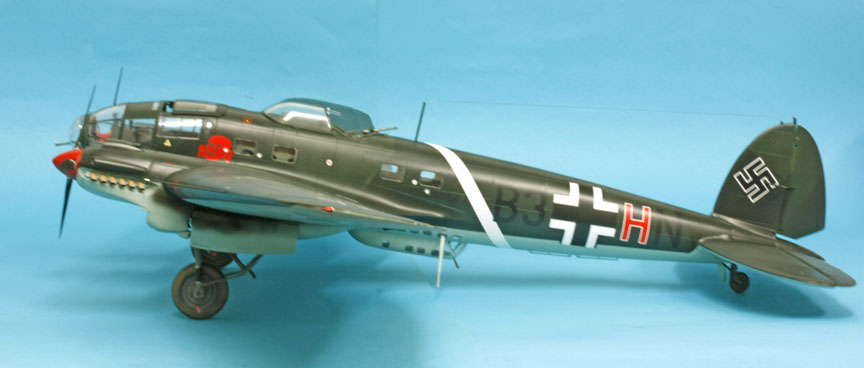
I have used Revell paints for the camo RLM 70-71 which are a pretty good match to my Luftwaffe charts with Helblau RLM 65 undersides. A coat of Johnsons KLEAR (Future) sealed it in and makes a good base on which to put the decals, another coat of Klear seals them in and a final matting coat will give a nice sheen.
I can recommend the kit to any Luftwaffe fan with plenty of room; it gave me two weeks of enjoyment.
Ted Taylor
June 2011