Italeri
AC-130
Hercules
Gunship
Kit No. 139. 1:72nd scale
Italeri
AC-130
Hercules
Gunship
Kit No. 139. 1:72nd scale
The Hercules has been around for nearly 30 years now and the Airfix model of it almost as long, it seems. So a welcome recent double release was Italeri’s version of the old Herky bird. Two kits are available and the majority of both use common parts but there are separate “B’ frames to give the three bladed C13OA with mini guns and cannon, etc., to make the Gunship version (kit No 139) and in kit No 140 you get the four bladed C130, E, H, K.
<>AC13OA
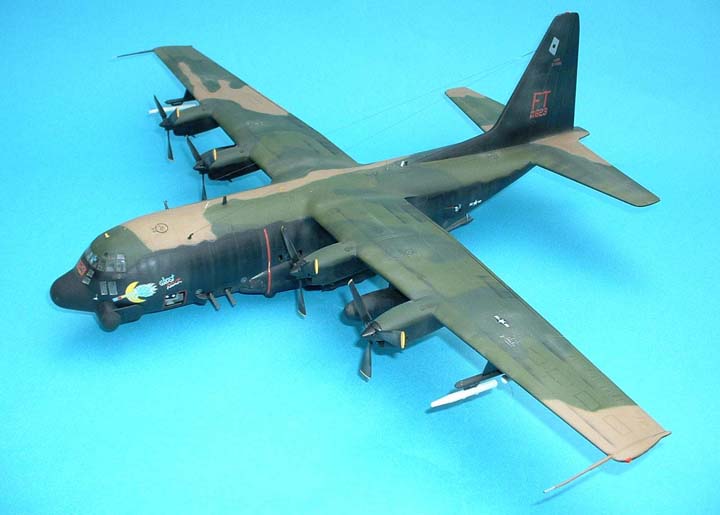
In the AC13OA kit, the parts are moulded in black plastic — sensible, since approximately 70% of the aircraft is painted black for one set of markings provided. The mouldings are sharp and the fit of parts is excellent although with a wingspan of this size, one should make sure that the wing halves are assembled absolutely straight and that the cement is hardened before attaching to the fuselage.In fact I found the wing/fuselage joint so good that it was possible to paint the wings and fuselage completely before adding one to the other. The location holes for the wing tabs need slightly enlarging (a light scraping is enough) to allow perfect alignment of the wing; the joint is so tight, one is in danger of breaking the fuselage joint if you want to remove the wing at all!
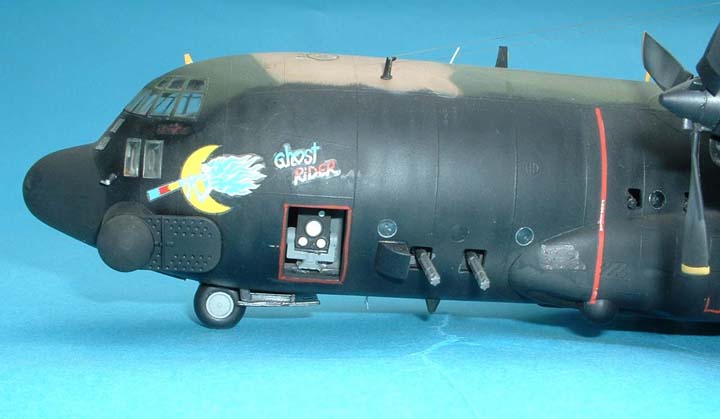
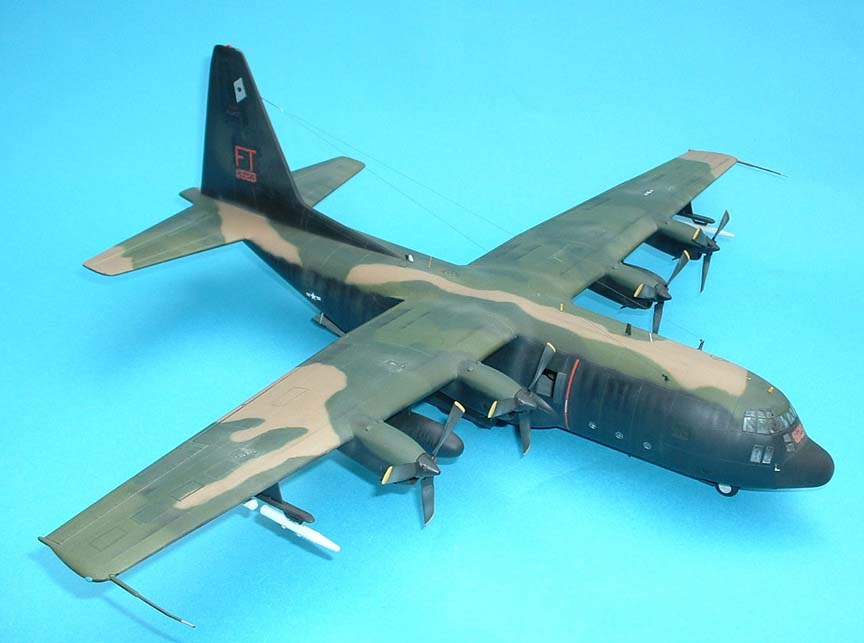
The outline shape matches the drawings supplied in “Aviation News” Warpaint series No 5 on the Herk; and the raised panel lines on the kit, when painted, look about right. The fit of the windows in the nose area is very good but note, all the small windows are fitted from inside so make sure they are cemented securely or you might push them out of the locations during assembly.
Interior detailing of the cockpit is not complete but enough is provided to make it look busy whilst the main hold detail is simply a floor with wheel arches. Of course the guns and mounts are provided but the interior of the AC13O should be full of boxes, cupboards, shelves etc., none of which are there. On the plus side, the area around the rear doors has some raised ribbed detail including the hydraulic rams for the loading ramp with their appropriate cut-outs in the fuselage sides (a feature lacking on the Airfix kit).
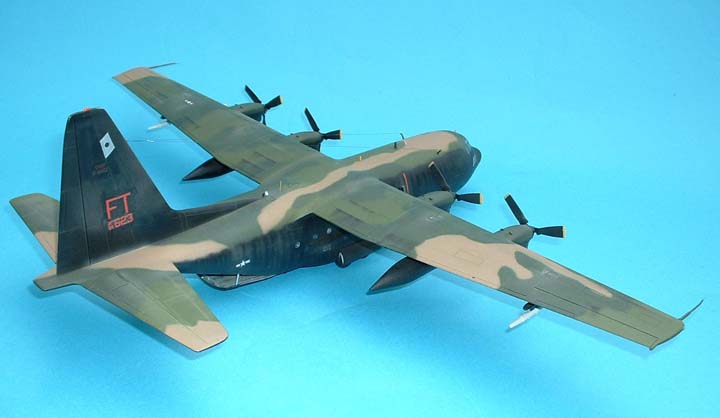
There are no moving elevators and rudder, etc., but the outlines of these items are nicely engraved giving the appearance of separate components. The large under wing fuel tanks are provided and pylons with mountings for the ECM pods, 4 in all, are fitted. The various radar detection domes along the fuselage are supplied quite correctly as far as I can tell and the extended sponson on the port side is provided as are all the little wind deflectors around various gun and window spaces. The armaments (guns) provided are a reasonable representation of the varied types fitted the 40mm Bofors are a little crude but could easily be refined.
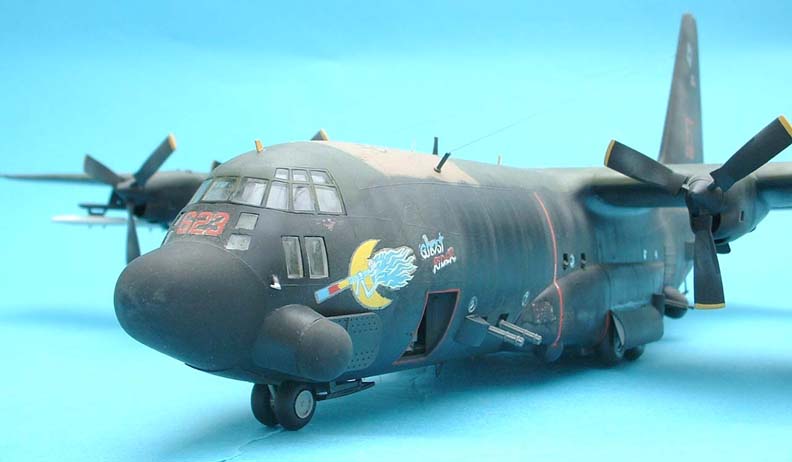
The whole model is easy to assemble requiring only the slightest cleaning up around the engines and tailplane joints; the hardest job on this model is deciding which colour scheme to employ! The SE Asia scheme with black sides and under surfaces or the Gunship grey outfit? I eventually chose the first scheme with a lot of weathering which I achieved by adding some white to the basic colours to represent faded paint with various panel outlines picked out with colour straight from the tin to give the impression of areas of wear being retouched.
I used Compucolor paints ( unfortunately they no longer exist) which, in my opinion, were one of the best available and they give a very smooth finished sheen. If one uses a flat brush to dry brush matt varnish around leading edges an appearance of weather and wear can be simulated.
The black sides, etc., are supposed to be glossy black on the full size but this soon wore down so I have used Humbrol 85 semi-matt black which was over sprayed with “Floquil dust” in vertical lines along the fuselage where the skin wrinkles. All weathered Herks seem to have this feature.
I used the decals supplied but as with a lot of Italian decals they “silver” quite a lot so use your own favourite method of getting over the problem. When all was complete I added all the little blade aerials, which sprout from these “Angels of Death” from thin plastic card and fine rod.
C13OE, H, K
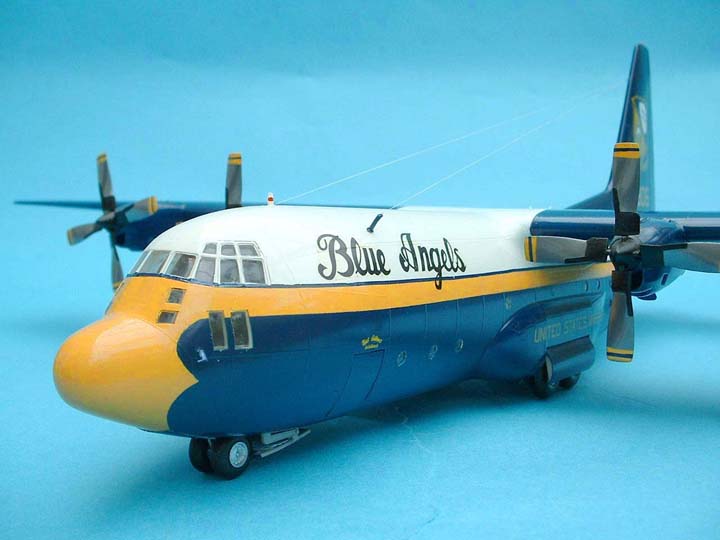
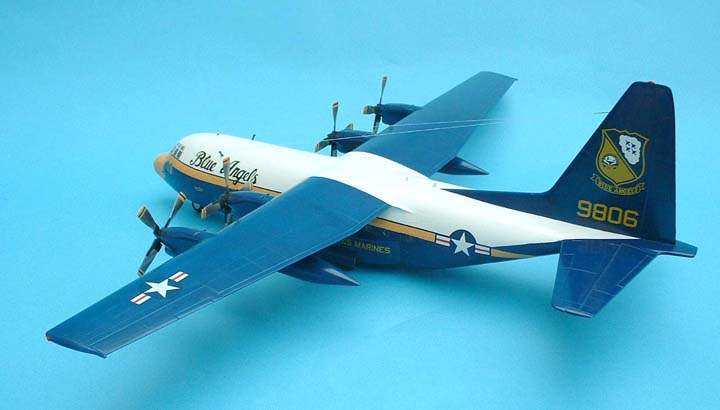
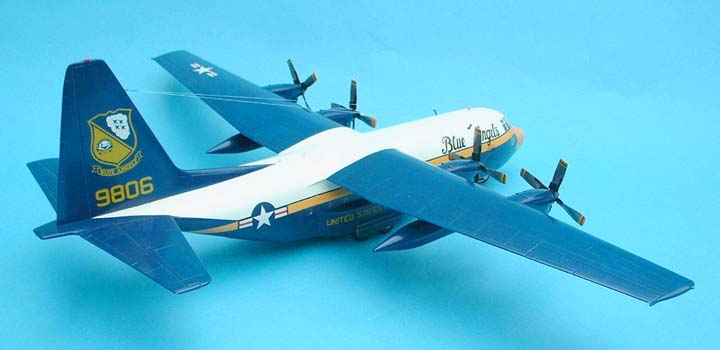
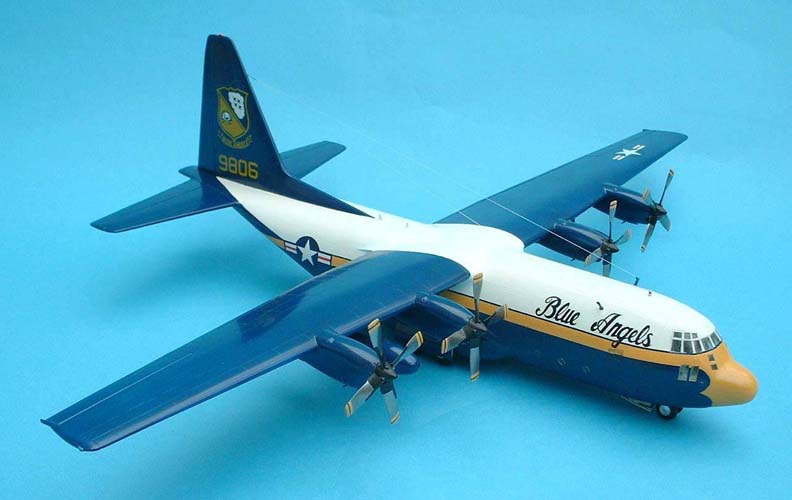
With this version of the Herky bird Italeri have given us the later 4 bladed props (and spinners, of course) with the standard port side sponson and no less than 5 different colour schemes with markings for USAF, RAF (in early sand/brown scheme), Italian AF, Swedish AF plus, of course, the support aircraft for the Blue Angels demonstration team in its striking white/yellow and blue colour scheme which carries the legend above the crew entry door of Fat Albert “air lines” not “ercules” as supplied on the decal sheet.
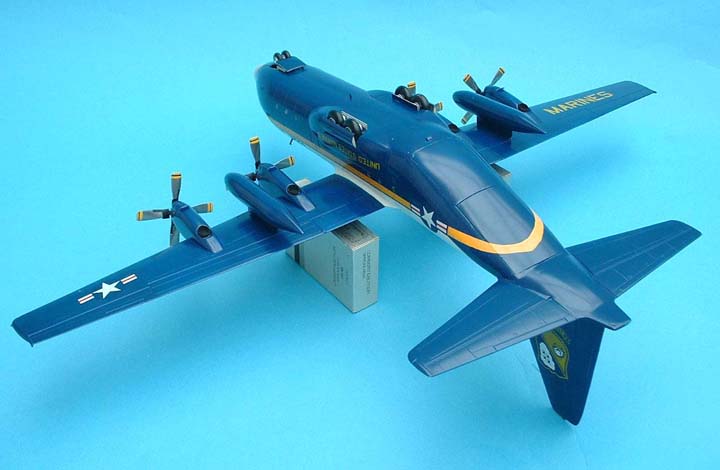
This has gloss and matt finishes in the appropriate cases, but I think the yellow on some parts is not quite correct. The crew entry door and steps are provided, with the rear side doors and main cargo doors enclosing the pretty well empty fuselage shell. Whilst I’ve heard many criticisms of the lack of detail on the interior I feel that the many complex areas on the inside of a ‘Herky bird’ are probably too much to give a realistic effect in model form, but if it could be achieved it would probably put the moulding cost up to an unacceptable price.
The plastic in this version of the kit is white which is very convenient if you want to do the Angels’ aircraft, which has white upper surfaces. I found it easiest to spray a band of yellow (use Humbrol 69 with a dab of red) along the fuselage. This was then masked before the white was sprayed and here, although I haven't used the scheme depicted in the instructions, I am reliably informed that the sheet is wrong.
The section of the fuselage at the wing roots should be white not blue as shown; this is confirmed by our friend David Hannant who actually climbed up on top to look! This makes painting easier as the wings can be sprayed separately without masking and assembled later. The blue used for the Angels is available from Xtracoloror and from “Sanyo Gunze” model colour which is water soluble and quite pleasant to spray. One small point here; the instruction sheet has 2 sets of paint codes, one for internal colours and one for external. Don’t get them mixed up or you could be looking as some pretty but unrealistic prop blades.
The addition of the appropriate aerial blades from card plus the aerial wires from invisible thread made what I think is quite a striking model from a very good kit, well worth the asking price and a must for those who like current US 1/72nd aircraft.
There is a decal sheet from “Golden Wings” devoted to “Fat Albert” both in earlier days when it was gloss white overall and in the current scheme. Both sets of markings are quite attractive and provide an opportunity to make quite bright versions, but I am not sure if it is still available.