Trumpeter
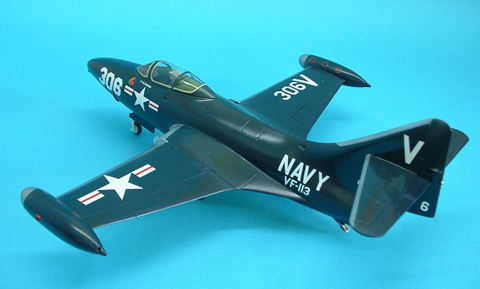
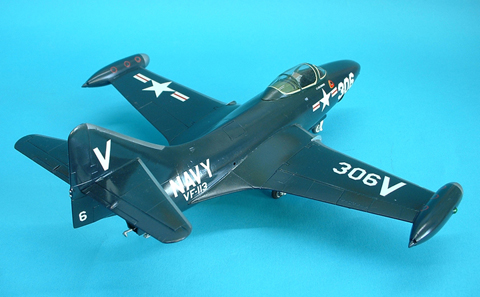
F9F-2P
Panther
Early Jet Fighter
Kit No. 02833.
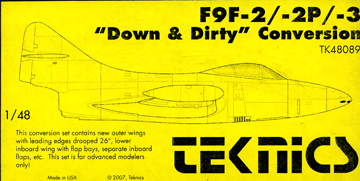
1/48th scale with TEKNICS conversions.
Soon after the end of WWII I had become accustomed to building Balsa wood models aircraft and wanted a change, my local bicycle shop also sold flying models, mostly gliders, but on one shelf there was a new fangled jet aeroplane painted in a dark blue colour which caught my eye and I shot off home to start my new purchase.
On opening the box I was amazed at all the Balsa and tissue paper inside and how big the plans were, undaunted I proceeded with formers and stringers and balsa glue until I had an airframe which was then covered with my tissue paper. Another trip to the bicycle shop procured some brushes, paint and some tips from the owner and before you know it I had a model with American markings of an aeroplane known as the Panther. I can remember buying a Jetex kit and fitting it but I think I never flew it with power on in case I broke my fantastic model, but the memory of that first flying build has stayed with me forever and when the Trumpeter kit arrived for review I just had to build it.
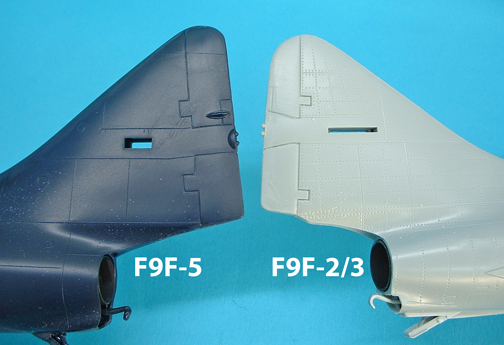
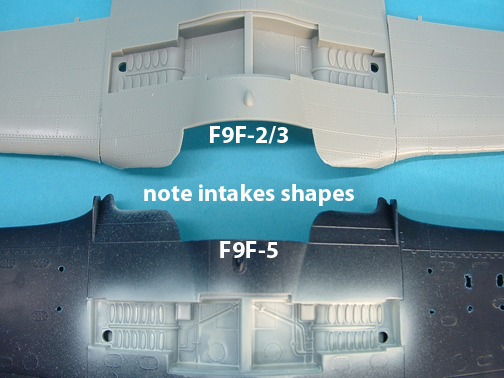
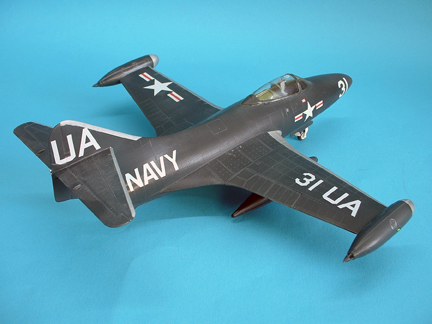
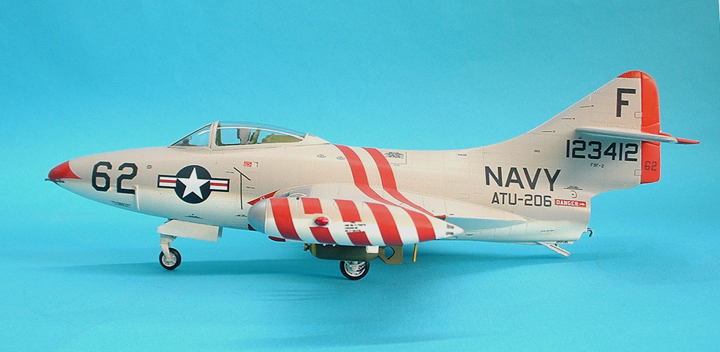
There were two kits released, a fighter and a photo reconnaissance version both of which are nice kits but there are a few faults that need correcting to get an accurate Model. At the same time Meteor Productions released a number of aftermarket sets in their Teknics range to overcome these faults so I have built three models to show the variety of types and also a fourth, the Monogram kit of the F9F-5, to show the main differences between the later planes and the kit version
The Trumpeter kit is an easy build straight from the box and there are a number of decal options available to keep most folks happy but there are a couple of points to note before you begin.
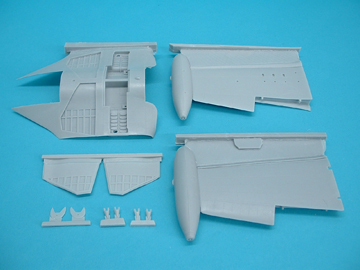
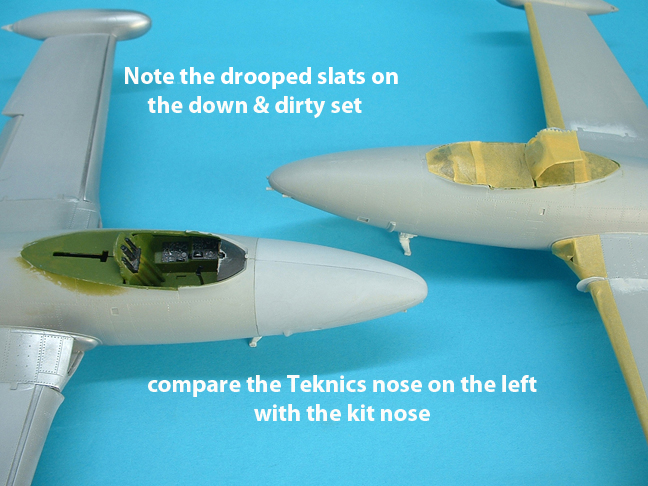
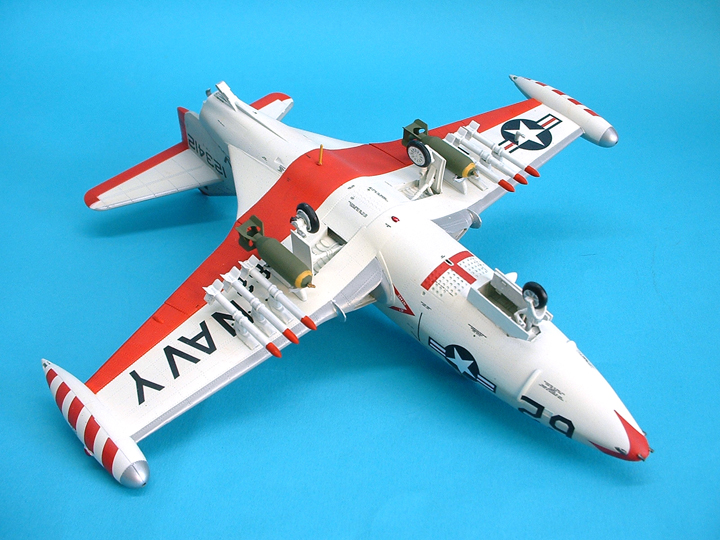
1. The flaps are separate items and you may wish to show them drooped but be aware that if these are down then the flaps under the centre of the fuselage will have to be drooped as well and the leading edge slats will have to be extended too as all these work in conjunction with each other, Teknics down and dirty set provides all you need to do this.
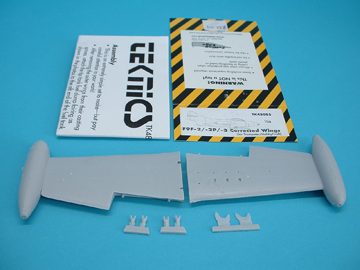
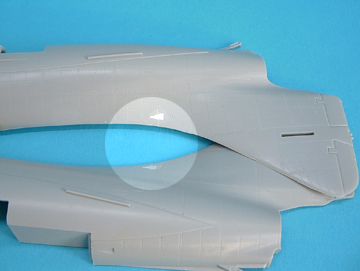
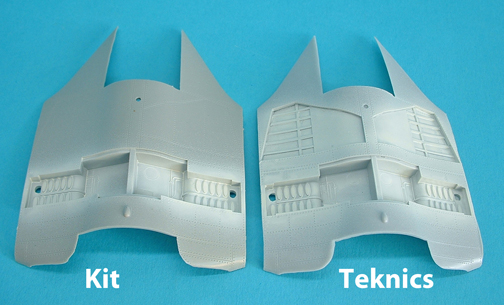
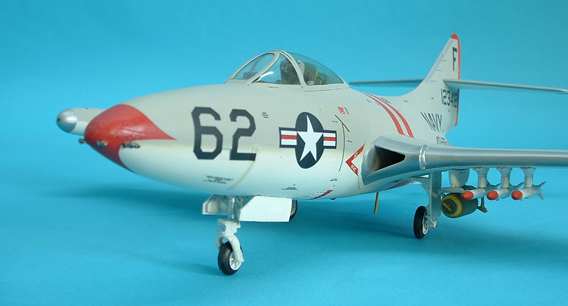
2. Some kits may have some sink marks in the outer wing panels I am told and the corrected wings set overcomes this and gives the correct shape wing tanks with the detailed fuel dump fairings plus you get the wing fences of the right shape for the F9F-2/3
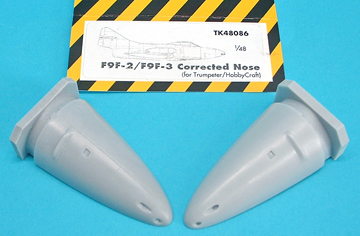
3. The shape of the kit fighter nose is suspect, a little too pointed I think so a new resin nose section is provided which simply fits on in place of the kit nose.
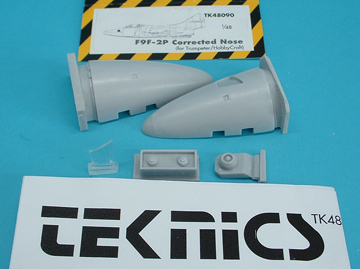
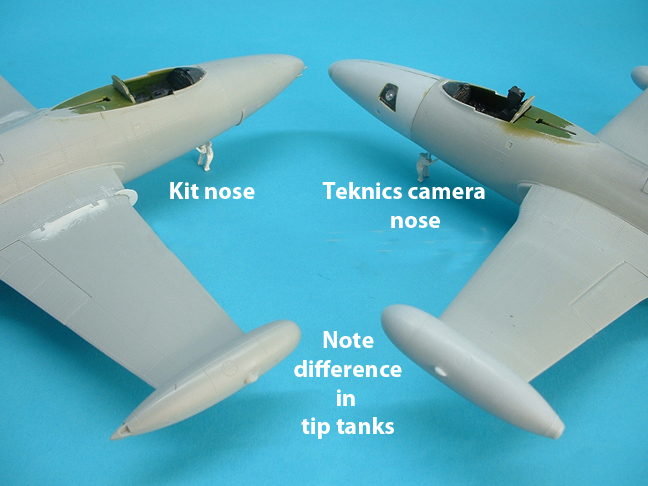
4. If you have the F9F-2P kit then youll find that there are no camera parts to place in the nose and the main camera window is the wrong shape, size and position, the Teknics nose covers all these problems and is the correct shape as well. All the instructions needed for the conversions come in the packages and should provide no problems.
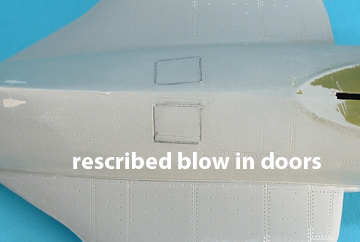
The kit parts need a little attention before you start, there are two NACA ducts at the base of the fin and these were not on -2/3s but were on the -5s so these will require a little filler. The two blow in doors on the top of the fuselage are the wrong shape for this type and should be filled with a drop of superglue and new ones inscribed, a pattern is provided on one of the Yellow hammer decal sheets that are available
My construction notes
Step1
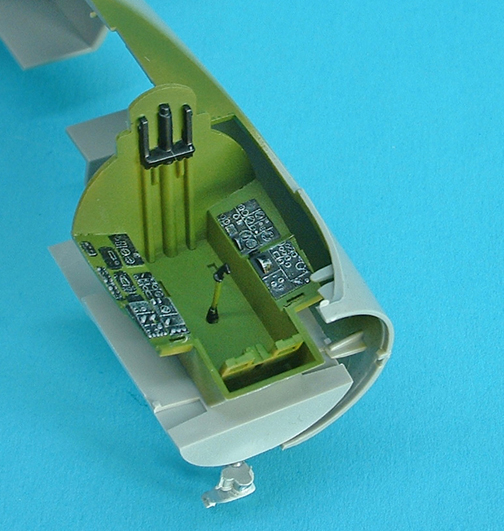
The seat is fairly basic and at least needs some straps made from your favourite material, the colour of the seat is questionable, it is a bare metal seat with a preservative coating which could have a greenish hue, but most photos I have seen the seat seems to stand out as light silvery colour so take your choice.
Step2 Paint the panel behind the instrument film white to give more effect when assembled.
Step3 The cockpit colour isnt field green it should be ANA611 interior green and Humbrol 158 is an equivalent it is also available from Xtracolor X117.
Step4 I find it dangerous to fit a nose leg this early especially when there is sanding of joins to be done still but it is possible to fit part A31 much later if you wish but try it first.
Step6 Make sure part C2 is neatly settled right down or you could have a problem fitting the wind shield later.
Step10 Dont forget the nose weights here.
Step11
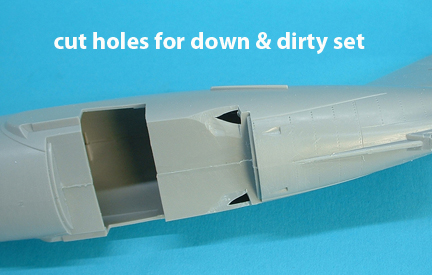
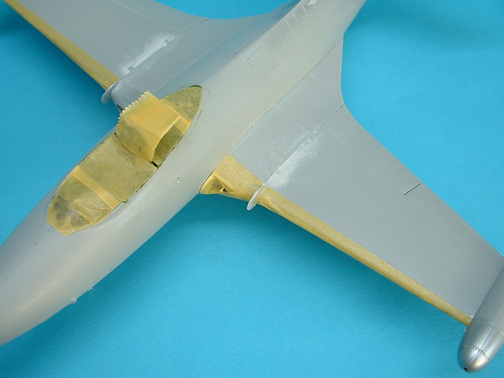
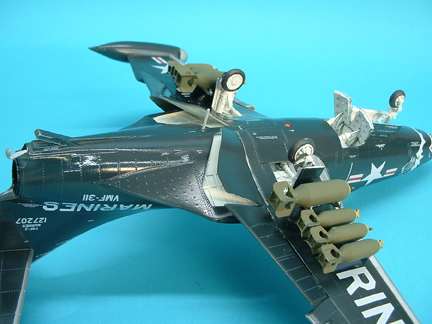
Dont fit part C1 yet it will get broken during construction believe me, If you are using the down and dirty set you will need to cut away a small amount of plastic at the rear edges of the fuselage to allow for the depth of the flap bays (see photo)
Step12 Before adding parts A9/10 remember to paint the insides as it is difficult to do when in position.
Steps13/14/15 If you have not mounted the nose wheel leg you will be able to paint the wheel bays with Humbrol Hu130 satin white then mask them with the undercarriage doors held in with a bit of BluTack while the main colour is applied. When you do add the retraction arms parts C29/30 pay attention as they are handed.
Step16 If you choose to leave the canopy open you will be faced with a large slot in the middle of the rear shelf and it looks awful, so either leave it closed or fill the slot with plasticard and filler early on in the construction either way you wont need part A28.
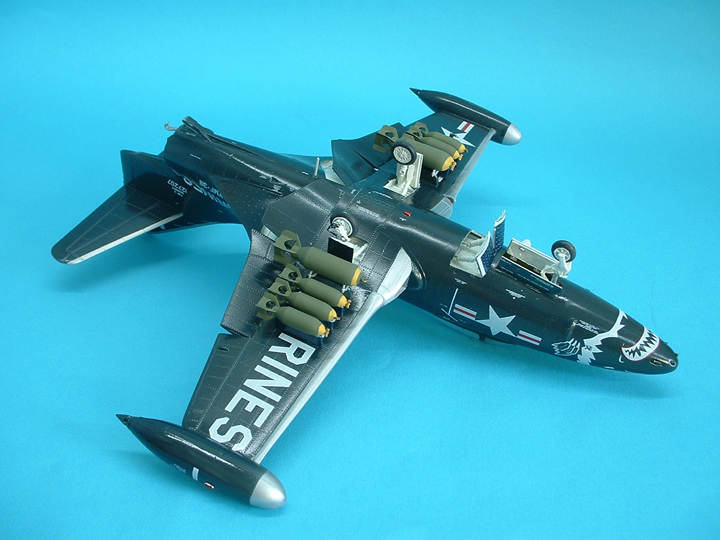
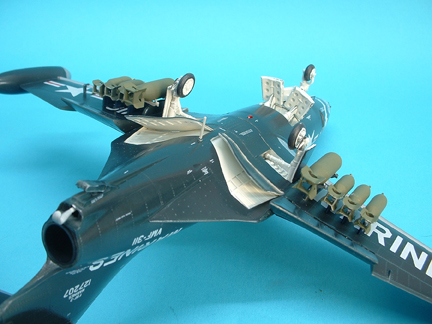
Step17/18 You will need to decide whether you want bombs or rockets for your war load, for bombs open both holes for each pylon in the lower wing, for rockets only open the square hole at the front. Do not fit the pylons until the decals are in place or you could have difficulties later. Unless you have the Down and Dirty resin set do not droop the flaps as the central flaps come down at the same time and the leading edges droop as well, one doesnt happen without the other. Part C33 should not be fitted it was only there to stop any leakages from the tip tanks, the tiny hole in the front of the tank is there to pressurise the tank in flight.
Step21 The rocket pylons are handed so lay them in position and check that they all face in the same direction before cementing.
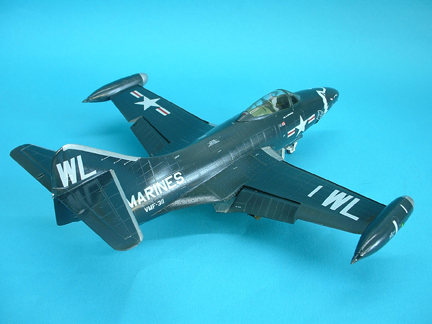
Step22/23 If the wings are to be assembled down then parts C6 are adequate but if you want them folded I would suggest the use of some brass rod bent to the correct angle as an alternative to parts C5 and you will need to do a little detailing of the inner surface of the outer wing joint for a little more realism.
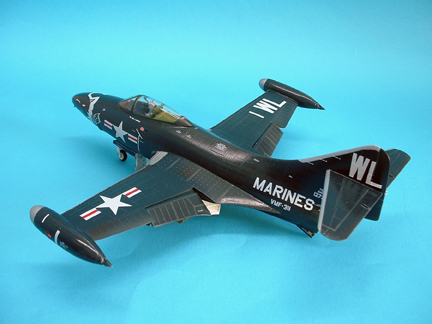
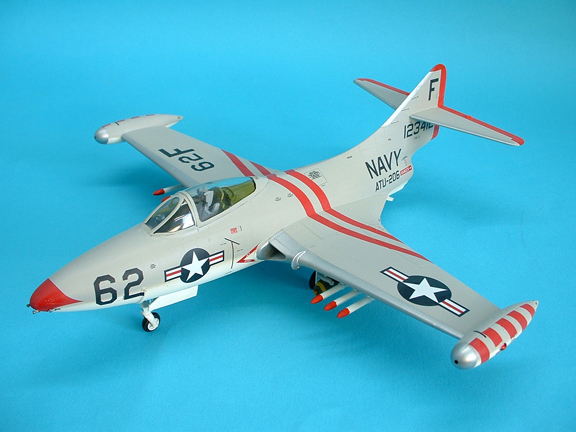
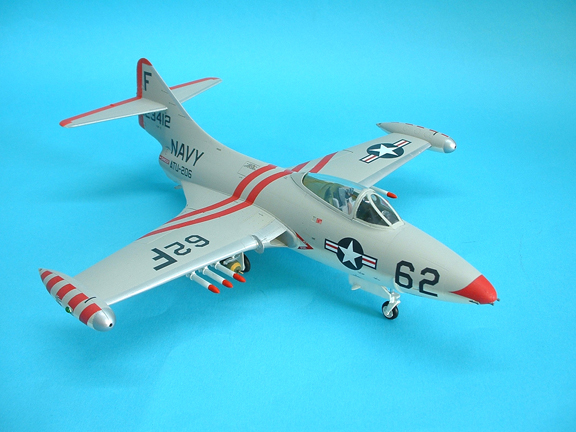
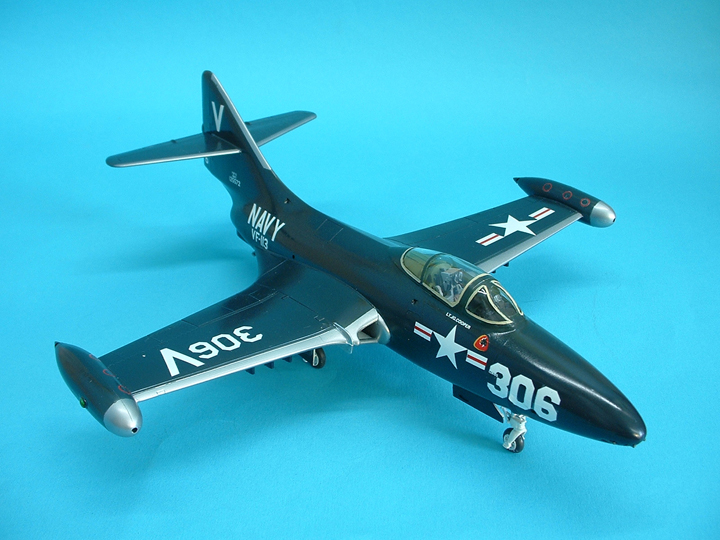
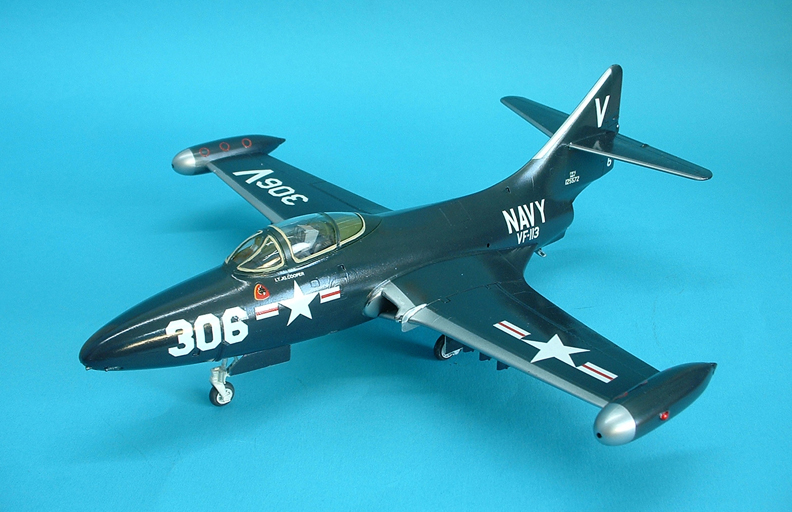
Painting and finishing
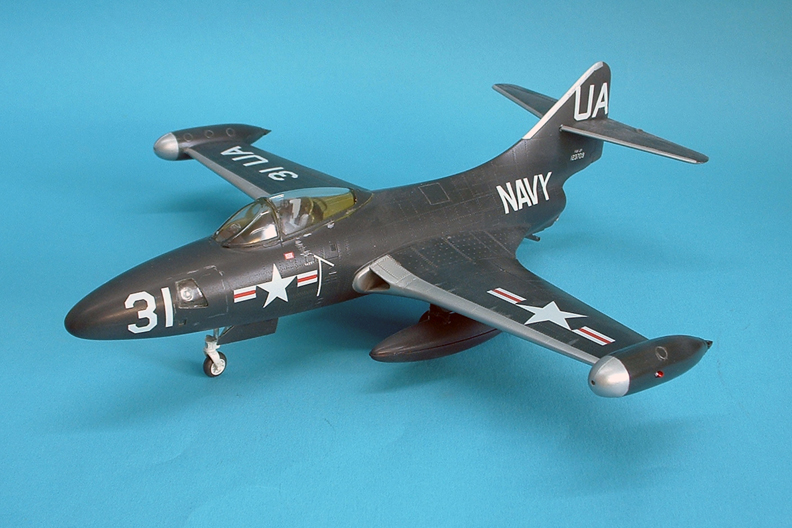
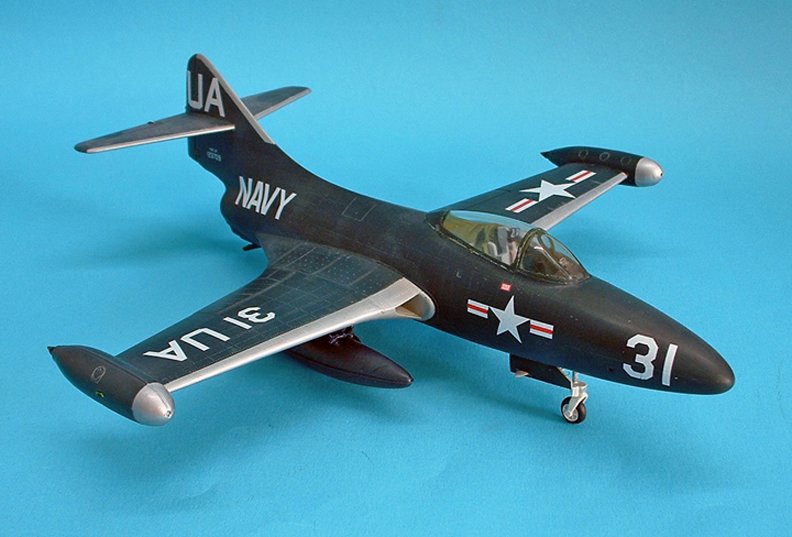
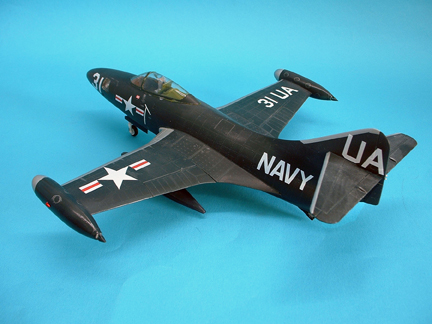
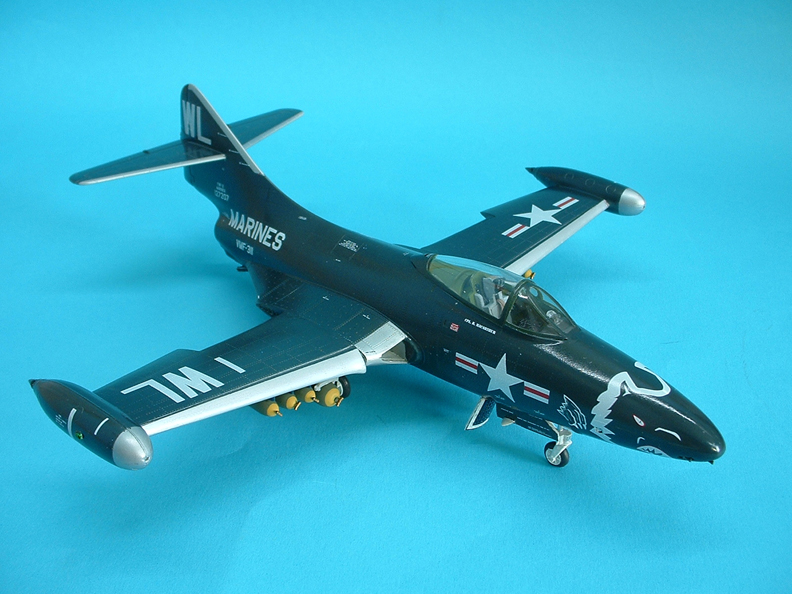
All my canopies were masked and fitted with Testors clear parts cement next came the painting of the leading edges I have used Alclad ll sprayed on freehand, keeping as tight to the edges as possible but not worrying about some over spray, later some of the overall colour will be scraped off to show some bare metal wear and tear. The next day the silver was masked using Tamiya tape and the overall colour was applied, the sea blue gloss I used was Xtracolor X121 but Humbrol Hu181 is the same colour.
I gave myself a day off before dusting a couple of coats of Klear (future) on to give a smooth base for the decals. The decals were very thin but the white areas were strong enough to not let the blue show through and they conformed to the surfaces very well without the use of setting solutions. Another coat of Klear sealed them in and a little weathering/ wear and tear was added just to finish the job.
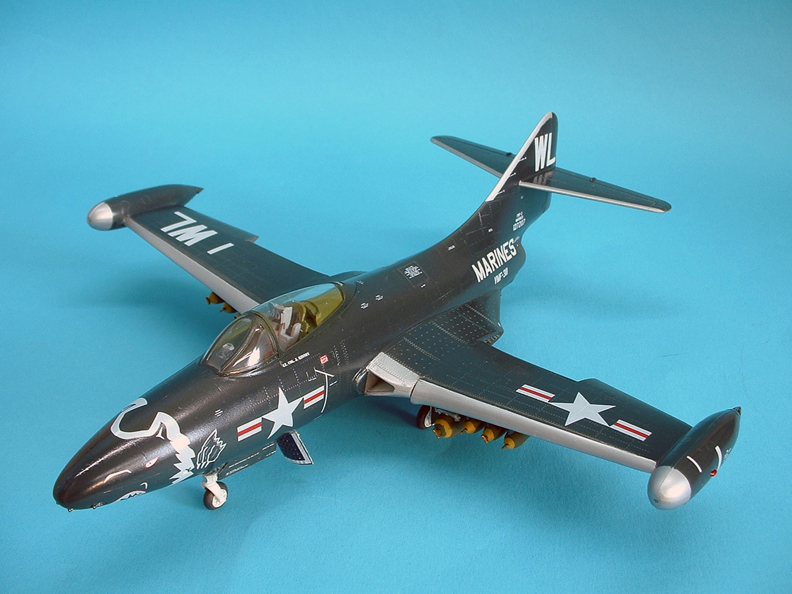
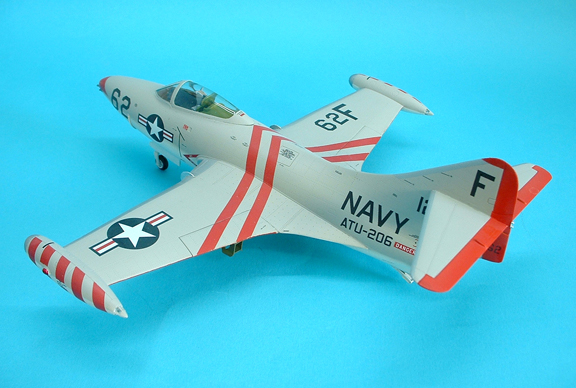
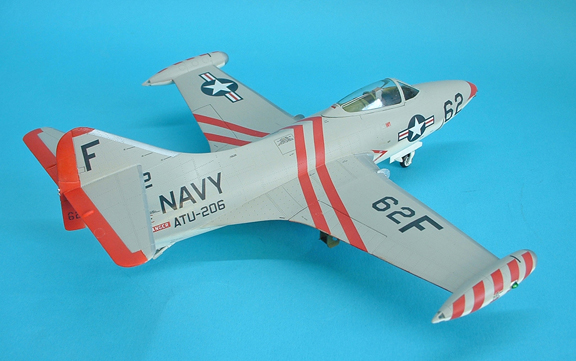
All the masking was now removed and the Pylons and undercarriages were added as appropriate, bombs or rockets were painted up and mounted and any little details attended to. I did open one of the canopies but with that great slot showing I decided to close it up again and I had a very nice bunch of panthers.
The kits turned out to be an easy build and the conversion parts all fitted just as if they were the kit parts, I was surprised how small the aircraft was even in this scale and surprised to find that it was powered by a British engine, the Rolls Royce Nene built under licence by Pratt & Whitney, I can recommend this one to any US Navy enthusiast.
Down and Dirty
The grey beast
Monogram F9F-5
Ted Taylor
Aug 2007
Last Page
Airbase
What's New
Home
Reviews
Next Page