
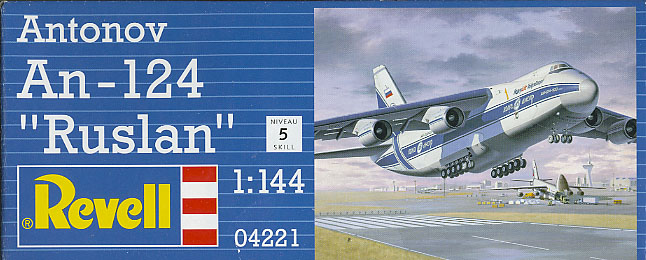
Revell
Antonov An-124
Ruslan
Heavy lift freighter
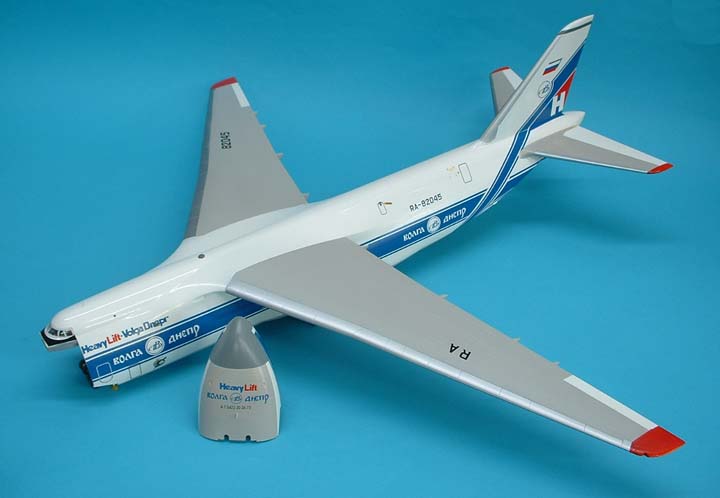
Kit No. 04221. 1:144th scale
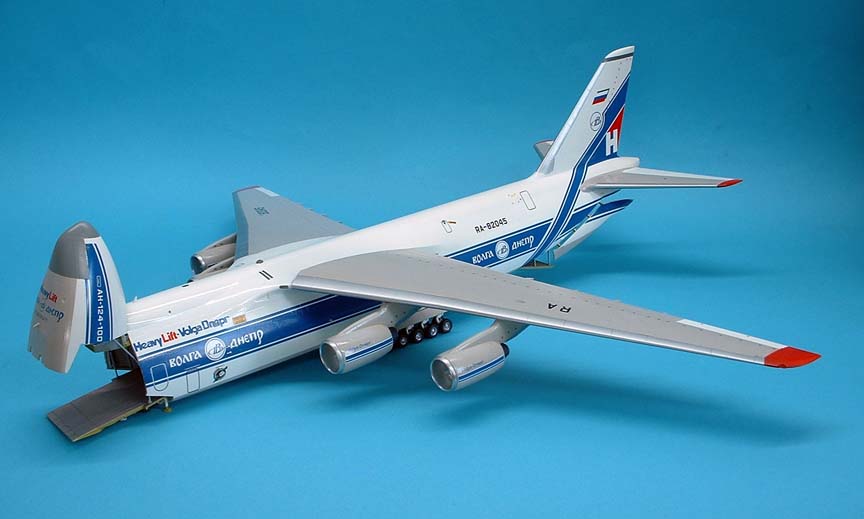
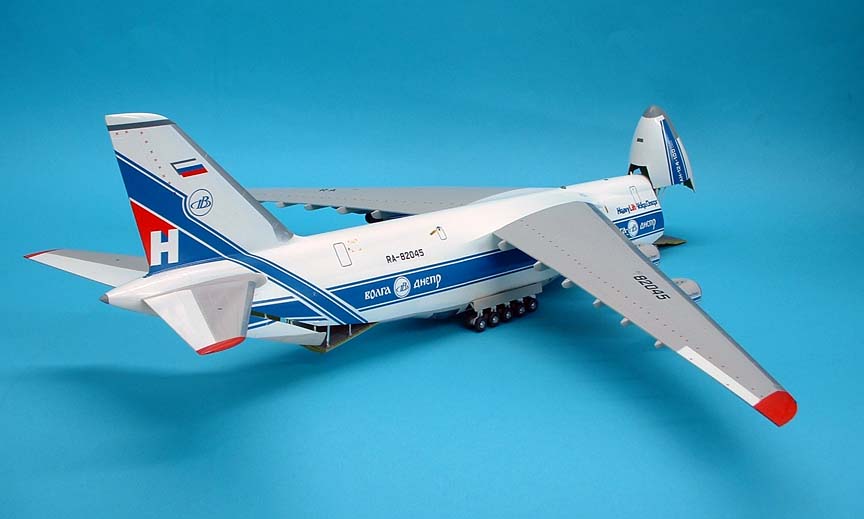
The kit comes moulded in pure white plastic, very useful in this case with such vast areas of white paint, all the mouldings are flash free and the fit of the parts is pretty well perfect. Five aircraft can be built from the parts, and there are four positions for the doors and main undercarriage plus an in flight set up.
The 28 page instruction booklet covers every version very clearly with detailed painting information. The decal sheet is enormous and gives markings for Russian Air Force, Aeroflot and Polish Cargo Airlines on top of the two Volga-Dpnepr craft shown on the box top.
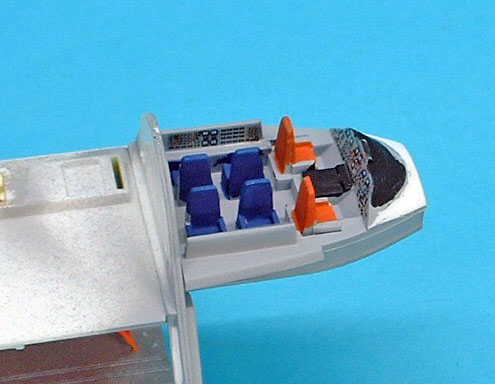
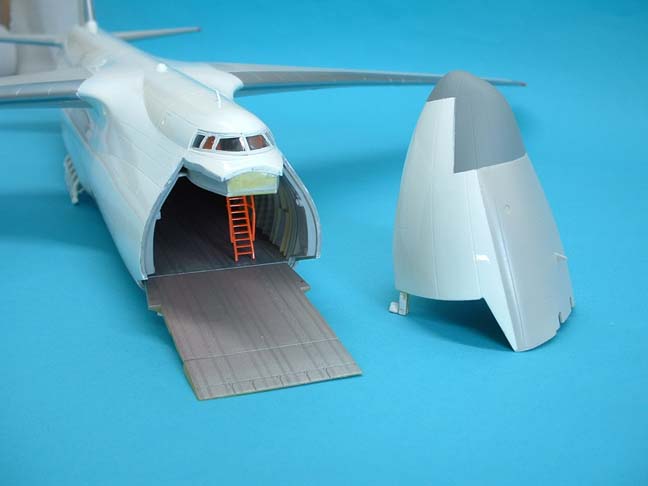
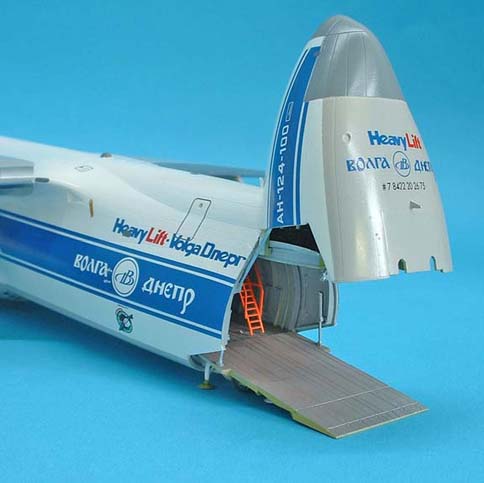
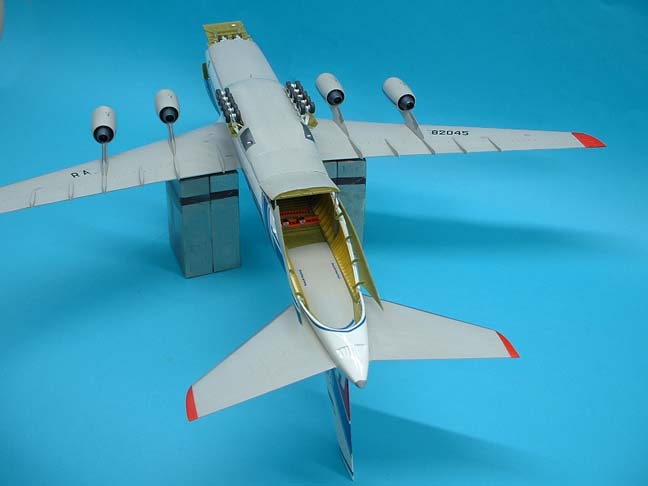
Construction begins with the interior "tunnel" which includes the cockpit area much of which is invisible when enclosed by the fuselage halves. All the sections should be painted before assembly begins including the overhead cranes and ladders to the upper passenger compartment.
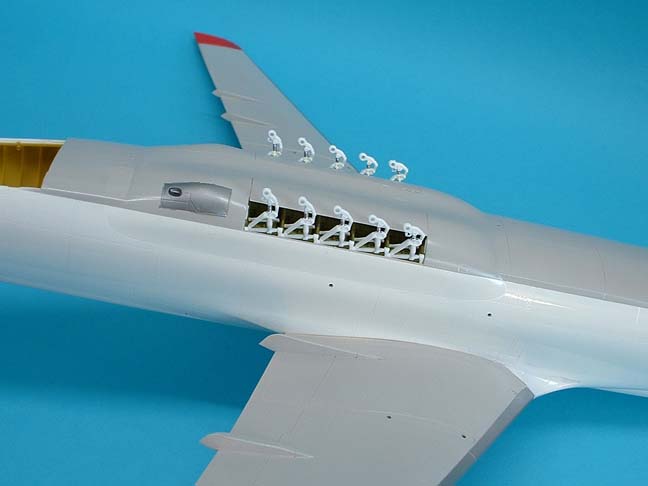
The structure is pretty strong when made up and it needs to be as there are 50 grams of weight needed to stop it being a tail sitter, I have used some left over lead sheet cut into a strip and fixed under the first bay with super glue then reinforced with wood glue, note the positions of the ladder and crane, the two cranes can be placed anywhere along the tracks and the ladders can be placed front or rear raised or lowered,
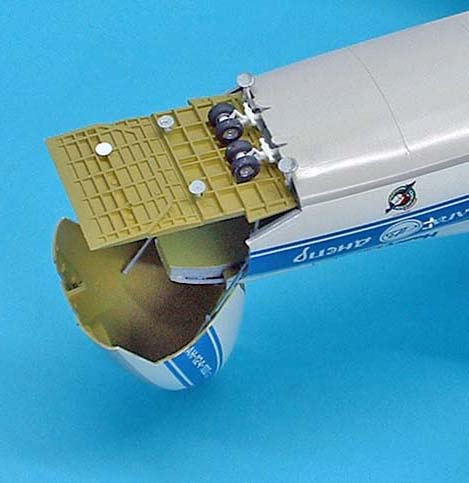
The next step is where you have to make up your mind whether you want the kneeling undercarriage or the normal one. Once the bays are made up and painted they can be cemented to the underside of the floor, I didn't follow the instructions to mount the legs here as I wanted to mask the wheel bays with the doors, they can be added much later after all the masking is off.
I added the rear walls ,parts 100/101 at this stage rather than waiting till the exterior was cemented on, it works quite well this way with no problems
Make your mind up time again, a choice here for the nose to be lifted or lowered choose the appropriate parts and add them to the front edges of the fuselage halves. The two halves were then cemented together around the "tunnel" and the lower centre section added but I found this had a tendency to sit lower than it should leaving a step so I would advise using a few tabs of plasticard set along the edges of the main halves to keep it level and get over this. The whole unit was firmly taped and left over night to harden, the joins needed a light cleaning up next morning but very minor for a model of this size.

The wing units were made up and all the flap tracks made and cemented on, take care here as they are all handed. I double checked each part and made each up then cemented it on the wing as I made it to avoid any confusion. The joins were lightly rubbed over with a fine sander when all had hardened off. next came the tailplanes both were made up and joins were lightly sanded, again these are handed and will stand out like a sore thumb if you mount them on the wrong side so be aware. All four sections were then cemented to the fuselage, good joins again with not a trace of filler anywhere.
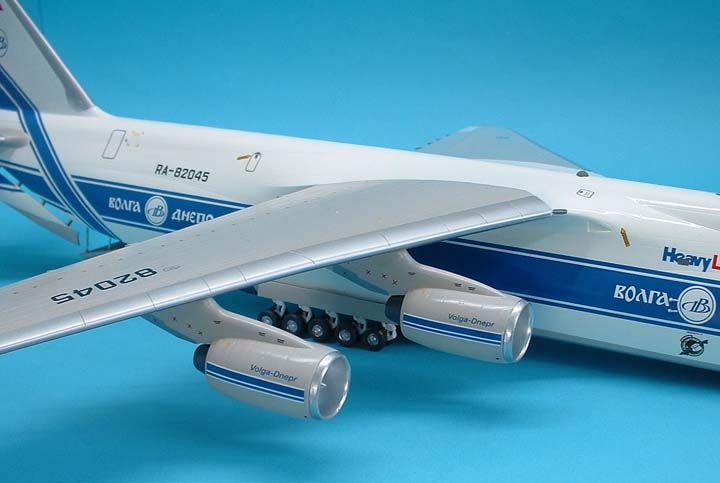
While the wings hardened I made up the engines, both fans were sprayed aluminium and the engine centre was sprayed with Humbrol polished steel, the interior of this was given a coat of matt black. The inside rear half of the nacelles were spayed silver as was the intake part 51. The engines and front fans were mounted into the nacelle halves, cemented and the joins cleaned up, again take note here as all the parts are handed and won't fit the wing if assembled wrongly. The intakes were left off until the nacelles were painted in which ever colour you have chosen to use these can then be added taking note that there is a right and wrong way up for each one so check before you cement. Put these aside until the painting and deckling are done on the main body and wings.
We all have our own method of spraying but this is my order of doing things, firstly the front of the fuselage tunnel was masked up using Tamiya wide tape, the gear doors were held in place with a blob of Bluetac and the "closed" rear door, part 88, held in place with another large lump of Bluetac. The nose cone, which had been painted on the inside, was mounted on a stick for easy handling and the cabin windows were masked with Tamiya tape now I was ready to spray.
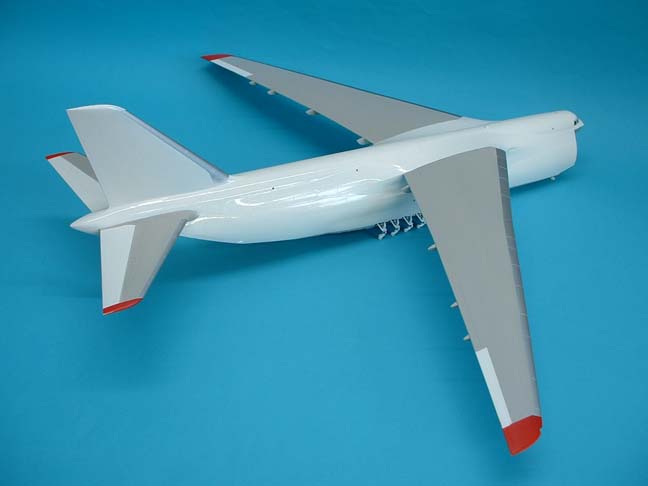
The leading edges of the wings tail and fin were sprayed with Alclad II polished aluminium which was then neatly masked. As the parts were a good white plastic I decided to make up a very thin mix of Humbrol #22 gloss white and give the fuselage one fine coat, the elevators, ailerons and nose cone were all included as were any other small parts that needed it. After leaving for 24 hours the white was masked and the red tips were sprayed on these again were masked before the grey was sprayed on and left again for 24 hrs before the masking was removed.

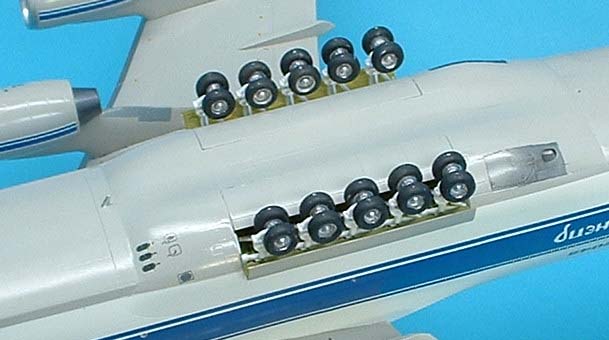
The kneeling undercarriage was added now, while the main legs are pretty strong the extension rams are very delicate and can easily be broken while removing from the frame, I didn't put the wheels on until much later as it takes forever to paint them all.
I made the front ramp up as one piece before I mounted it to the floor and I found later that it lifted the main wheels off the floor with the rams in place, I would suggest you add part 108 and it's rams then with the main wheels firmly on the floor add the parts 109 &110 and let them settle to the floor level. In my case I had to unglue the rams and locate them further up the side wall after I had done the decalling.
Applying the decals is normally the part I enjoy as I see the model start to come to life but in this case it is a nightmare. There are literally hundreds of tiny stencils to place mostly on the underside, you get instructions to put decal #85 x12 and x7 and x4 etc. etc. and there are lots of tiny red "x"s to put down.
The instructions tell you to start the main side decals with the fin stripe and follow through to the nose, there is an exact measurement where to start on the fin and you can locate it to the front edge of the tailplane, this should get it exactly right and the others will locate quite easily, I must admit I had to do a tiny bit of trimming to get it bang on.
The area around the back end is tricky if you have open doors but a separate one piece decal is provided for closed doors. I have used the heavy lift logo on the fin and this needed trimming to get it in the space provided. None of these problems arise if you do the other versions in the kit. Add all the stencils to the engines and pylons before you locate them under the wing, there are recessed locations for these so you won't mess up your painting, and no I never put all of those stencils on.
From here on it is just adding all the remaining parts, the centre section of the rear door fits right up tight to the roof and the overhead cranes can roll out past it still on the rails for loading from trucks or the ground. The nose cone fits neatly on the sides of the cockpit and the rams fit perfectly. The doors for the main gear are handed so watch out, one lays out horizontal and the second hangs down vertical from it.
I gave all the grey areas a final coat of Johnson's Klear (future) to seal in all the tiny decals I put on.
An excellent kit highly recommended
Ted Taylor March 2006
#Back to the Top
| Last
Page |
Airbase |
What's New |
Home |
Reviews |
Next Page |