Grand Phoenix
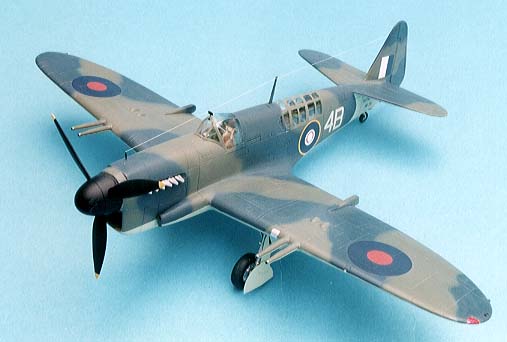
Fairey Firely Mk.1
Kit No. KT001. 1:48th scale.

Kit No. KT001. 1:48th scale.
This is a multimedia kit with injection moulded airframe and resin interiors plus a sheet of Eagle Strike decals. Markings are provided for three aircraft in the Australia/ Pacific areas in 1945. A small etched frame provides seat belts etc.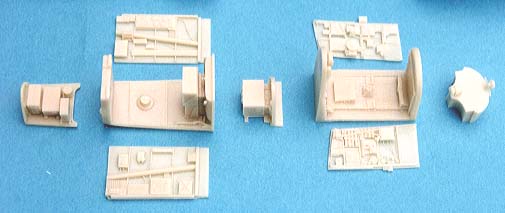
Construction is straightforward but you must make sure you remove ALL the pour blocks from the resin parts or nothing will fit
Starting with the cockpit, the side walls have to fit between the front and rear bulkheads, not outside, and I found these were not at the correct angle to match the side panels, so I placed each base unit into some very hot water which reinstated the correct shape, (resin has a built in memory and will assume it’s original shape) then the side panels fitted correctly.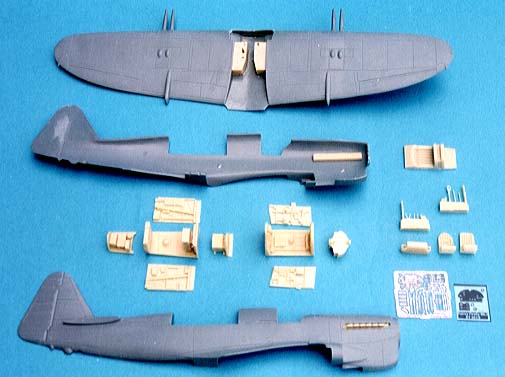
I spent a couple of days painting all the details using Humbrol No78 interior grey/green and No 85 semi gloss black with details in various colours plus some dry brushing with white to give some highlights I also painted the rear of the film, used for the instruments, white to make them stand out more. The parts were then all assembled and left to harden while I put the fuselage halves together, after attaching the beautifully formed exhaust stacks firmly from the inside.
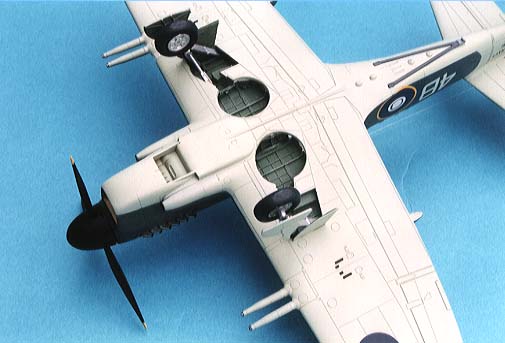
The wings have resin wheel bays and the pour blocks need to be sanded back until the top skin is wafer thin or the wing halves won’t close, there are locations on the lower wing section but there is some leeway here so make sure the undercarriage legs will fit into the holes provided and not foul the wing itself before you superglue the bays and add the top halves of the wings, if these fit then you have done the job properly.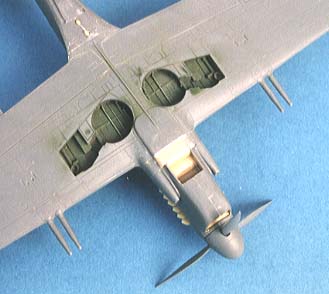
With the fuselage joint cleaned up I located the radiator part and glued it then I slid the rear cockpit up through the wing hole and it located perfectly and was superglued into place. The front cockpit was also slipped in the same way and also fitted perfectly but I placed the wing section in position just to check the two parts would marry up as I have heard some reports of “terrible fit” etc. etc. It all worked fine so the cockpit was finally glued in. The wing section needed a little trim on the rear edge that meets the fuselage but that was all and that too was cemented but there appears to be a large gap on the top surface (visions of large amounts of filler) but no, all I had to do was add a strip of tape from one wing tip, across the fuselage and out to the other tip, this lifts the wings to the correct dihedral and eliminates the gaps just keep a check on it until it hardens.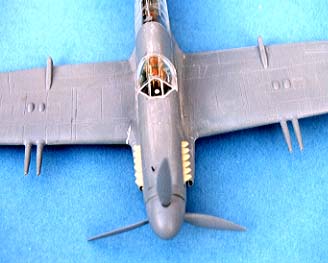
The tailplanes are a butt fit and needed a touch of filler, I use the Revell “Plasto” which is easy to sand afterwards. The intakes on the sides of the nose were made up but I couldn’t get the tiny etched guards to fit as intended so they were glued onto the front edges instead.
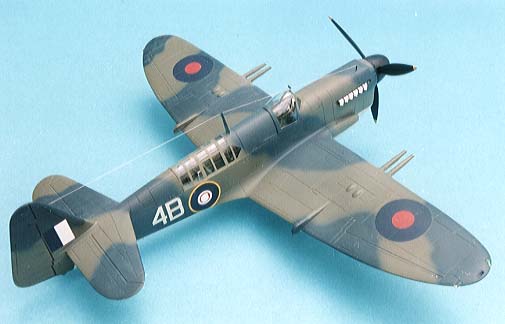
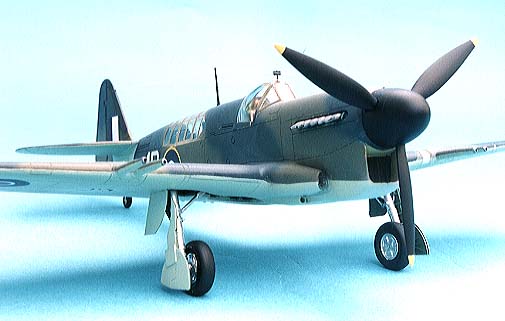
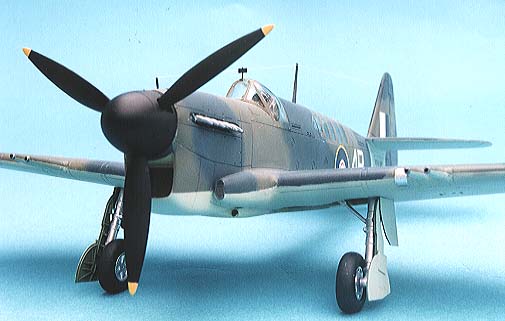
The canopies were all masked with sellotape (scotch tape) and then cemented in position, a pretty good fit here with all the parts, my hood is closed as was intended (I think there would be problems leaving it open as it didn’t seem to sit right). The aerial and cannons were cemented on and the tiny aerial on the nose (a small etched part) was replaced with a short piece of floral wire.
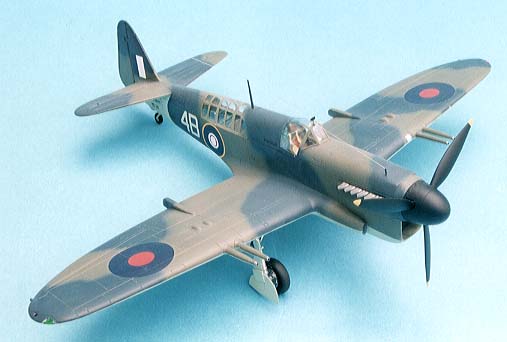
After a final rub over with 1200 wet & dry paper painting was started, I have used the old Compucolor paints this time but the colours are available from many brands, firstly spray the interior green colour around the canopies to get an inside colour built up then add the camouflage and leave overnight to harden, tomorrow do your masking and spray the underside.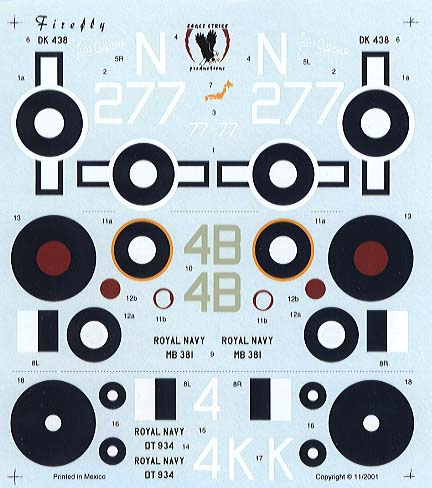
If I am happy with the paint job I spray or brush a couple of coats of Johnson’s Klear (future) before adding the decals which in this case isn’t many, but they are good quality with strong colours plus well researched I hear from the guy who did the research. Another coat of Klear then a final coat of Klear with some Tamiya “flat base” added at a ratio of 3 to 1, Klear to base. All the masking was now removed and any touching up rendered.
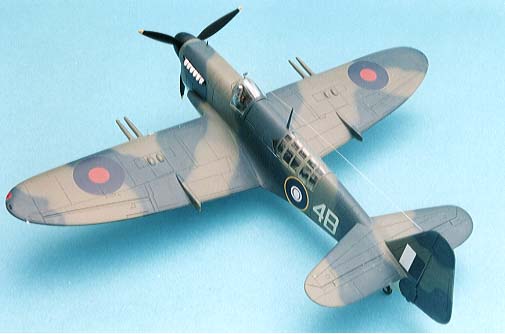
The undercarriage was assembled but I had some problems here, parts 32 seemed too long and needed sanding down, while parts 13/14 seemed too short. The prop was assembled and mounted to finish the job.
note the landing light window painted silver and the gun camera window also
the tiny rear view mirror was hard to position properly
the formation lights on the rear of the wing tip are painted silver
Comments. A nice kit, easy to assemble, very detailed, nicely engraved panel lines which follow Ian Huntley’s drawings precisely
And a welcomed subject, can you tell I liked it??
References in Scale Aircraft Modelling: - Vols 3 No7, 5 No4, 7 No3, 8 No8, 12 No9,15 No7 & 8 & 9, plus the Warpaint book
| Last
Page |
Airbase |
What's New |
Home |
Reviews |
Next Page |