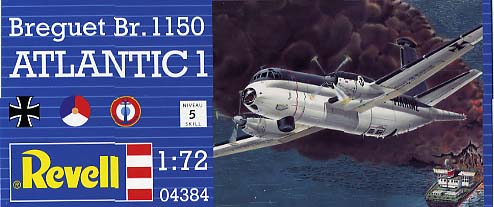
Revell
Breguet Br. 1150
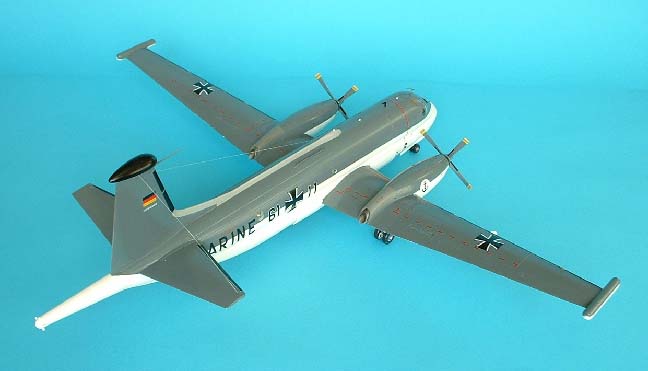
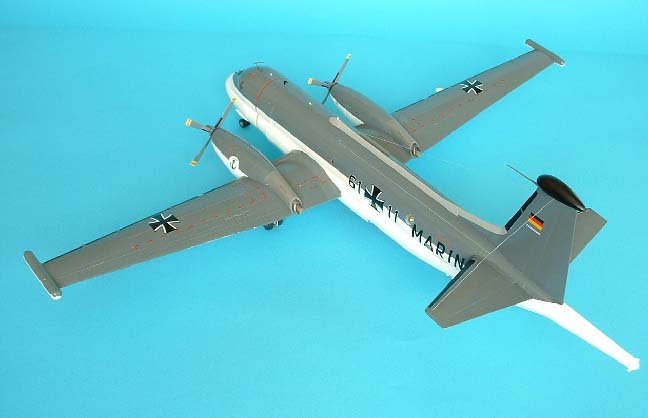
Atlantic 1
Kit No. 04384. 1:72nd scale
Revell
Breguet Br. 1150
Atlantic 1
Kit No. 04384. 1:72nd scale
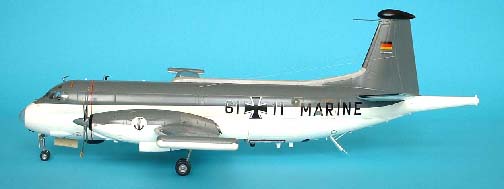
I seem to remember building a very small model of the "Atlantique" many years ago and I was suitably impressed with it, so when Revell announced the same thing in 1/72nd scale I just had to get one and on opening the box I was very impressed with what I saw. The mouldings were all in white plastic, very usefull as 50% of the aircraft is white, they are crisp and as expected today there is no flash anywhere. there are ten frames and a clear sprue with the canopies on which are crysal clear, unfortunately the main canopy comes in two halves due to moulding limitations, but this is not too much of a problem as it extends way past the "glass" area making it easy to eliminate the fuselage and "roof"join leaving only a centre post, two windows deep, to clean up, I applied my liquid cement with care and even that problem was non existant.
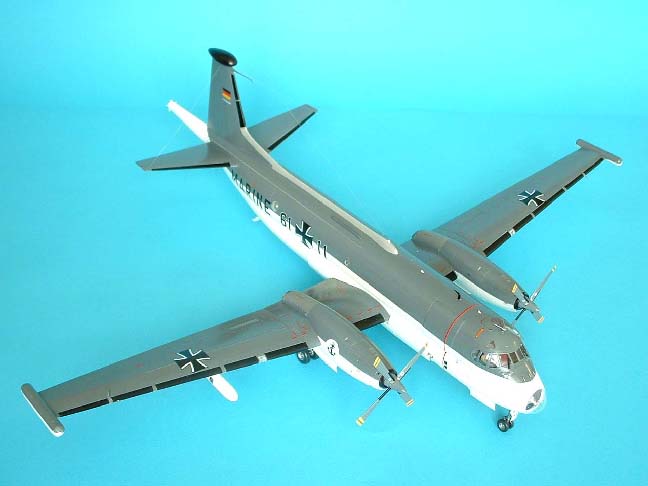
There is a 20 page instruction booklet which you should READ FIRST and take in as the giant decal sheet provides markings for 3 different airforces German, French and Dutch and a number of choices have to be made during construction so be warned. I found a number of parts left over when finished and I believe some of these are for the Italian version but do your own research on this.
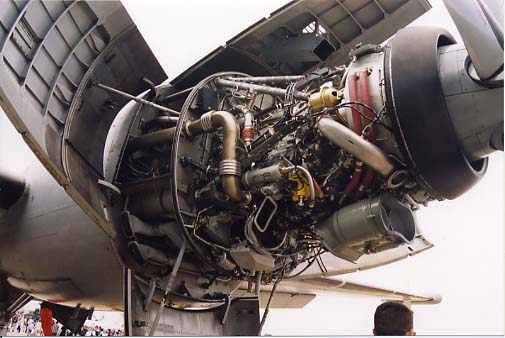
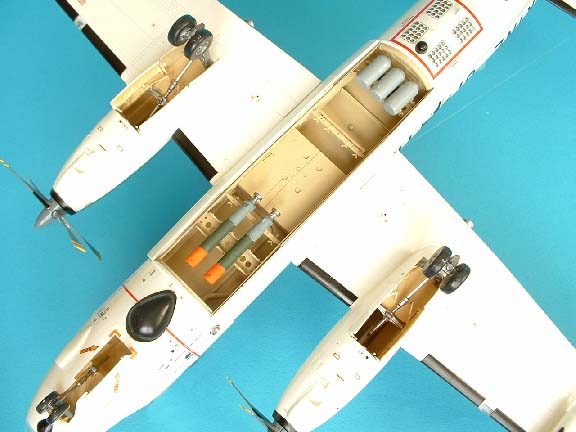
Any Problems? well not realy but be prepared for a big job as there are heaps of tiny tiny parts to add on ie. tiny intakets on the engine nacelles which are themselves made up from four separate cowlings much as the real one is (see pic).
Some of the detail provided has to be seen to be believed, the weapons bay has lots of tiny add ons to make workman like and the cockpit comes fully fitted so take care with your painting as most of it can be seen.
My construction notes
First thing was to photocopy the paint list sheet and hang it up in front of me.
You need the decal sheet right from step two although it isn't mentioned until page 17 step 75
Step 4 some holes need clearing for the German version so don't miss it.
Step 5 nose weight is required here, some 70 gms in all, I loaded 40 gms in the radome and another 30 gms in the space between the cockpit and weapons bay bulkheads.
Step 14 don't cement the radome to the plate (part 39) yet, see reason above, add it as a final item to save masking while spraying.
Step 18 you can completely assemble the nose section and leave it to harden before clipping it to the rear fuselage where there is only a small join to clean up.
Step 21/22 there were some ejector pin marks on the tail plane halves and these needed sanding off before the halves would fit properly.
Step 28 when the plane is on the ground the forward pair of main gear doors (parts 105/106) are normaly closed so you may wish to adjust parts 63/64 by removing the front linkages if you want this to be depicted.
Step 32 the nacelle side panels are a simple butt join so when together and the front plate (part 80/81) is engaged, slip an elastic band around to tighten the joint and to exert equal pressure all the way round to avoid distortion. leave the props till last thing you do, as they are quite fragile.
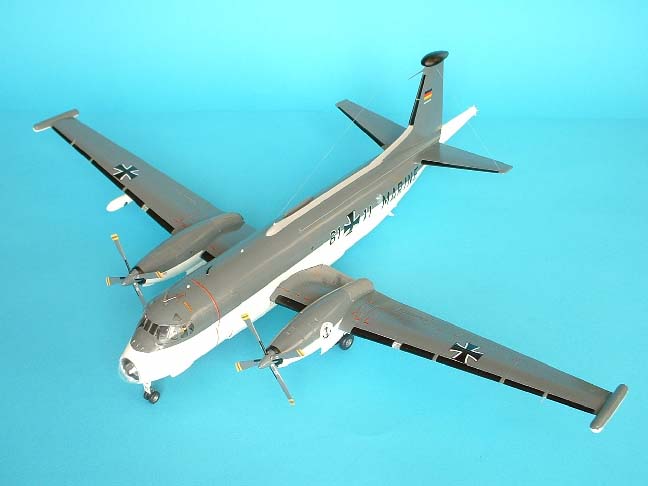
The remainder of the construction is all straight forward with only choices of parts to decide upon, I added my arials using Lycra elastic thread attached with CA glue. I think you might just enjoy this one if you are into this type aircraft, it makes an excellent model
Ted Taylor Dec 2003